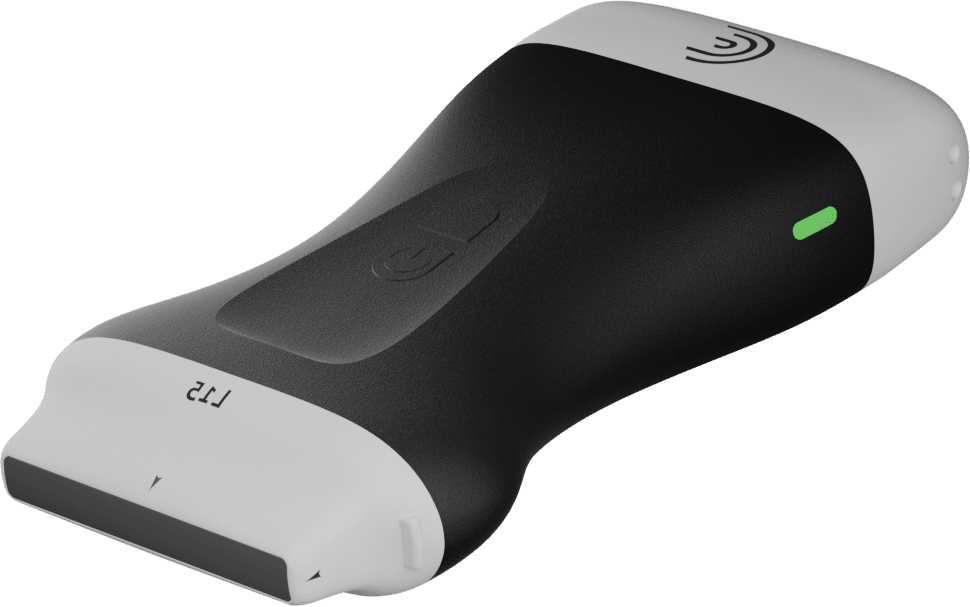
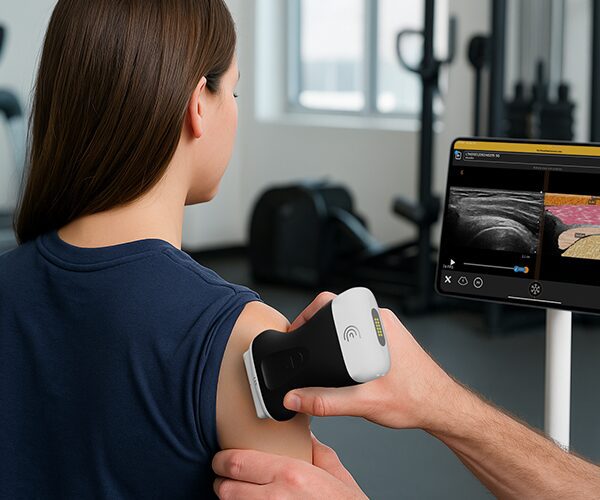
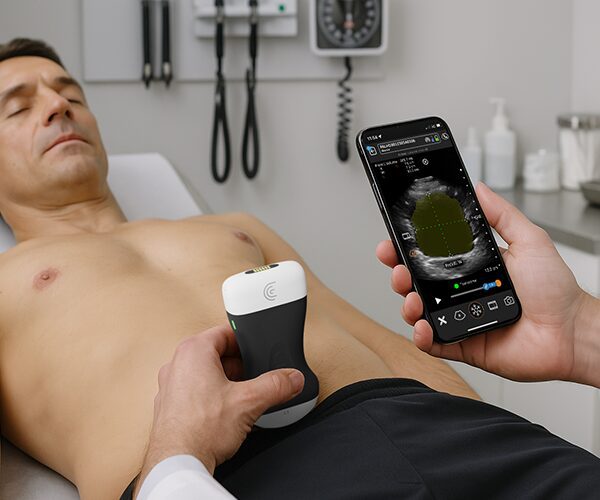
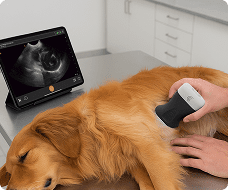
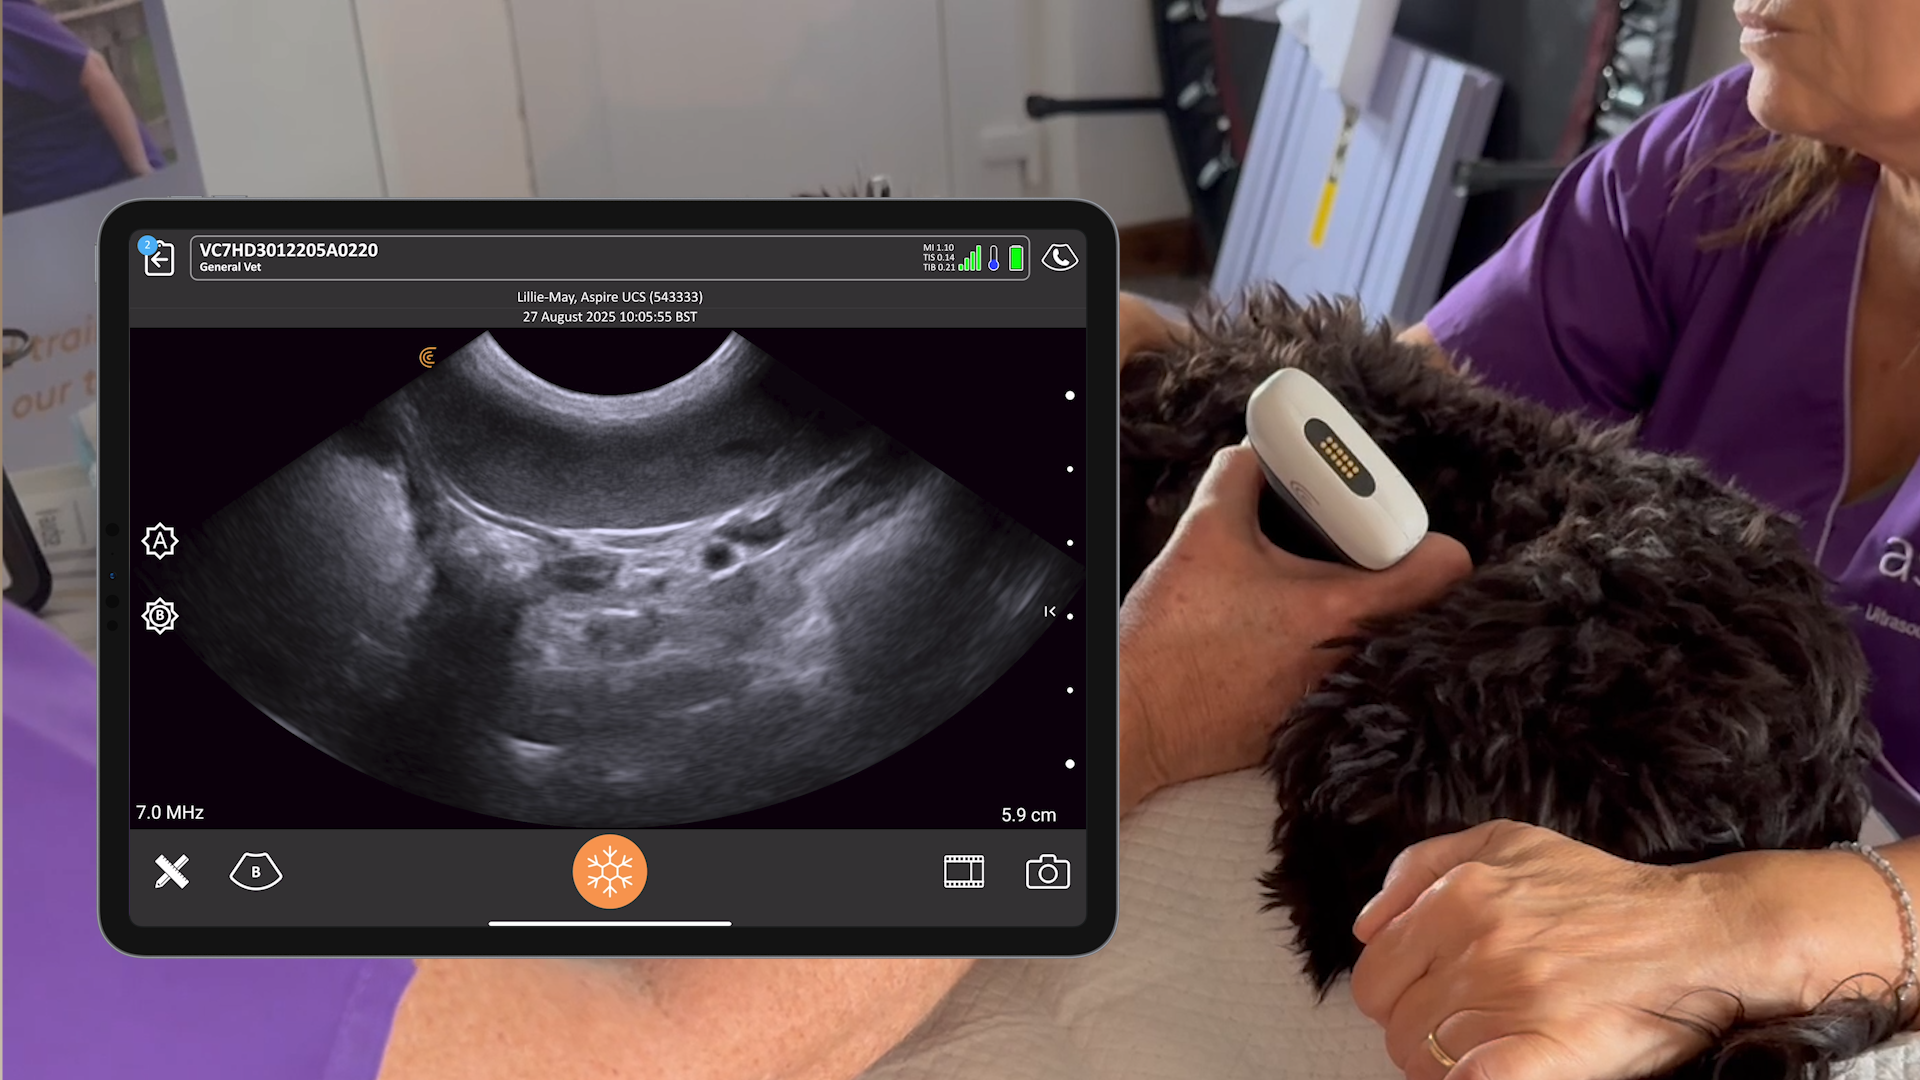
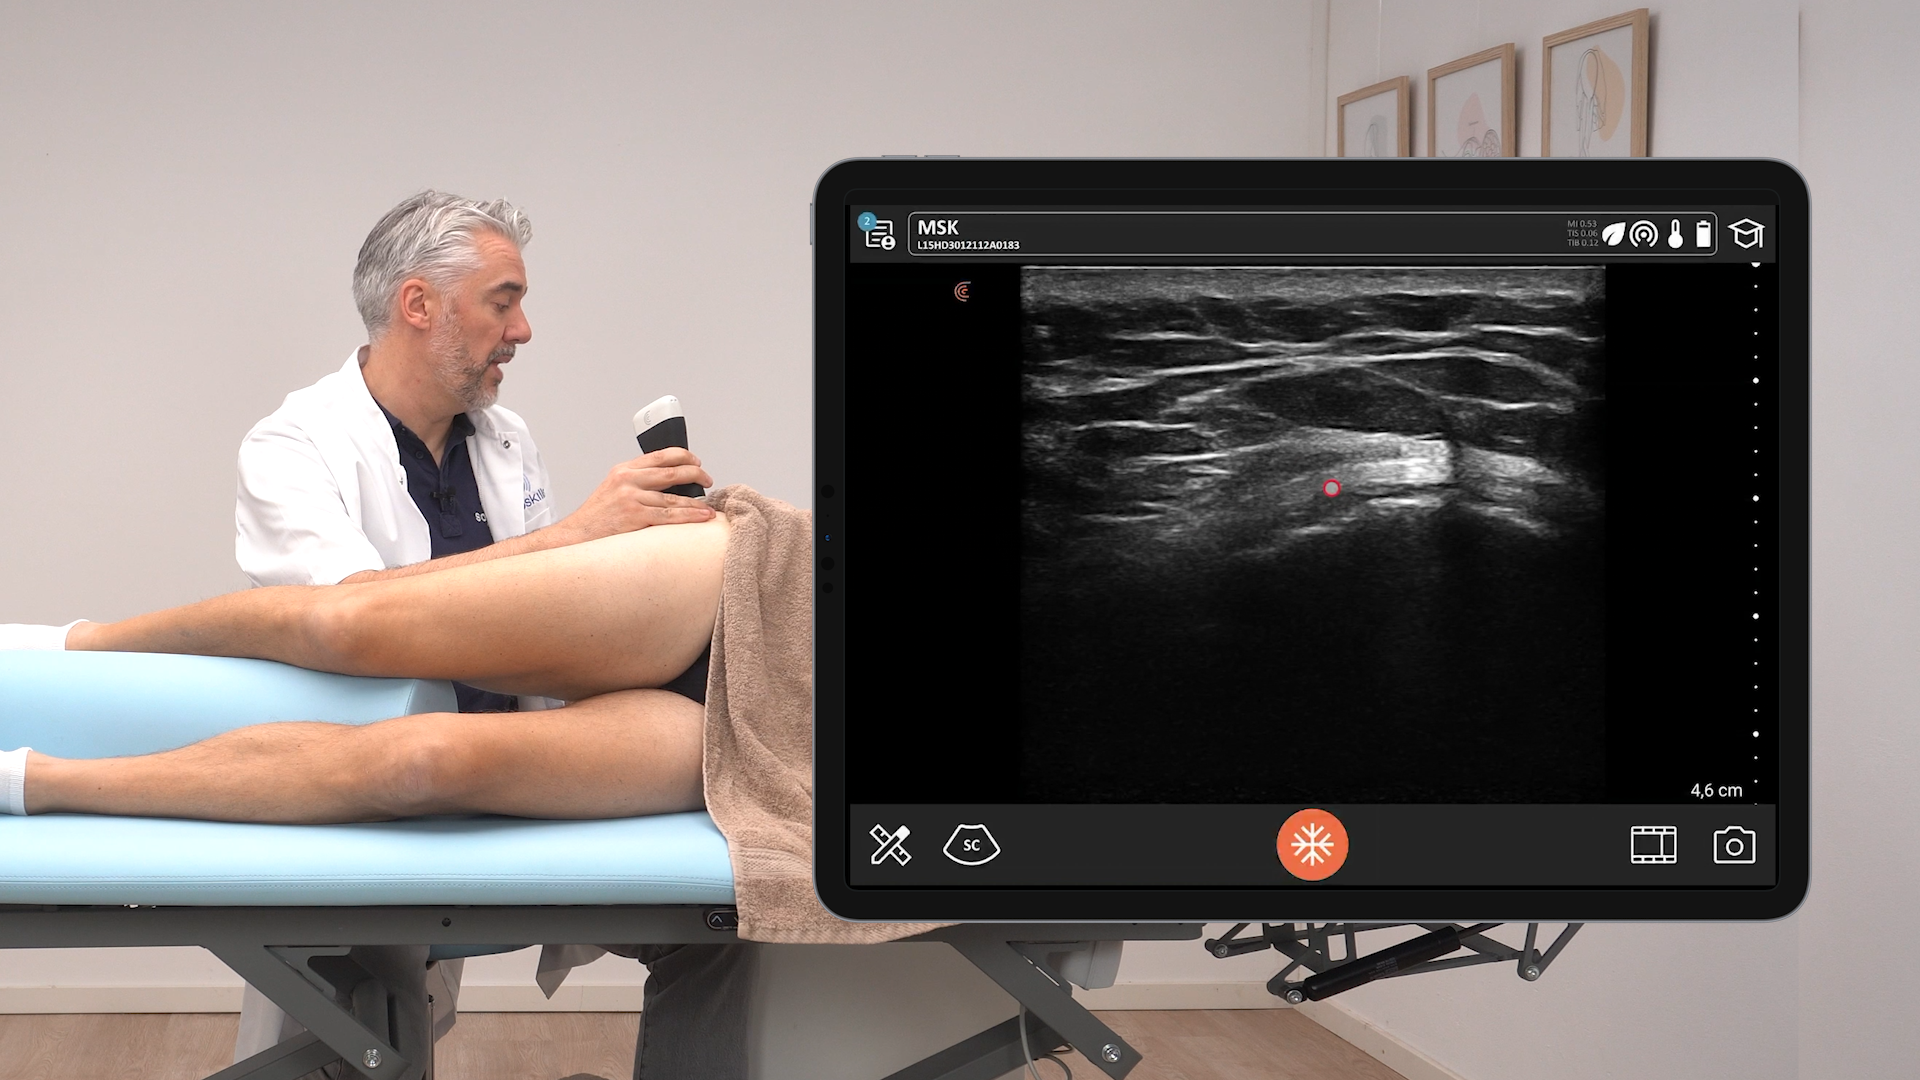
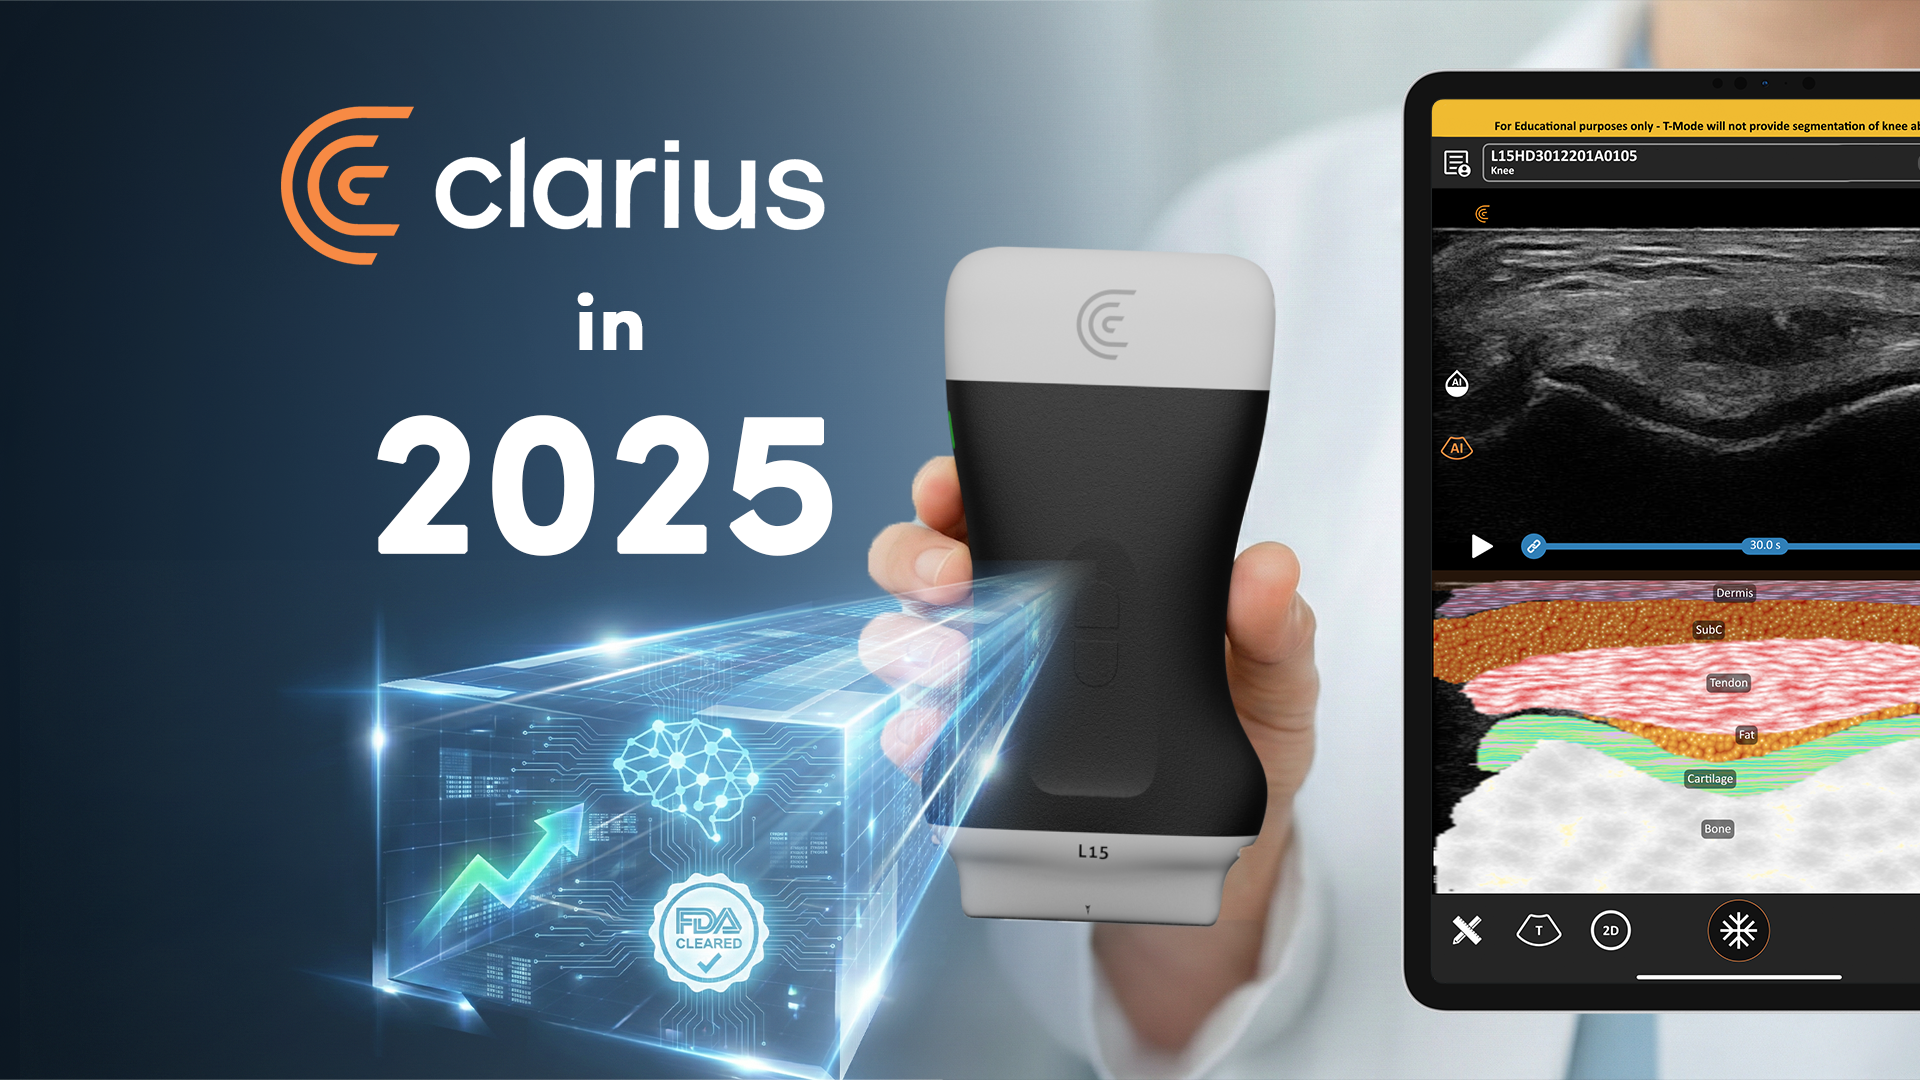
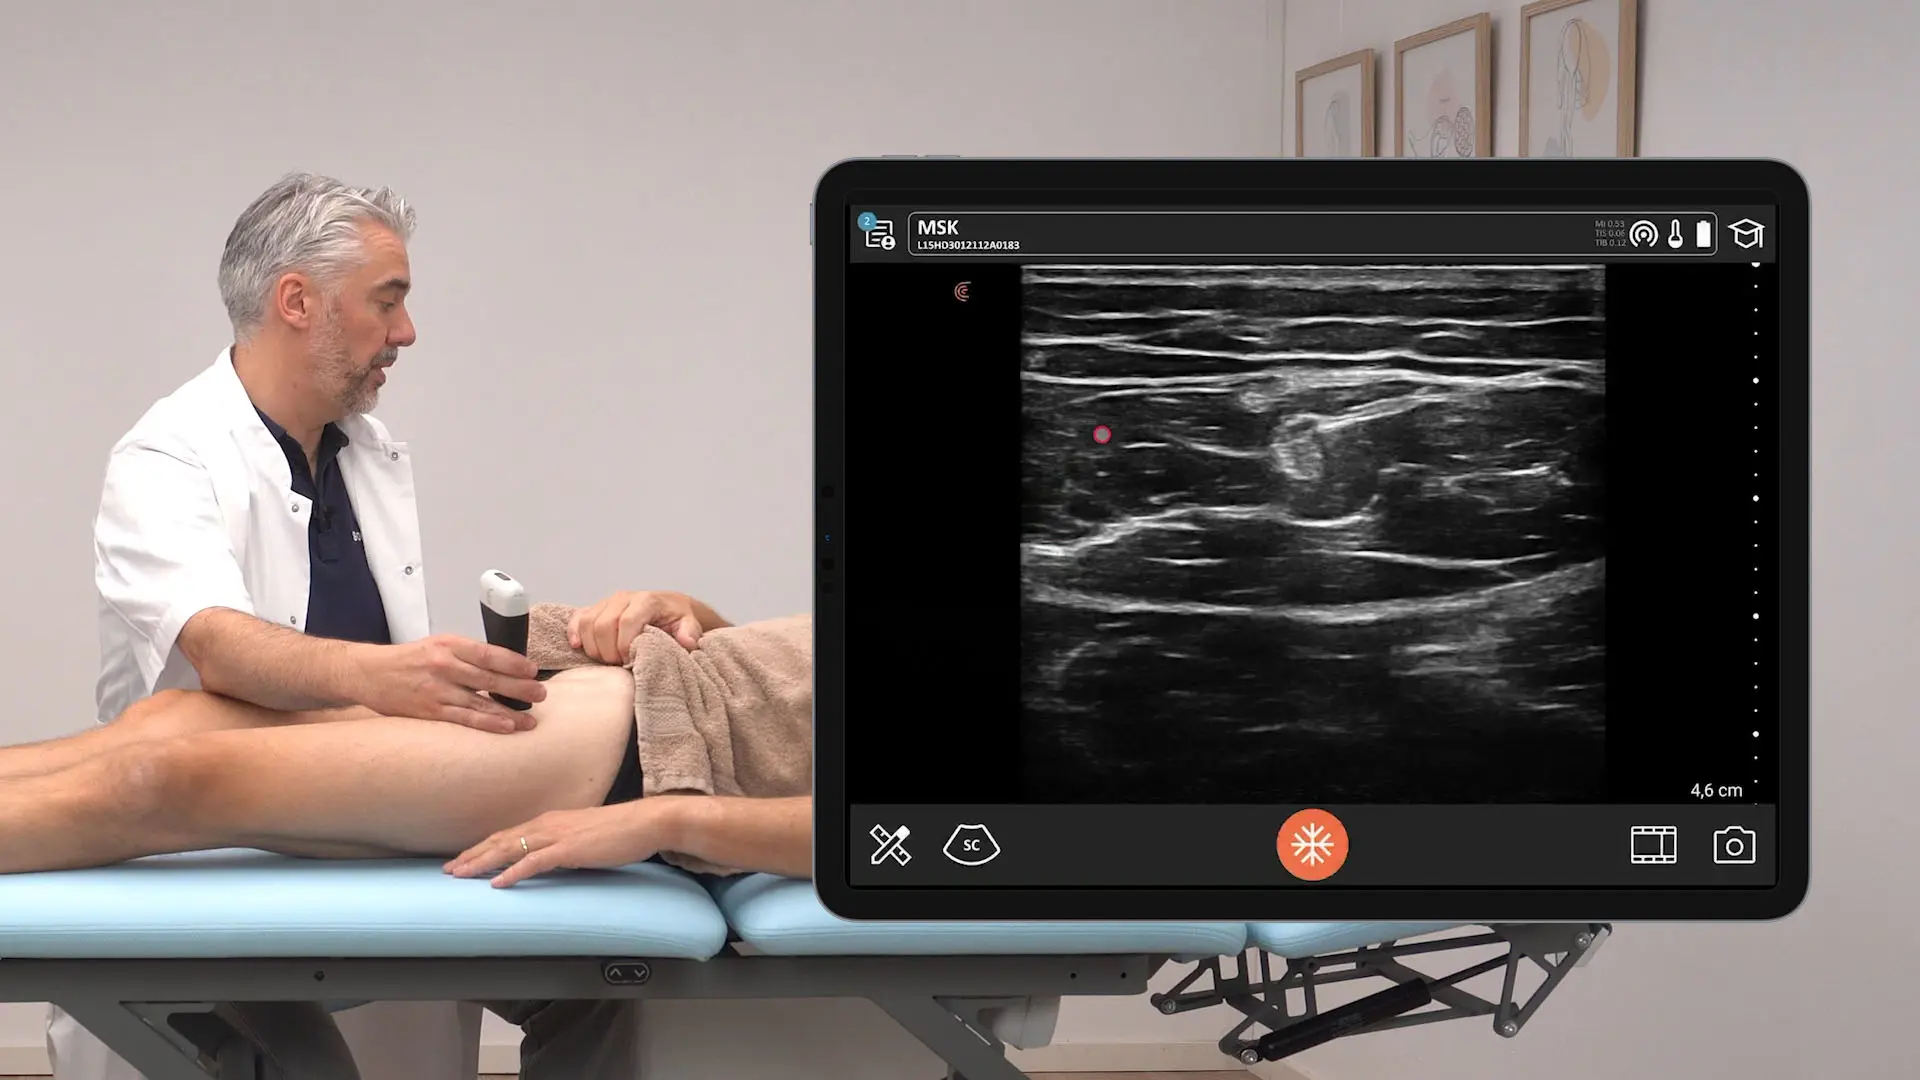
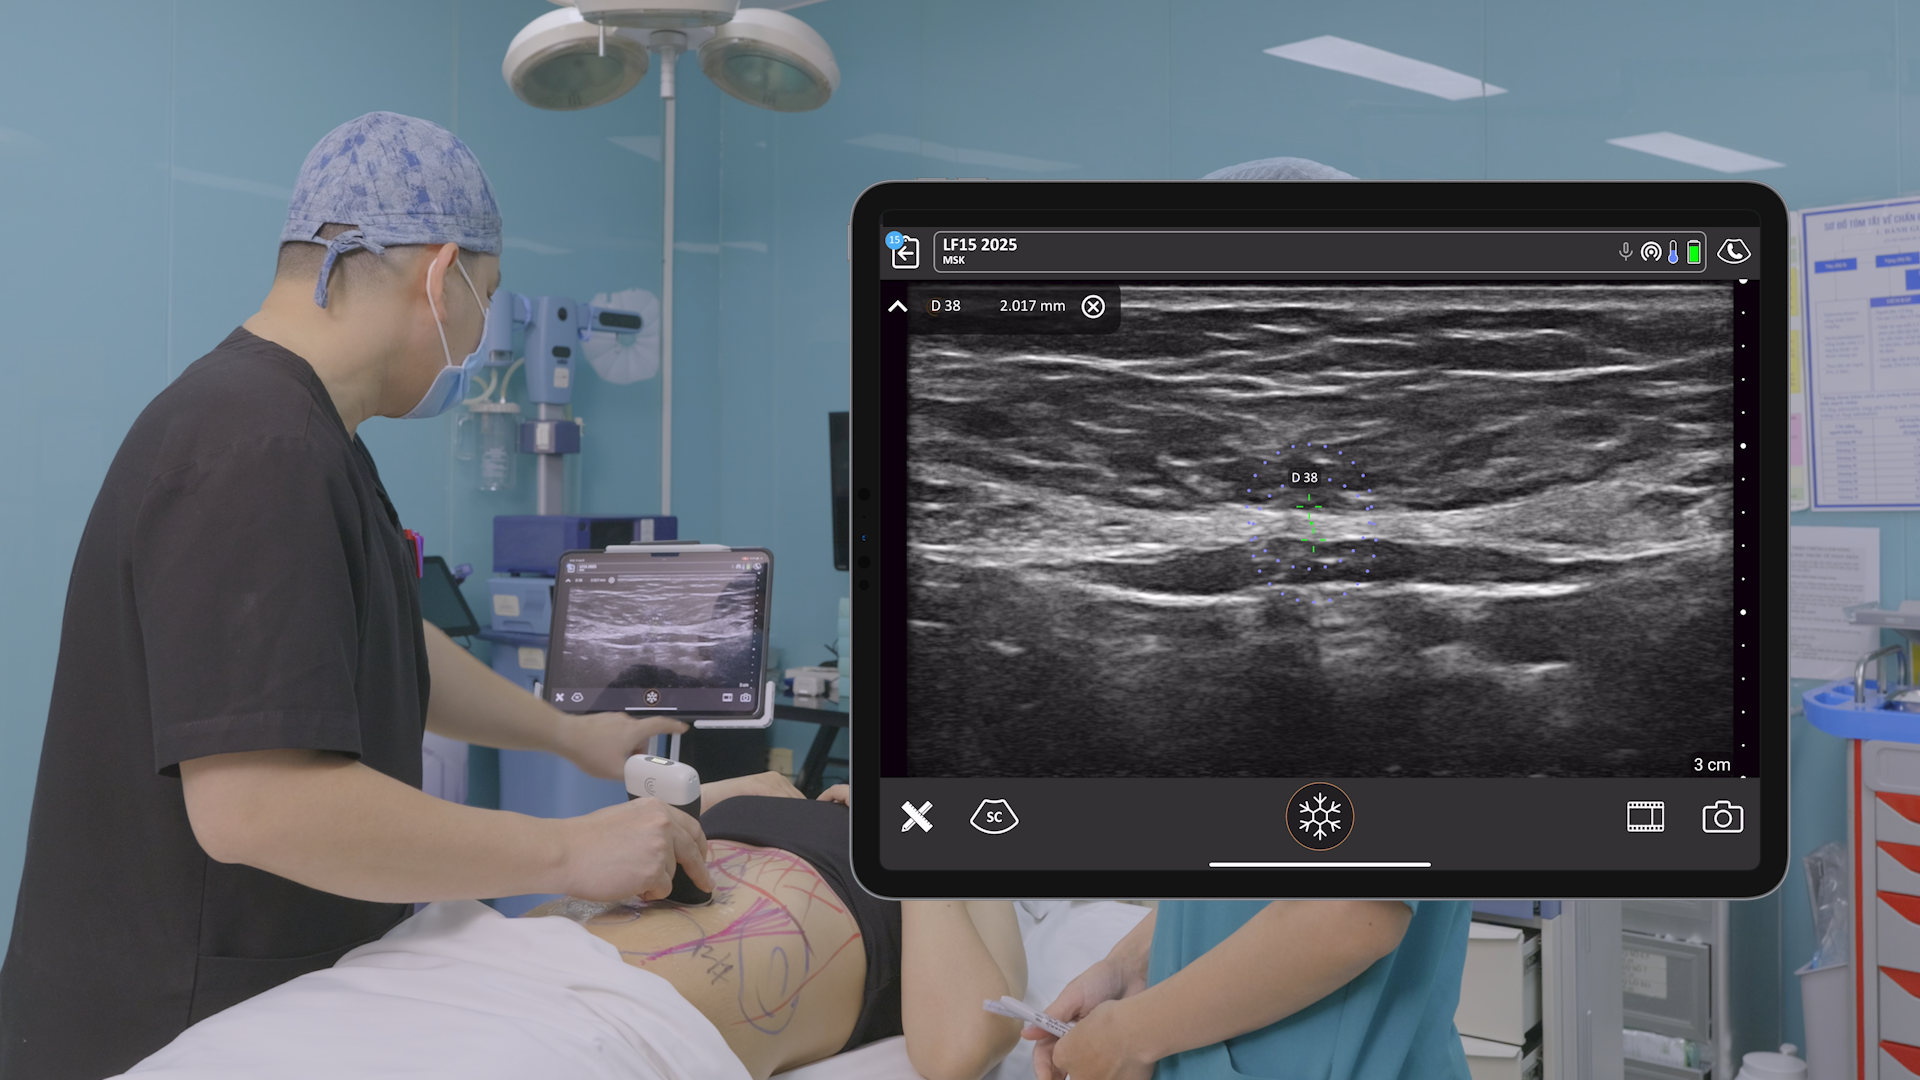
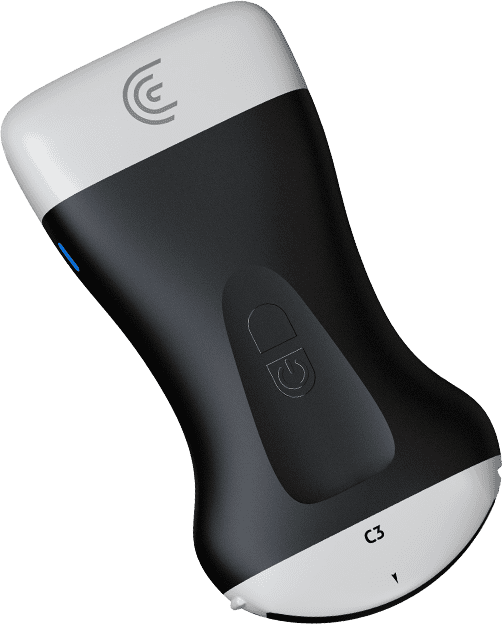
Introducing the Clarius Ultrasound App 9! Our development team has been hard at work releasing even more forever-free features and enhancements to deliver the best ultrasound imaging experience! Download Clarius App on the Apple App Store and Google Play today for the latest innovations in high-definition imaging, including the ability to customize presets, use full-screen mode while scanning, B-Mode Chroma to spot patterns of suspicious lesions in real-time and more!
The Best Handheld Ultrasound Imaging Experience is Unique to You
Tailor Settings to Your Practice
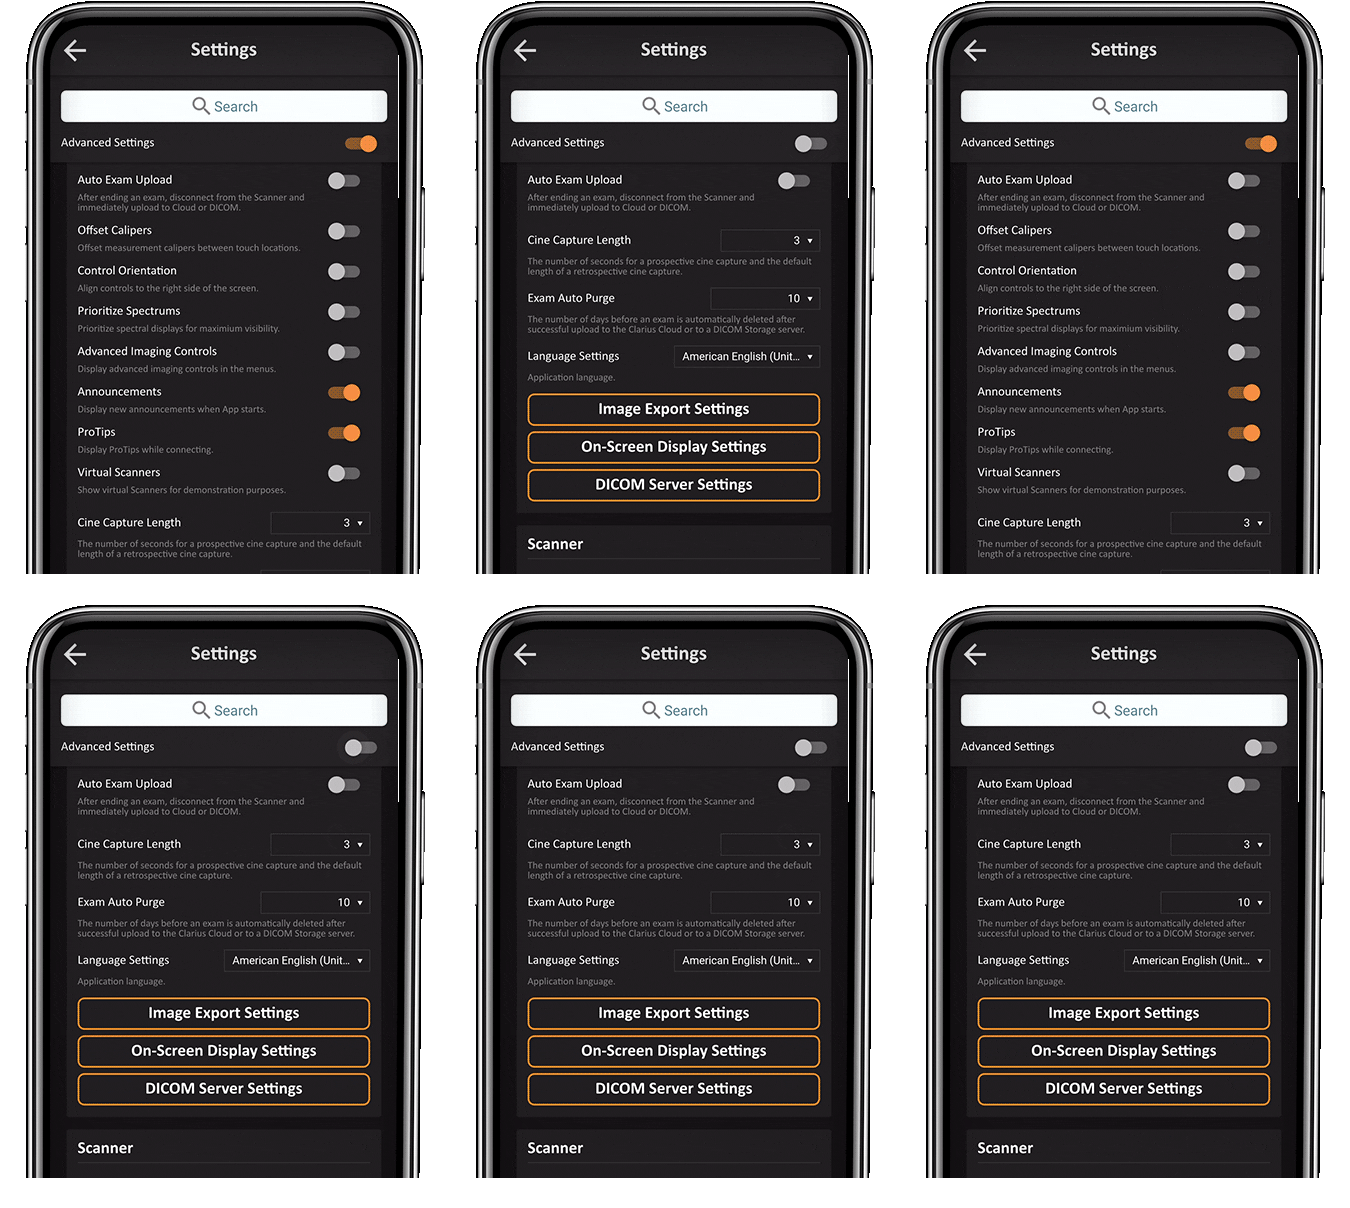
Clarius offers a variety of settings to tailor the imaging experience to meet your preferences. With App 9, you can now easily enable and disable Advanced Settings to only show you what you need for your practice. A settings search bar helps you quickly find relevant settings, without having to scroll, for more rapid adjustments.
TIP: Tap the ☰ menu icon located at the top left corner of your screen to access the Clarius App Menu, and select the settings icon to enter the Settings Page. Toggle the Advanced Settings button to show all advanced settings. Use the Search Bar to find a particular setting and the toggle to adjust it.
Save Time and Improve Your Workflows with Preset Customization
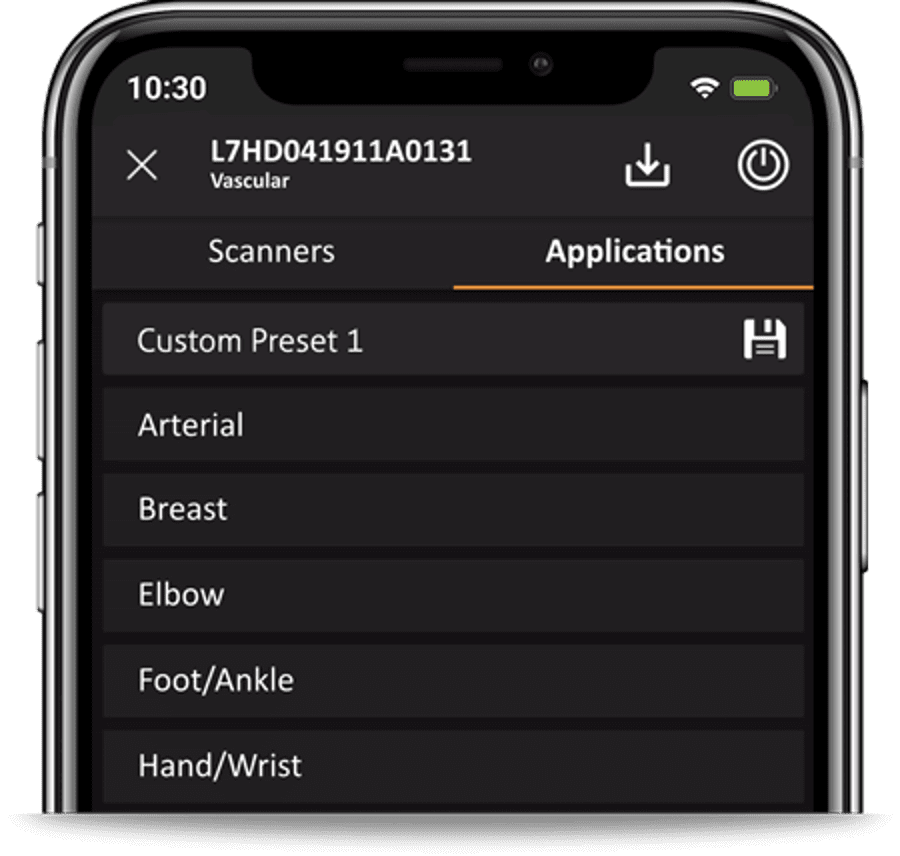
Advance image quality by customizing default imaging parameters for each Preset to your preferred settings for Gain, Depth and other Menu Tools. While Clarius AI and application-specific Presets automatically optimize image quality, we appreciate that each clinician is unique. This new tool allows you to adjust and save parameters to your specifications for consistent results every time you perform an exam.
TIP: Select the Preset and adjust it to your requirements, then tap the Applications Menu and the “Save“ icon.
Innovation Raises the Bar on Image Quality with Handheld Ultrasound
Maintain High-definition Image Quality with HD Zoom
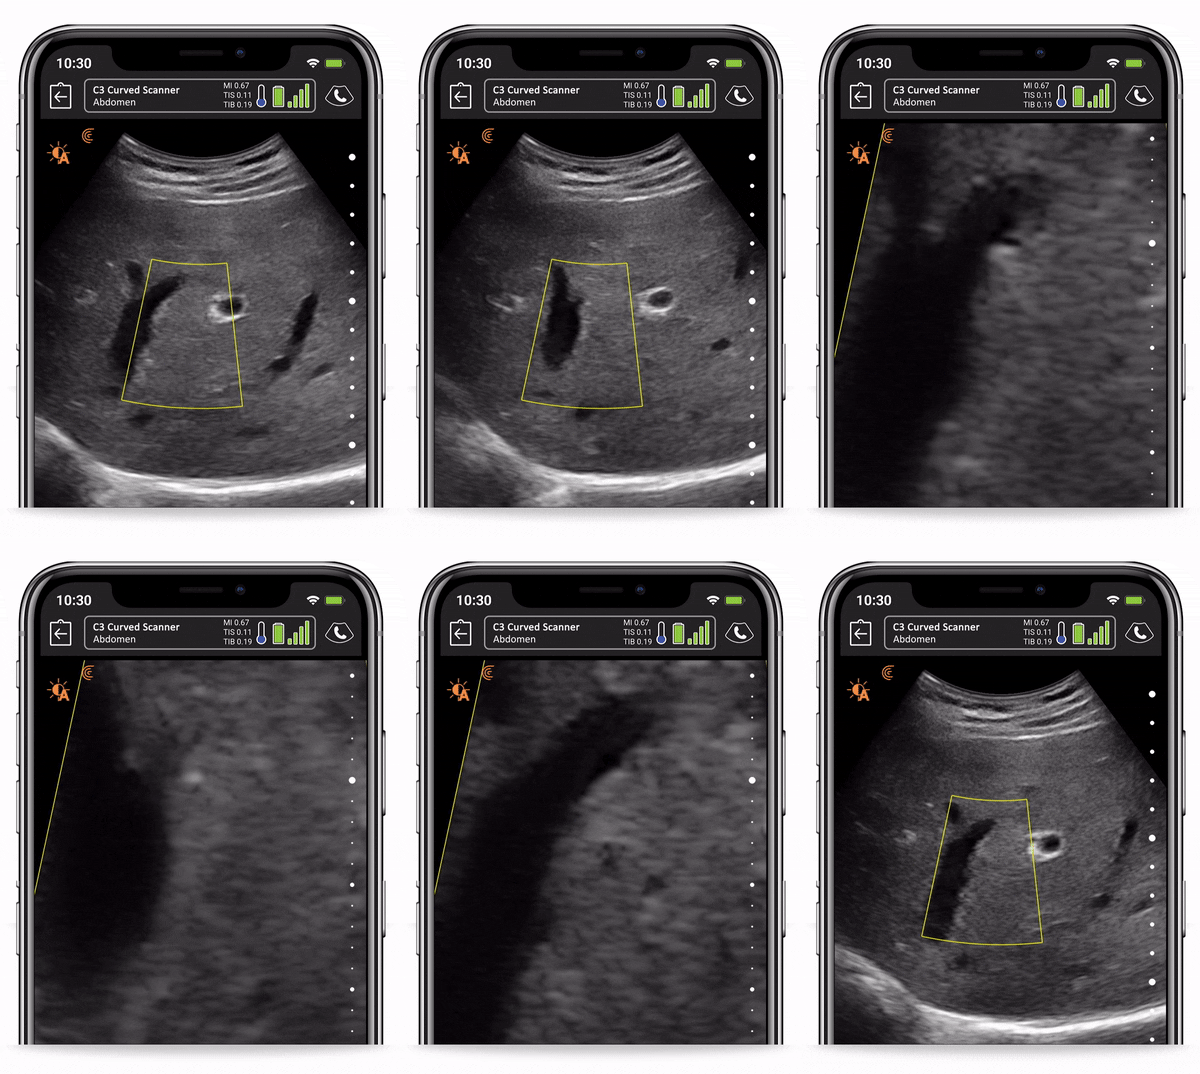
Ideal for vascular access, blood flow measurements and highlighting tissue subtleties, the new HD Zoom lets you focus on target anatomy without artifacts. HD Zoom offers increased resolution by packing more pixels into a tiny area, think of it as your smartphone camera suddenly doubling it’s megapixel count.
TIP: Tap the Imaging Mode & Tools menu and select the Chroma magnifying glass icon to enable HD Zoom. A rectangle will appear. Double-tap in the region-of-interest to use HD Zoom.
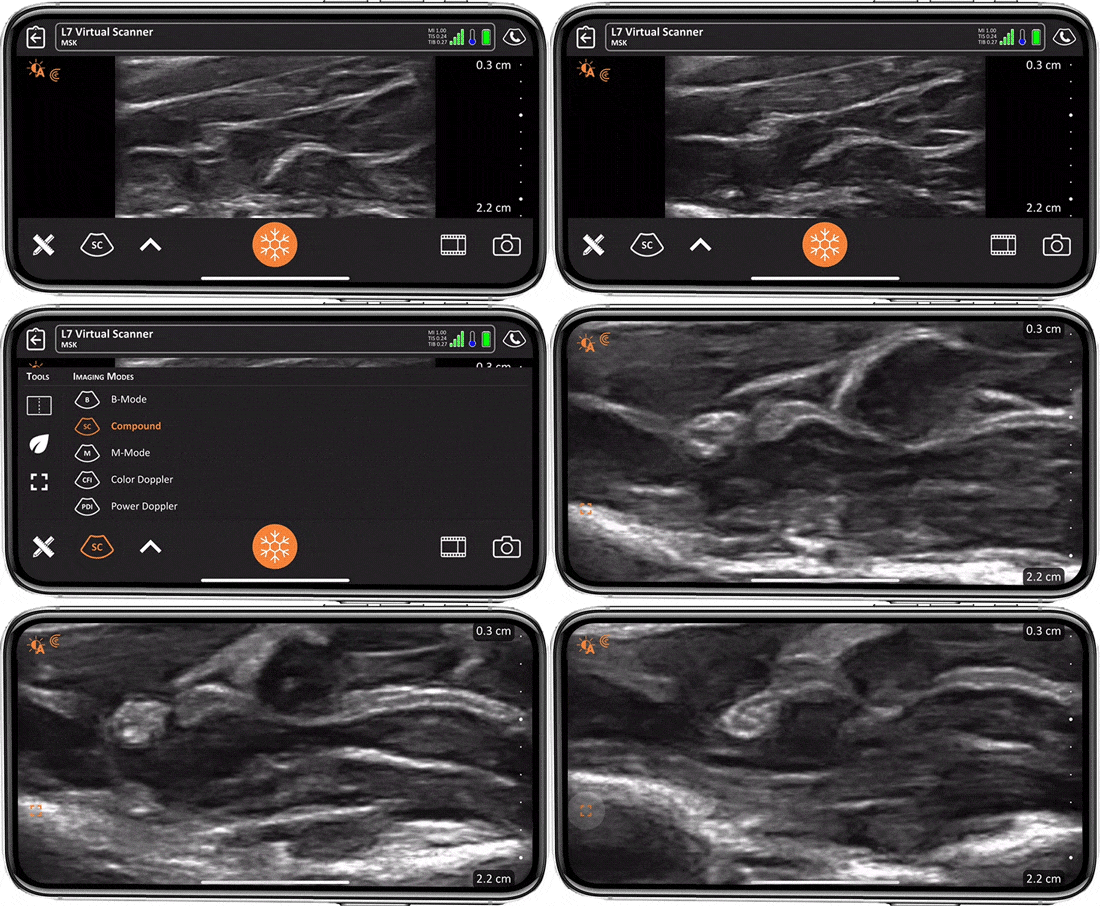
Optimize Visible Imaging Area with Full Screen Mode
Expand your high-definition ultrasound image with the new Full Screen Mode, which automatically hides menu options and tools. It’s particularly useful for procedures, allowing you to focus on anatomy and needle location.
TIP: To enter Full Screen Mode, tap the Imaging Mode & Tools Menu while on the Scan page, then select the Full Screen Icon. Exit by simply long-pressing the Freeze button.
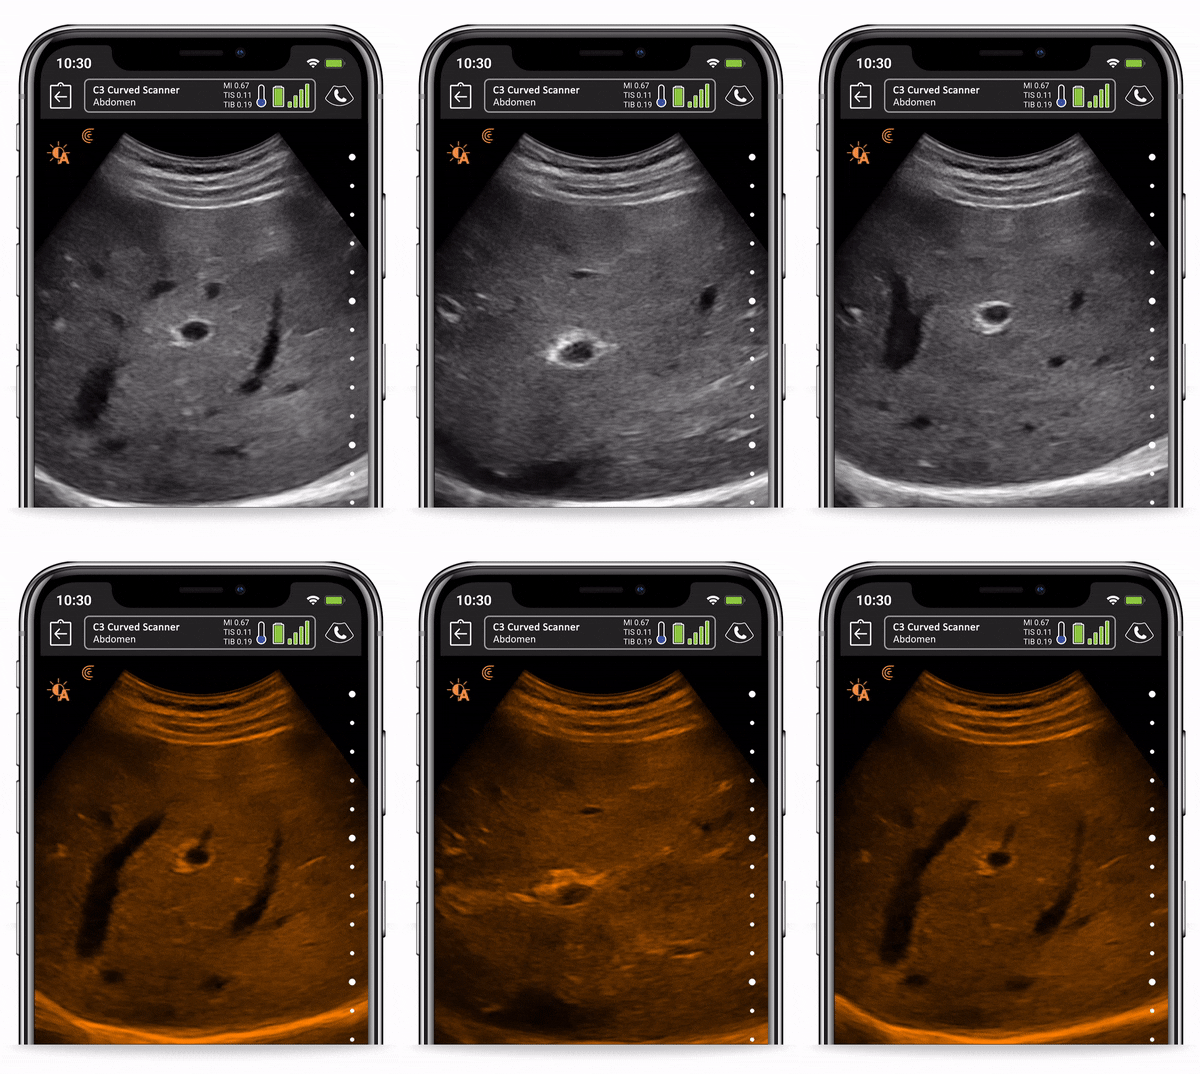
Differentiate Small Differences in Tissue Textures with B-Mode Chroma
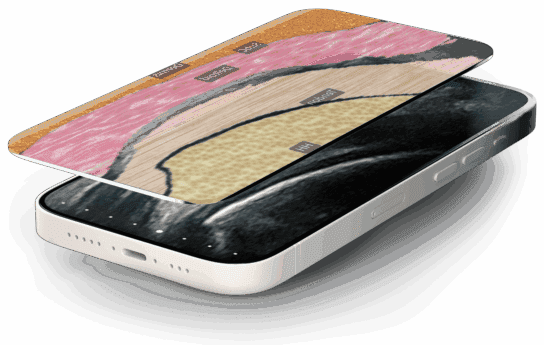
Expand your toolkit with the new advanced Chroma option to enhance image contrast and spot patterns of suspicious lesions in real-time for a faster, more confident diagnosis. Adding a color contrast overlay to the acquisition image with Chroma is also helpful for OB/GYN examinations to spot morphological and vascular images in early pregnancies.
TIP: Tap the Imaging Mode & Tools menu and enable B-Mode. Tap the Chroma icon above the magnifying glass icon. A color overlay will appear to highlight contrast differences.
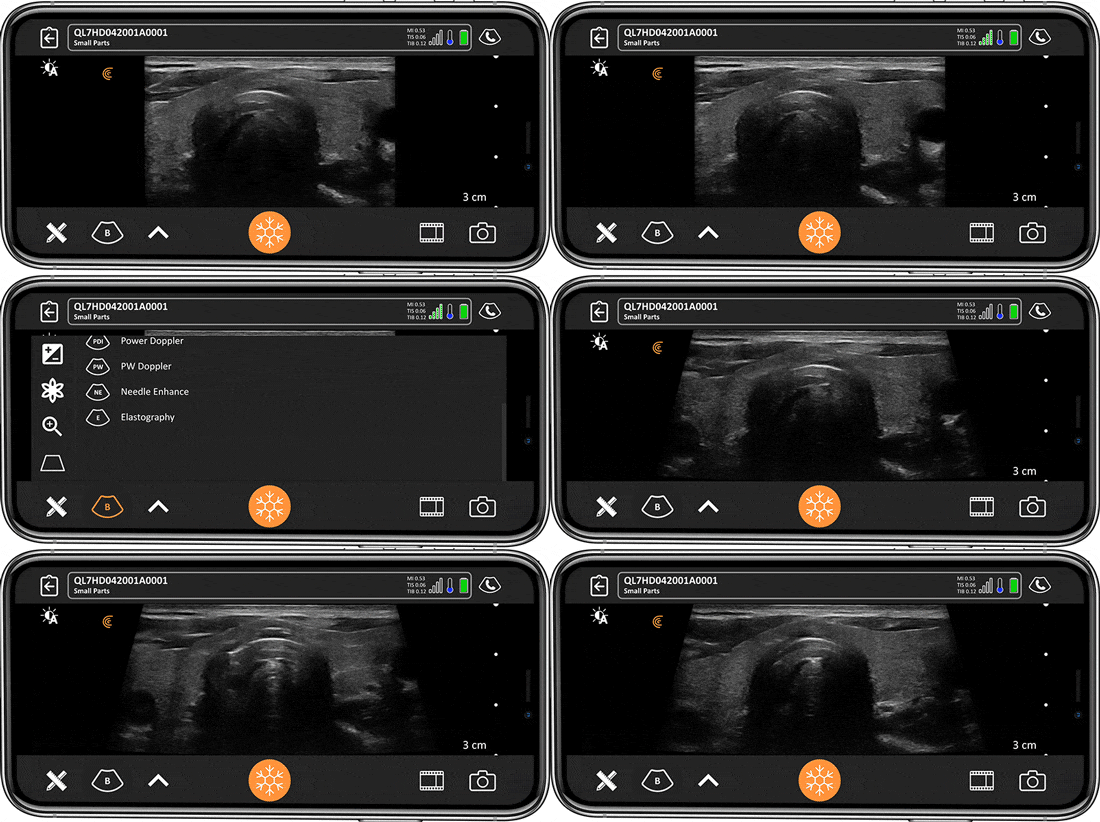
Access Trapezoidal Imaging on Clarius Linear Scanners
Ideal for MSK, vascular, and thyroid scanning, this features extends your field of view by creating an image base wider than the footprint of the transducer to see more posterior and lateral tissue.
TIP: Enable Advanced Imaging controls in the Settings Page. On the Scan page, tap the Imaging Mode & Tools Menu. Tap the Trapezoidal imaging icon to change your view.
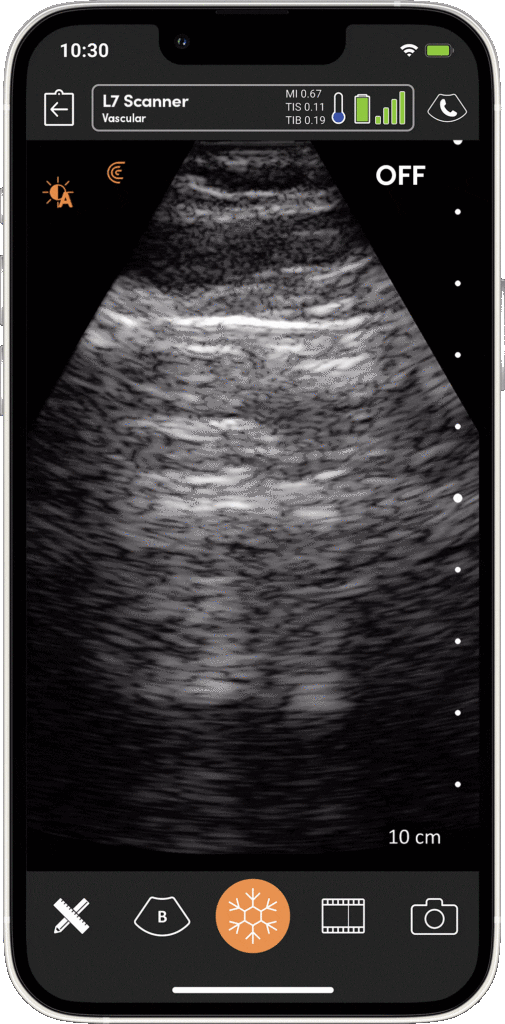
Better Imaging with New Smoothing Control
For users who prefer a smoother image over a grainier one, the new Smoothing Control allows for clinical applications such as lung imaging to tune the smoothness level. Both offer different ways to visualize lung sliding and other pulmonary features. Try both to discover your favorite imaging option.
TIP: Tap the Imaging Mode & Tools Menu and turn on the Smooth Control. The acquired image will now be brighter and smother with less noticeable speckles
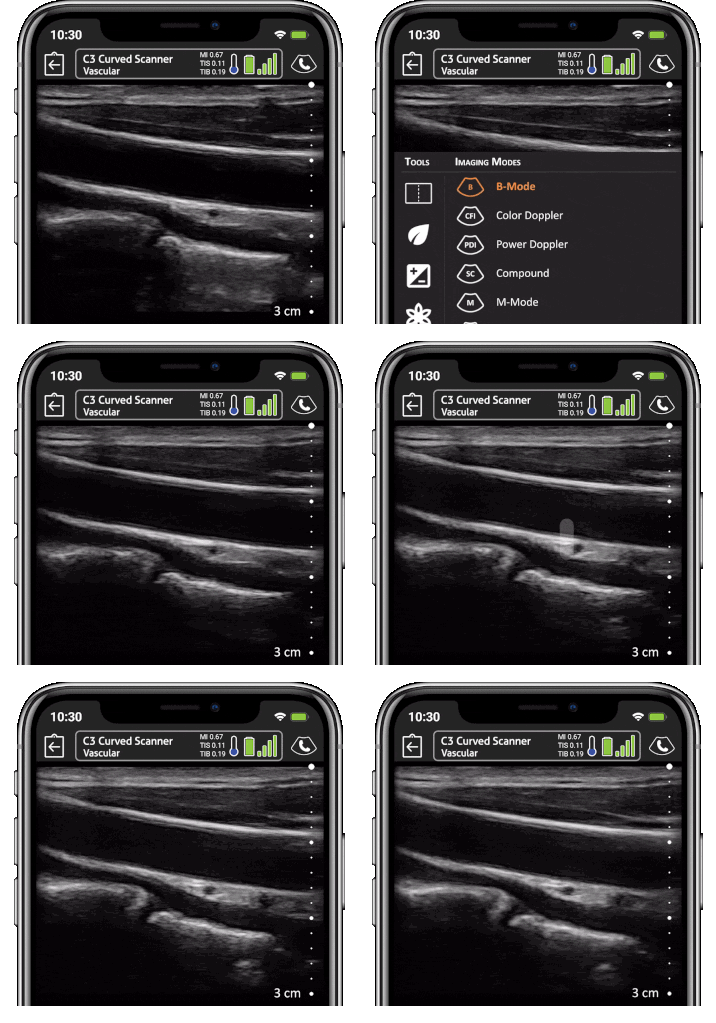
Evaluate Subtle Tissue Differences and Lesions with Pulse-Inversion Harmonics
Increase image contrast and reduce imaging artifacts and speckles with the new Pulse-Inversion Harmonic imaging tool available when using the Clarius L7 HD scanner for vascular and MSK ultrasound scanning.
TIP: Tap the Imaging Mode & Tools menu to enable B-Mode. Then tap the Harmonic Imaging icon below the magnifying glass icon to change the image contrast.
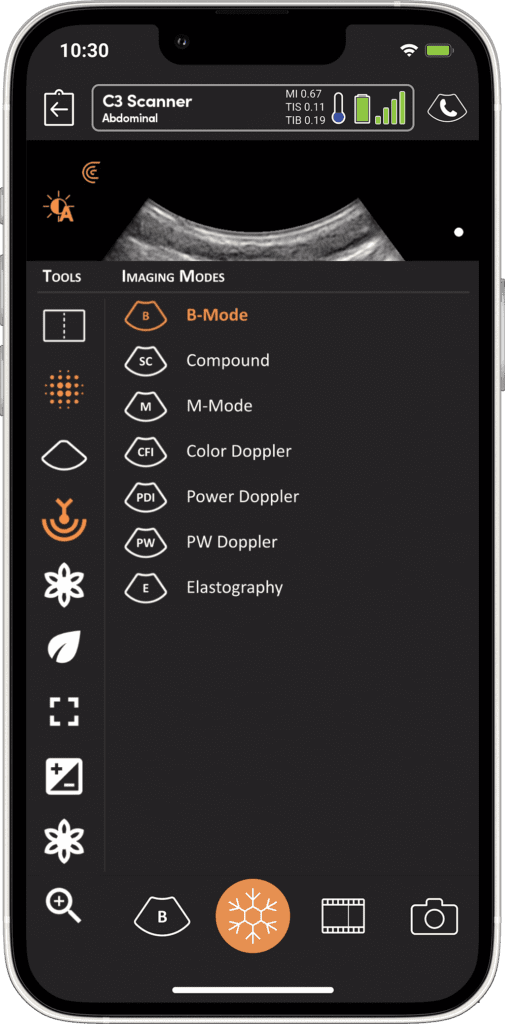
Visualize Deeper Structures in Just One Tap
The new Penetration Mode gives an extra punch for imaging at any depth. Since patients can vary so greatly, the baseline frequencies tuned may need to be altered to better penetrate through certain types of tissue. This option makes use of the Clarius broadband piezoelectric crystal arrays and implements a version of coded excitation transmissions to ensure you can clearly see deeper structures when needed.
TIP: Tap the Imaging Mode & Tools Menu and turn on the Penetration Control. The scanner will automatically optimize for deeper structure visualization.
Clarius Ultrasound App 9 Adds Easy Reporting and Enhance Reporting Tools
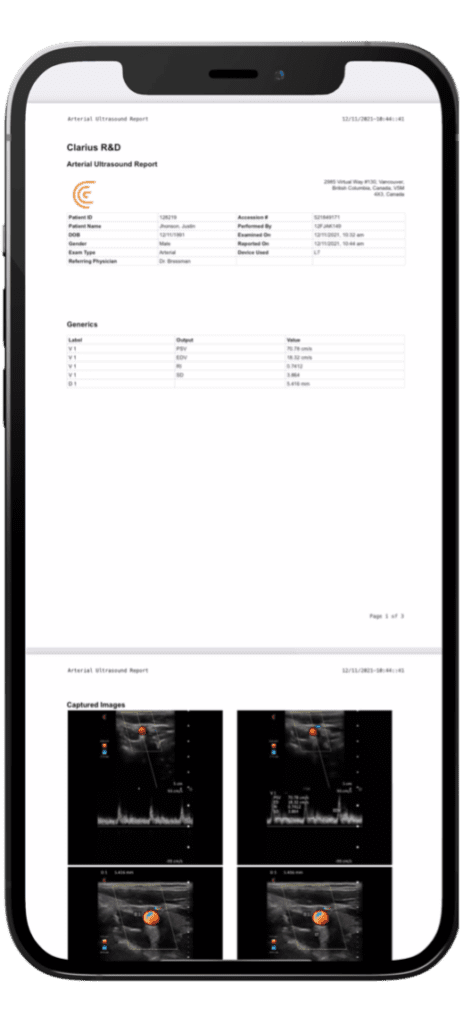
Generate PDF Reports Directly from Your Smart Device and Document Your Clinical Insights!
With the new In-App PDF report generation, you can improve your workflow and generate reports on the spot and use them for billing/documentation purposes.
TIP: After finishing an exam check the PDF Report box, and the Clarius Ultrasound App will automatically create an exam report and save it in your device’s file folder.
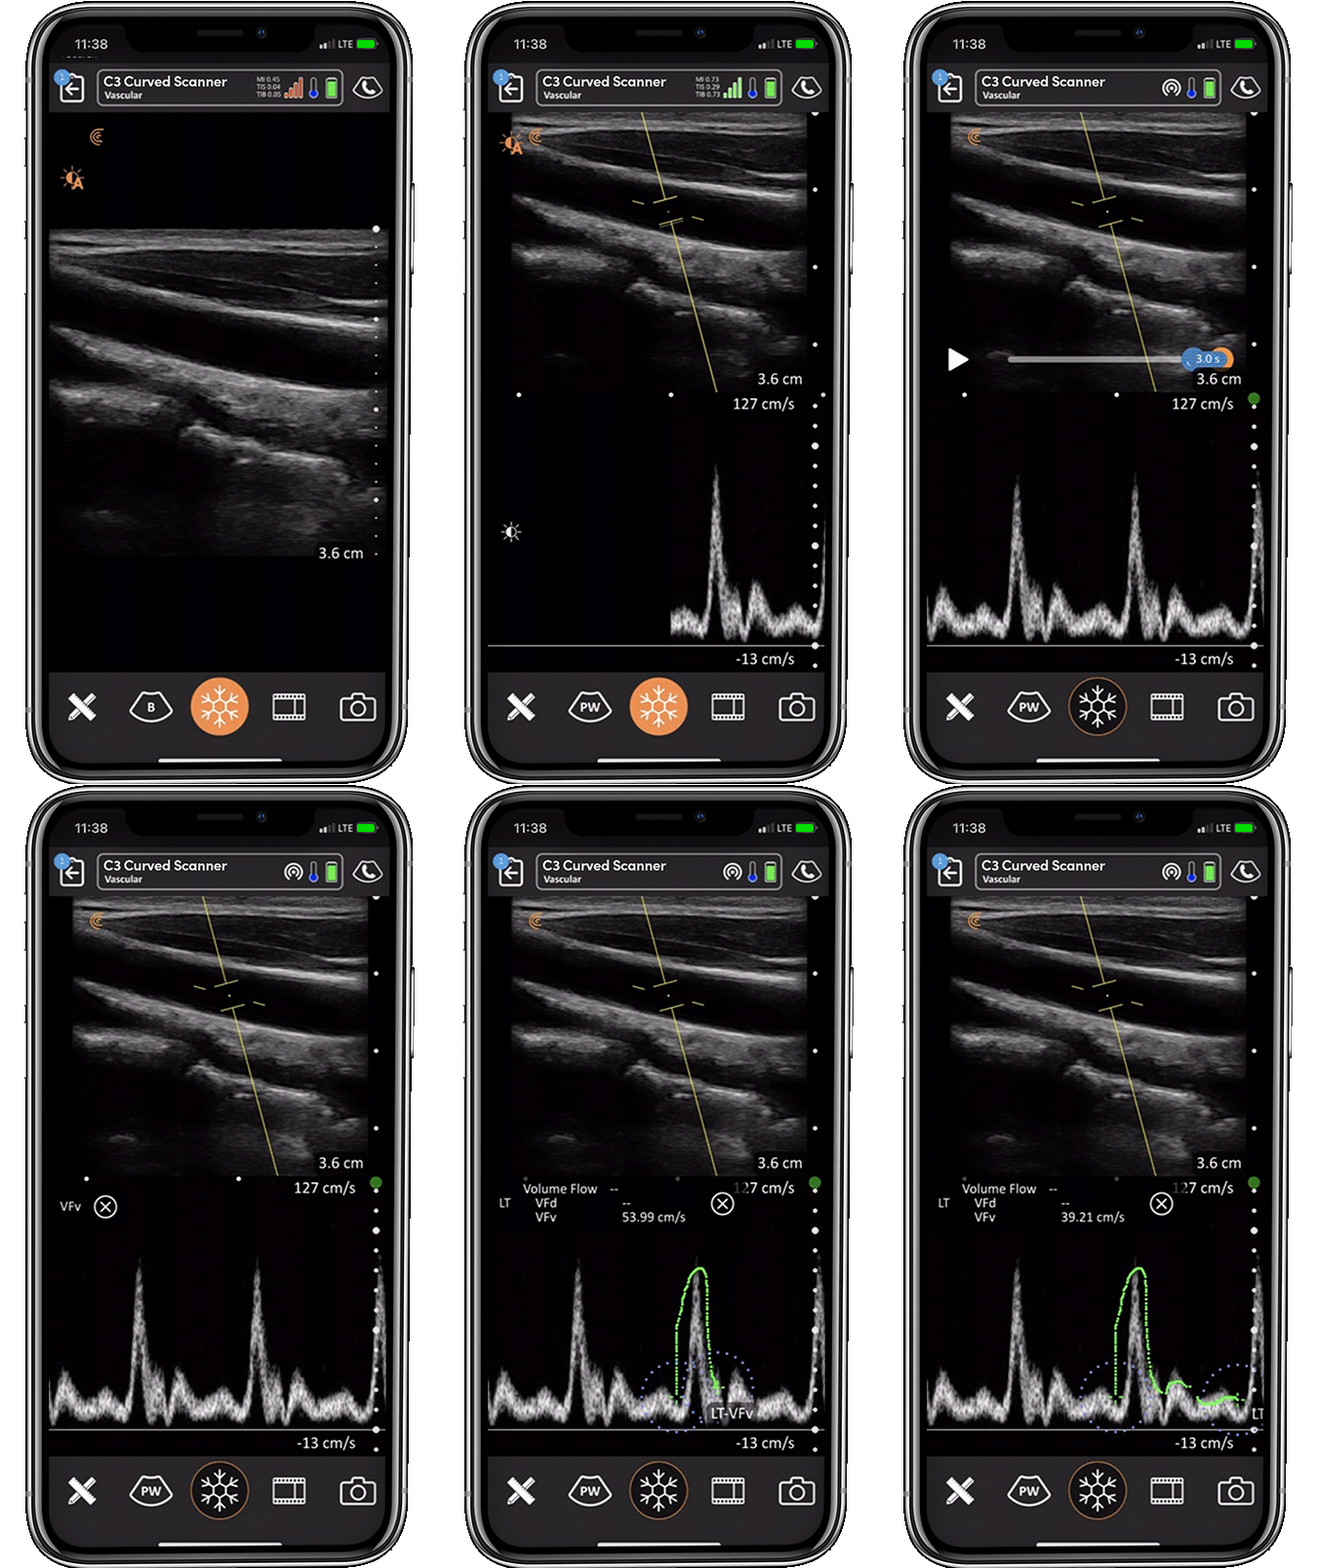
Improve Vascular Imaging with Volume Flow Calculations
Take advantage of new volume flow calculations in vascular applications based on a Doppler trace and 2D diameter measurements. Simply enable PW Doppler mode, capture the region-of-interest, open the measurements tool, and use the new volume flow measurement toolkit.
TIP: Tap the Imaging Mode & Tools Menu and enable PW Doppler. Then, perform a trace to follow the Flow waveform. Open the Tools Menu and tap on the Vf measurement icon to calculate Volume Flow.
There’s More! Better Handheld Ultrasound Imaging for Cardiology
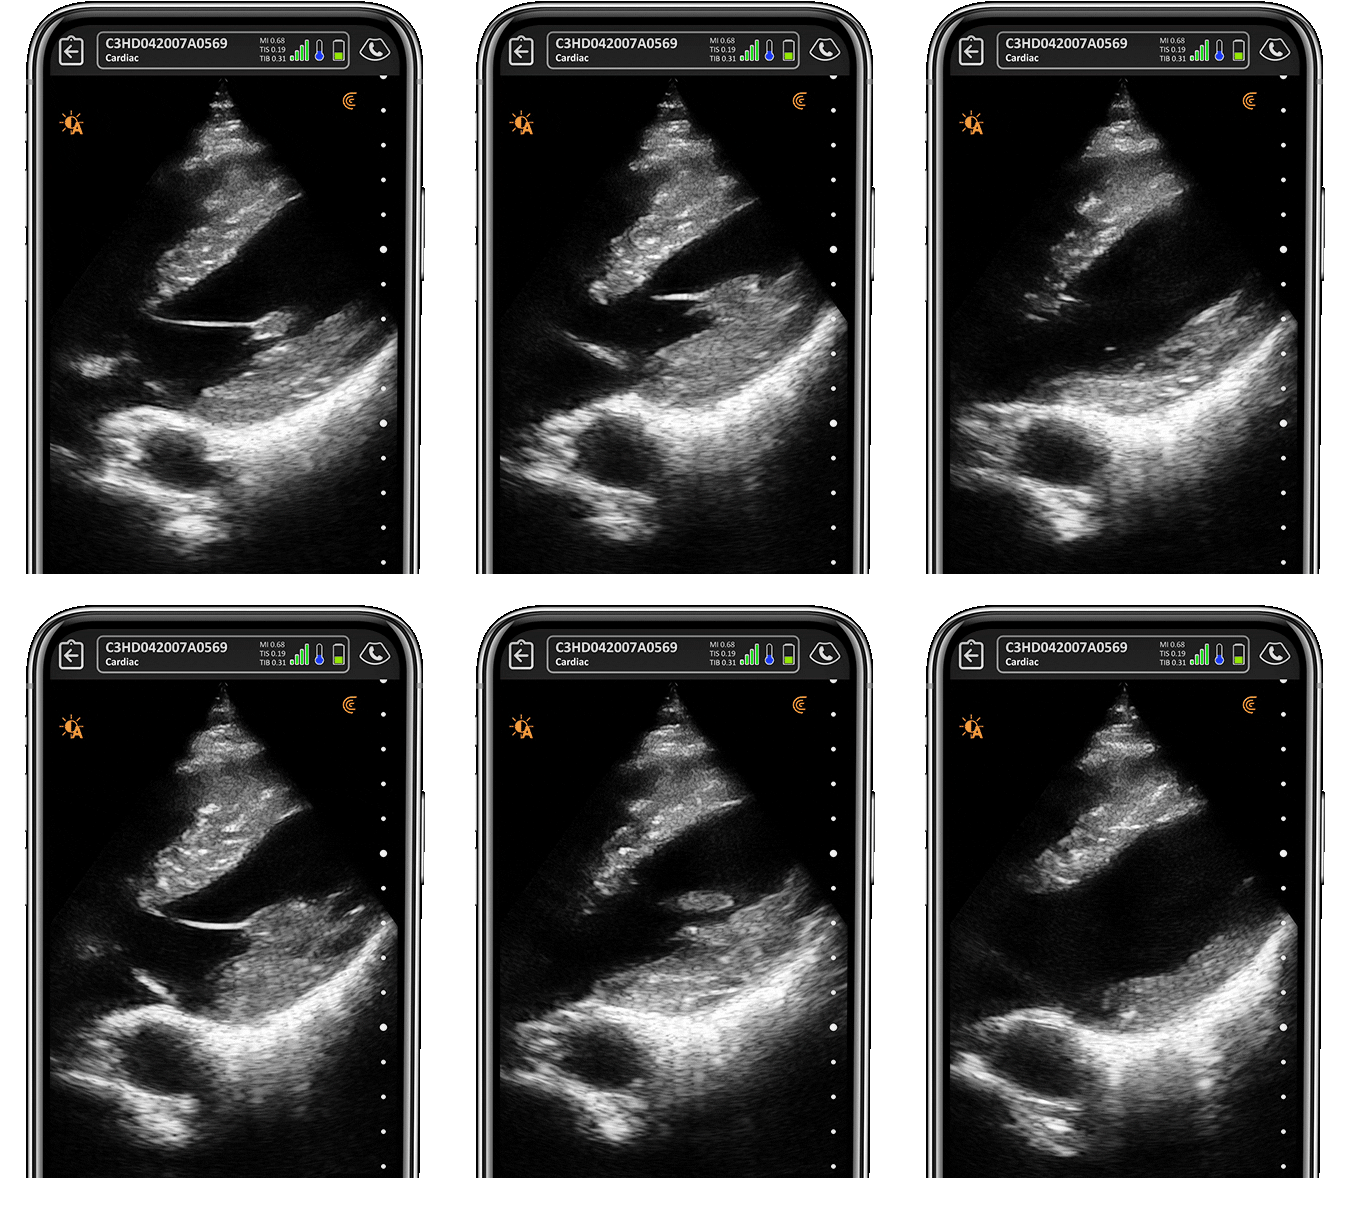
Get Even Better Cardiac Imaging with the Clarius C3 HD
While the Clarius PA HD3 remains the top choice amongst cardiologists for high-definition imaging in a handheld system, the multipurpose Clarius C3 HD3 ultrasound scanner now delivers improved cardiac imaging. We’ve used Octal Beamforming and Harmonic Imaging to enhance cardiac imaging on the Clarius C3 scanner so you can evaluate subtle morphological differences.
TIP: Use your Clarius C3 HD3 today to see the better cardiac imaging in action!
Read our Clarius App 9 Release notes for a complete list of updates!
Your scanner will automatically update as soon as you download the new Clarius Ultrasound App – please allow for up to five minutes for your device to complete an upgrade. If you wish to control precisely when you update your scanner (to avoid delaying a planned scanning session), simply disable auto-update on your mobile device.
If you have any questions or feedback, please reach out to our friendly support team at [email protected]. We would like to thank all users who continue to provide suggestions. We include many of your ideas in Clarius App releases. Your feedback is always appreciated!
