


Although point-of-care ultrasound offers a powerful way to visualize hip pathology and guide interventions in real-time, it’s currently underutilized in clinical settings. Instead, X-rays are typically standard, which often fail to reveal the soft tissue pathology driving the patient’s pain.
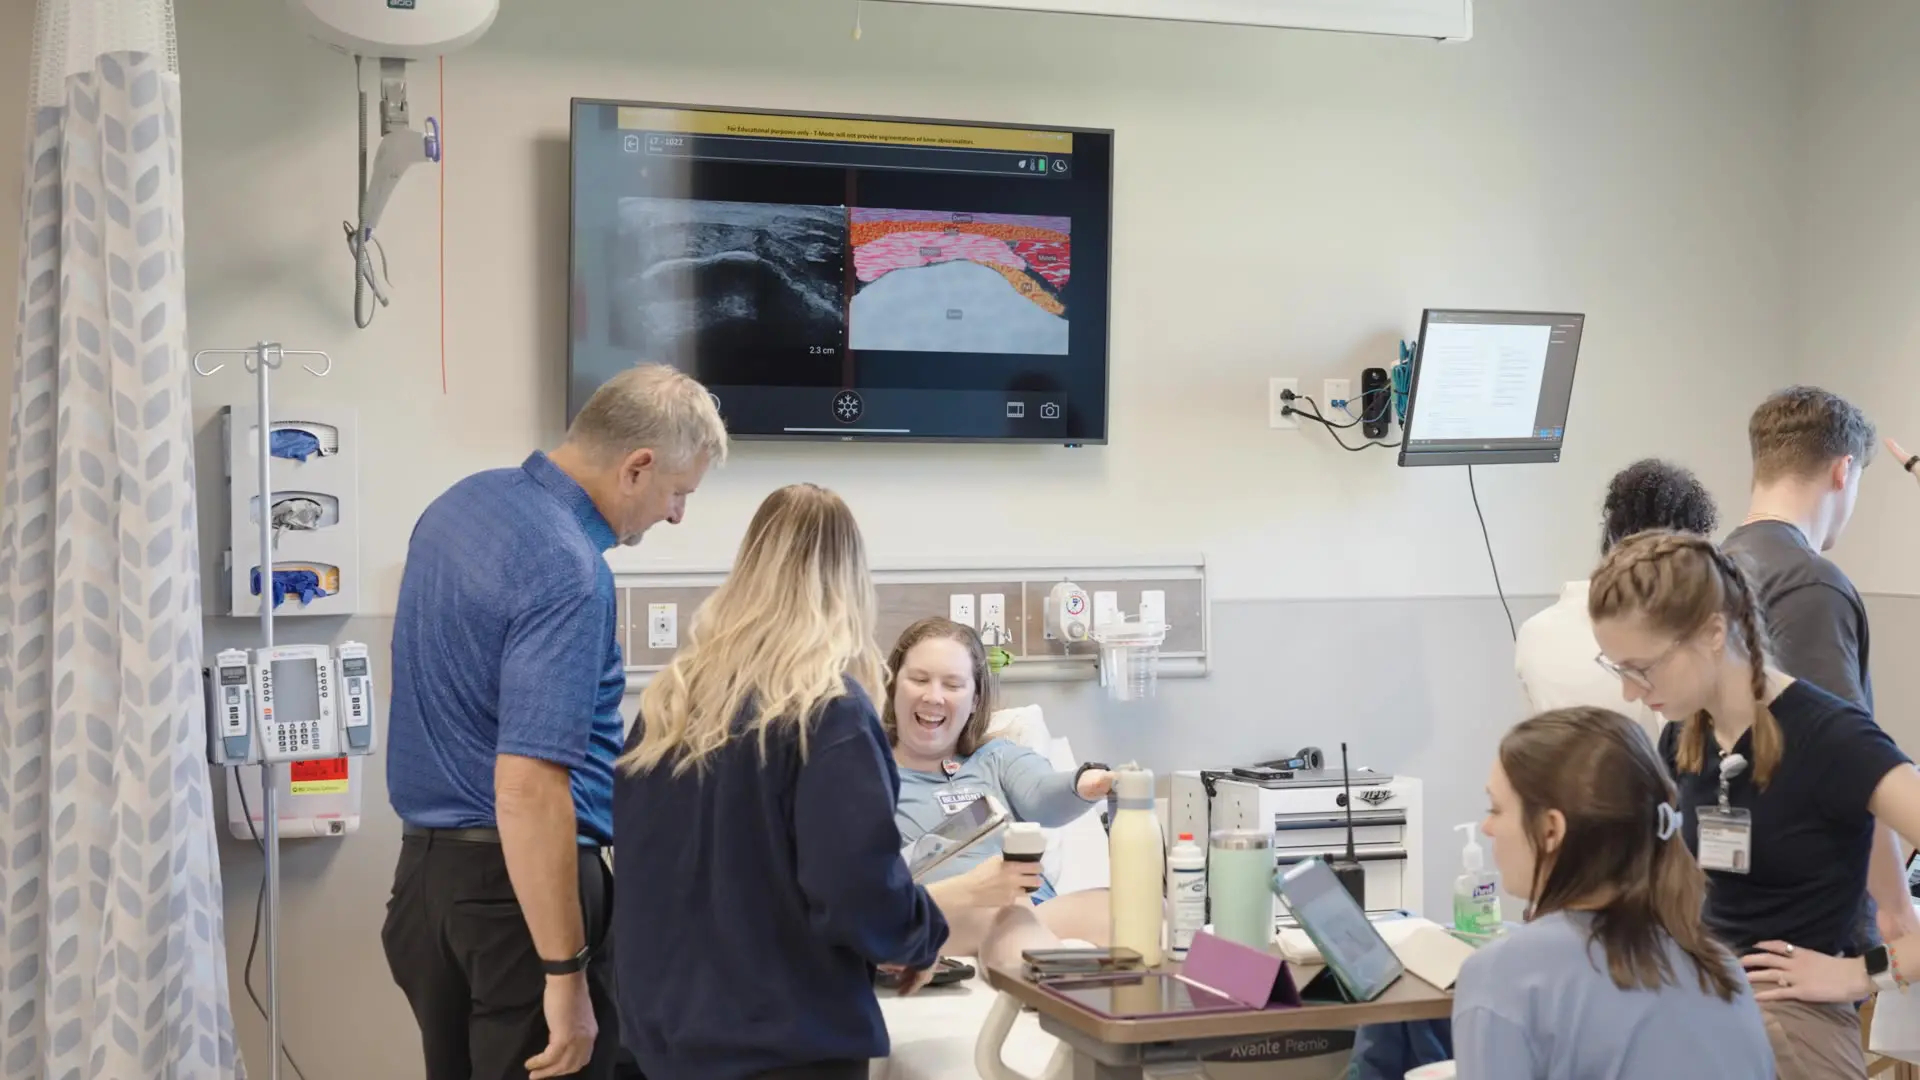
We recently partnered with Marc Schmitz, renowned ultrasound educator and founder of Sonoskills, to demonstrate how POCUS in the clinic can aid in diagnosis, treatment planning, and efficacy, improving care and outcomes for your patients with hip pain.
Marc, who has trained over 15,000 clinicians, guides attendees through his «step-by-step approach» to the hip, moving beyond basic diagnostics to advanced visualization of the hip joint, the complex rectus femoris anatomy, and the often-misunderstood lateral hip.
Watch the 1-hour webinar recording: POCUS for MSK: A Structured Approach to the Hip. Read on for some highlights and video tutorials with Marc.
The Hip Joint: «Have Fluid as Your Friend»
The session begins with the anterior hip joint, where Marc emphasizes looking for changes in morphology and echogenicity. He notes that for fluid detection and synovitis, «ultrasound is the preferred imaging technique.»
- Targeting Effusions: Marc advises clinicians to «look for the bone to capsule distance» to identify effusions. When guiding injections, he notes, «Have fluid as your friend. Go for the fluid. This is an easy target, and your patients will be very happy with this procedure.»
- The Sono-Vital Score: To assess severity, Marc introduces a grading system for the joint capsule:
- Grade 1: The capsule is concave but «slightly elevated».
- Grade 2: The capsule is elevated and «straight».
- Grade 3: There is a «convexity of the capsule» resulting from overpressure by a huge amount of fluid.
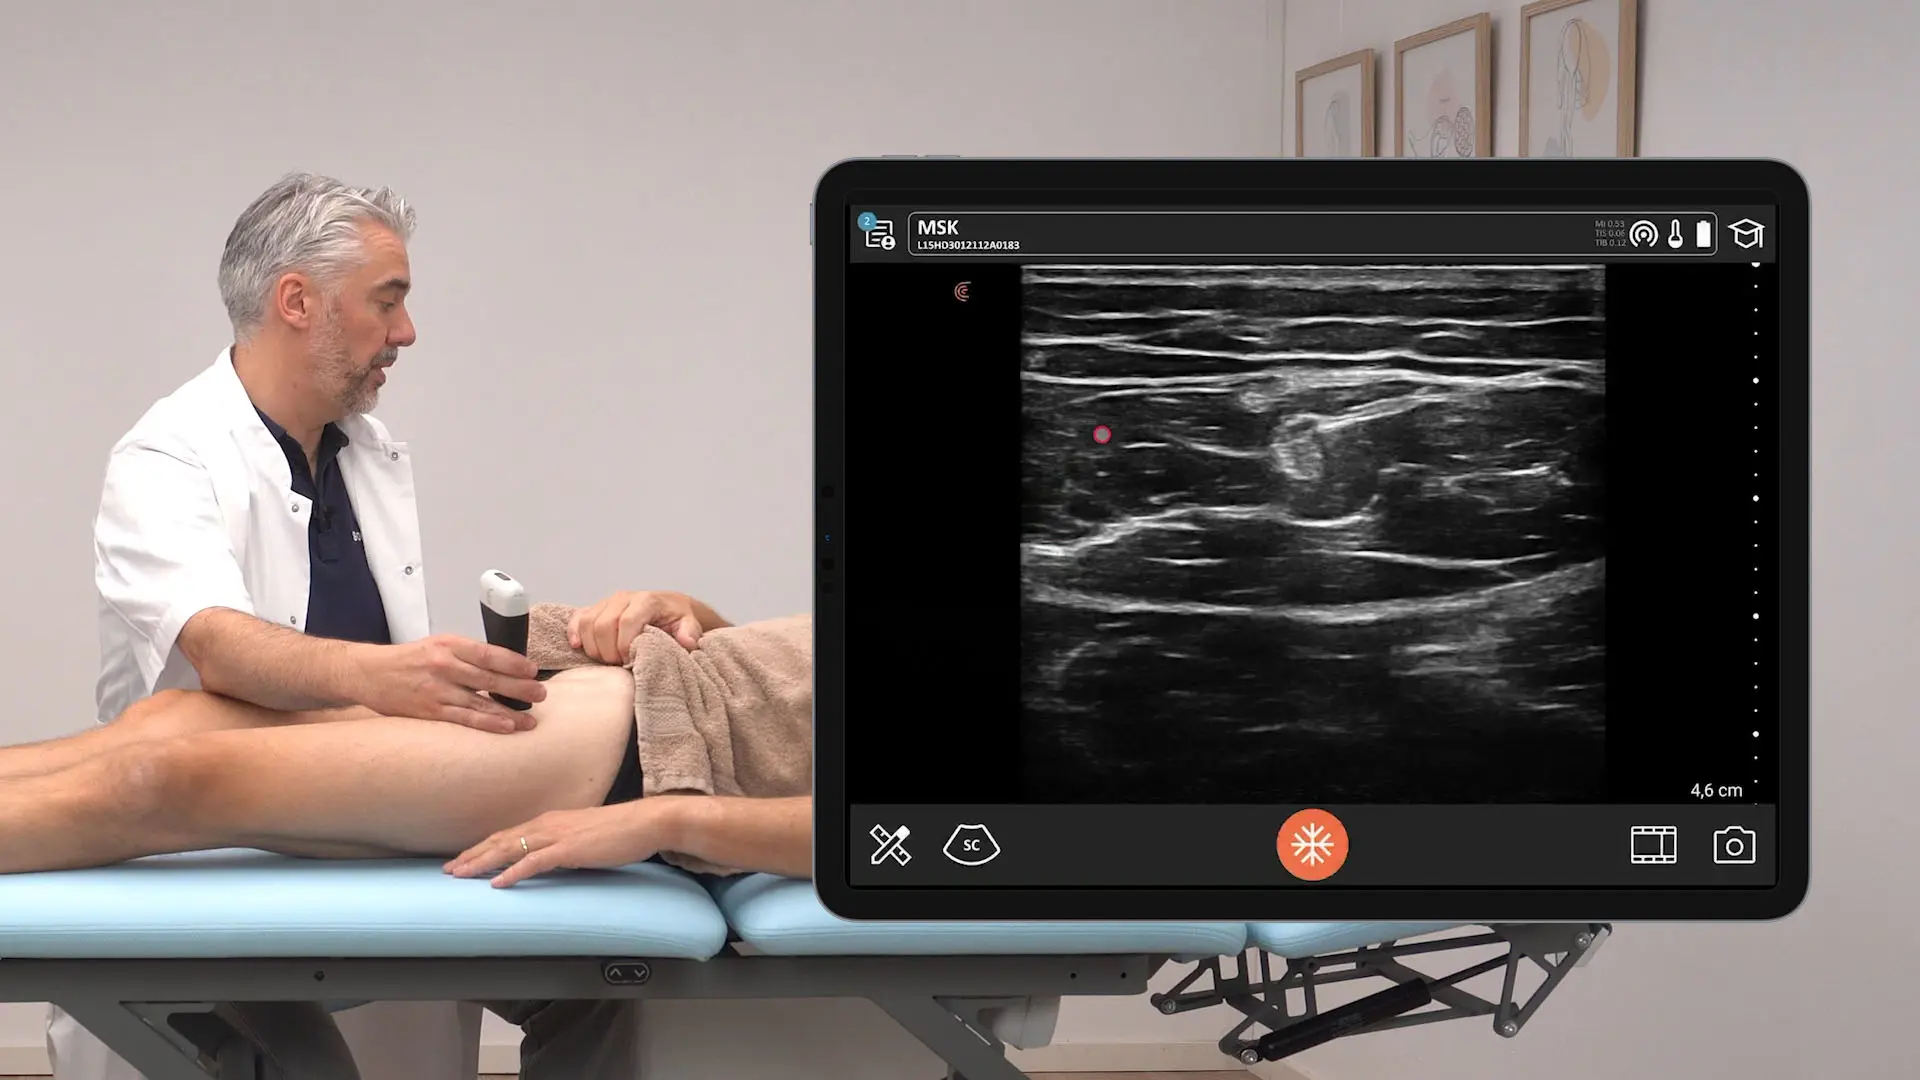
VIDEO TUTORIAL: Ultrasound Examination of the Hip Joint
Watch this video to see Marc demonstrate his ultrasound technique for the anterior hip, including the acetabulum, greater trochanter, femoral neck, and hip joint.
The Rectus Femoris: Mastering the Indirect Tendon
Moving to the anterior thigh, Marc highlights the rectus femoris, specifically the importance of visualizing both the direct and indirect tendons. He warns that while the direct tendon is taught at a foundational level, the indirect tendon is where complex pathology often hides.
- Anatomy: The direct tendon originates from the anterior inferior iliac spine (AIIS), while the indirect tendon «curves down and wraps around the acetabulum.»
- Technical Challenges: Marc notes that «anisotropy is… definitely present when scanning the indirect tendon,» making angle correction vital for accurate diagnosis.
- Calcifications: When spotting calcifications, Marc distinguishes between Type 1 (hard, acoustic shadowing) and Type 3 (soft, no shadowing). If unsure if it’s an avulsion or calcification, he suggested: «ask to activate the rectus femoris… maybe by pulling, you can already visualize it from a little bit different angle.»
VIDEO TUTORIAL: Ultrasound Assessment of the Rectus Femoris Tendon
Here’s Marc’s video demonstration of how to scan the direct head of the rectus femoris tendon and muscle.
The Lateral Hip: «It’s Not a Bursitis»
Perhaps the most clinically impactful segment was the discussion on lateral hip pain. Marc challenged the common diagnosis of trochanteric bursitis.
- The Real Culprit: «My personal opinion is… that in most cases, it’s not a bursitis. It is something else. Yes, it’s the glutes,» Marc states, pointing to the gluteus minimus and medius as the major sources of pain.
- Anatomy Matters: He stresses knowing the facets of the greater trochanter:
- Anterior Facet: Carries the gluteus minimus.
- Lateral Facet: Carries the gluteus medius.
- Guidance is Key: Because bursae can vary in position—appearing under the gluteus maximus, medius, or minimus—Marc warns, «You really need to do ultrasound guided injections… Don’t do any blind injections.»
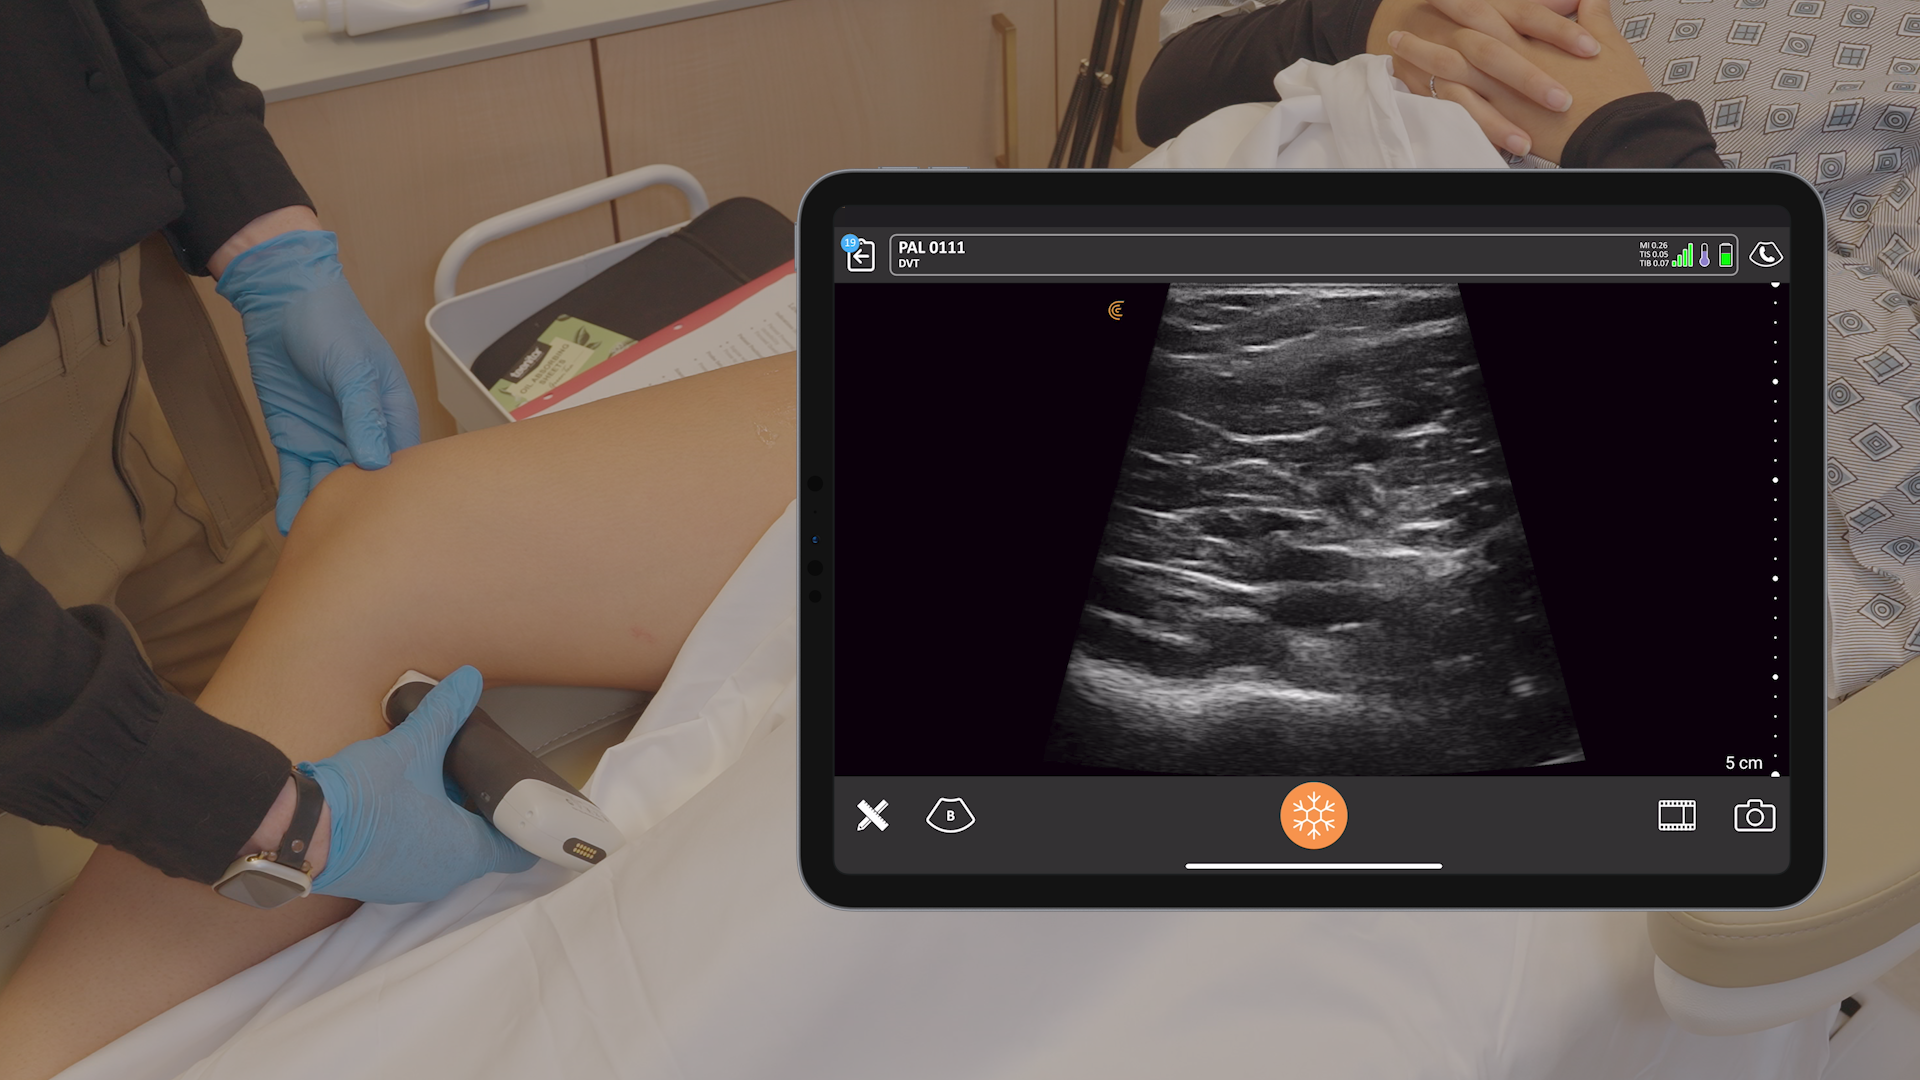
VIDEO TUTORIAL: POCUS of the Lateral Hip
Watch this 7-minute video to see Marc demonstrate how to scan the trochanteric region of the lateral hip, including how to rule out trochanteric bursitis.
Q&A with Marc
Q: Do you prefer a convex or linear transducer for hip injections?
Ideally you would be equipped with both… The rule in ultrasound is always start as high frequency as possible. So, I always start with my linear choice. If that doesn’t do, I reduce the frequency. And if that doesn’t help, I switch to curvilinear.»
Q: How do you explain a huge effusion on MRI, but in ultrasound, you can’t even aspirate a few drops?
Fluids can be pushed away with the transducer. So always keep MSK ultrasound pressure to a minimum.»
Q: What frequency do you recommend for neovascularization?
You would expect the higher frequency, but sometimes it’s easier to see it with a slightly lower frequency… The most important thing in neovascularization is… the setting, the right PRF or scale… [and] the right gain.»
Watch the Full Webinar
See the «Sono-Vital» scoring in action and watch the live scanning demonstration of the gluteal tendons by accessing the full webinar here: POCUS for MSK: A Structured Approach to the Hip
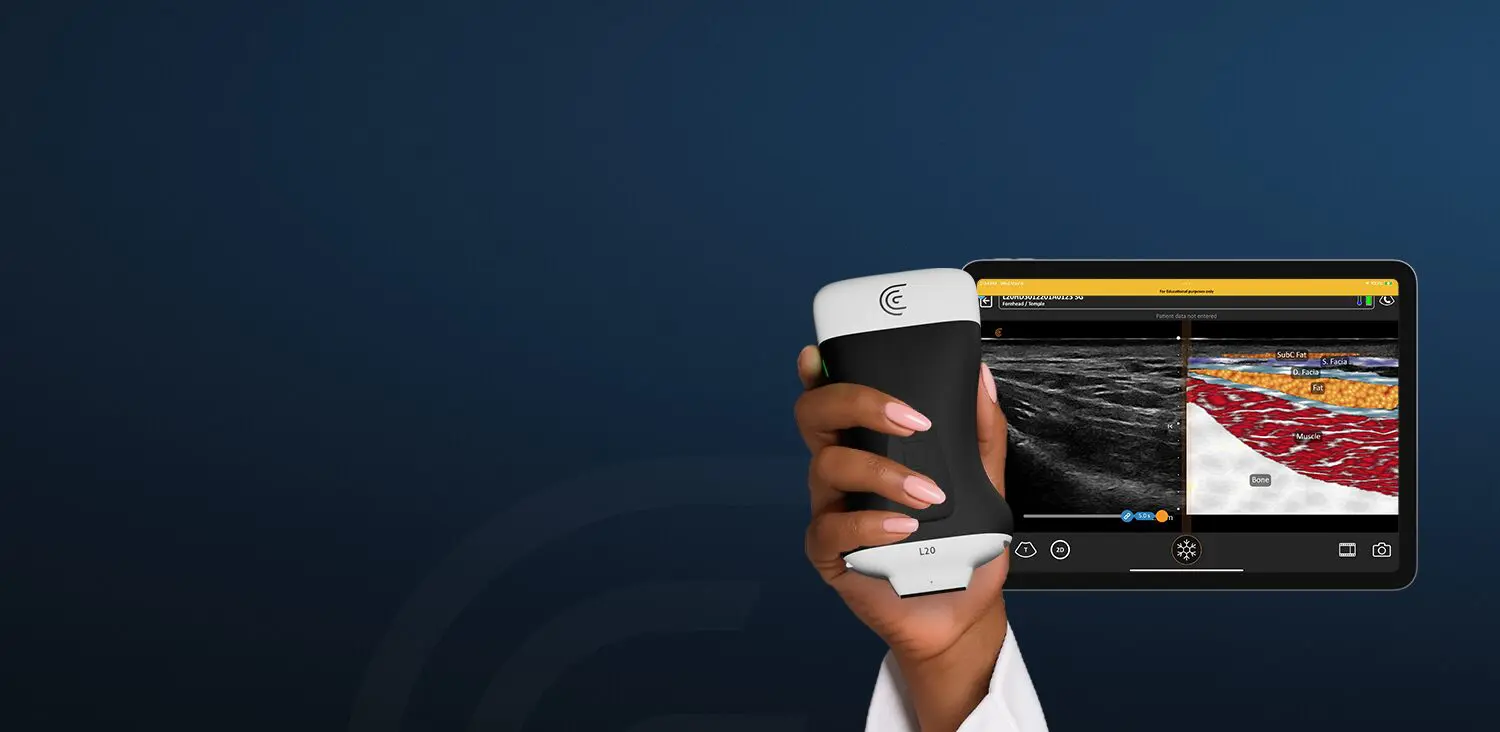
Gain More Insights with Clarius Ultrasound for MSK
From first injury to full recovery, Clarius delivers high-definition MSK imaging and guidance to diagnose injuries, guide procedures, and deliver confident care.
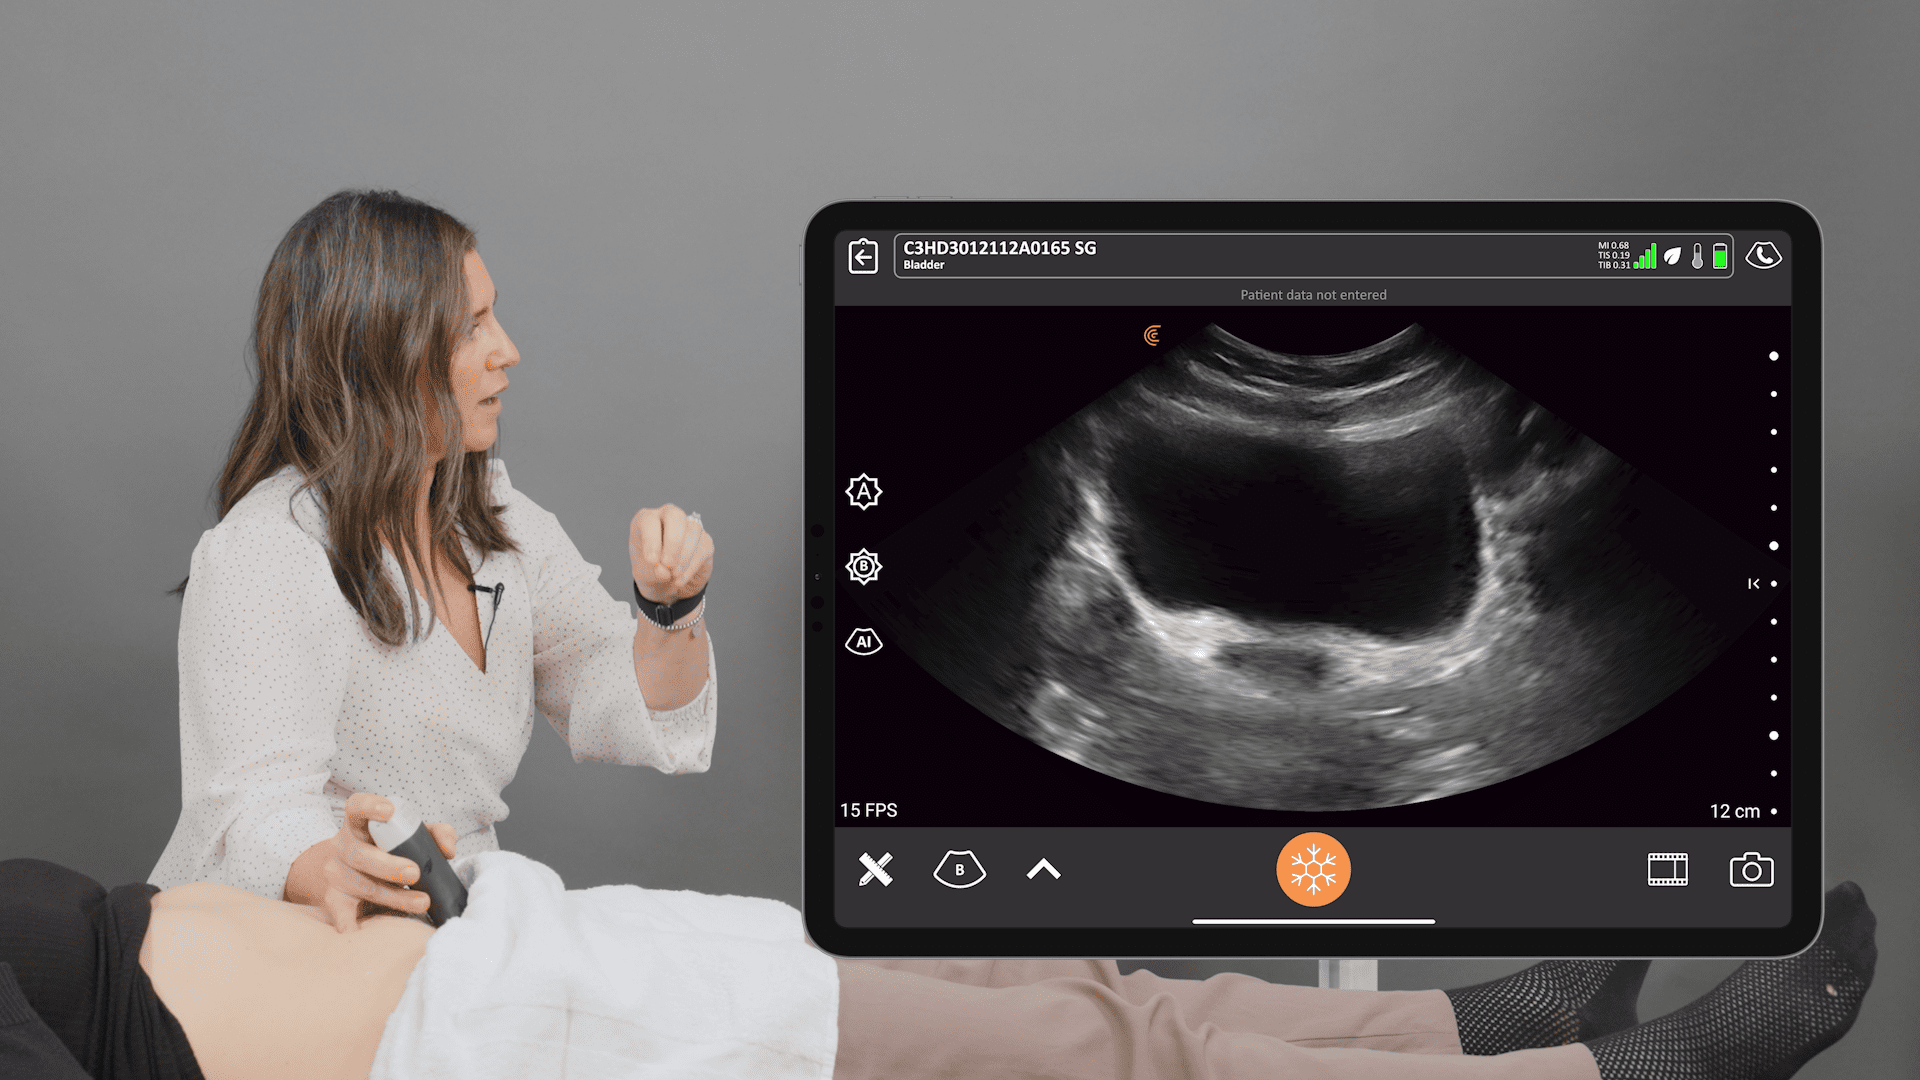
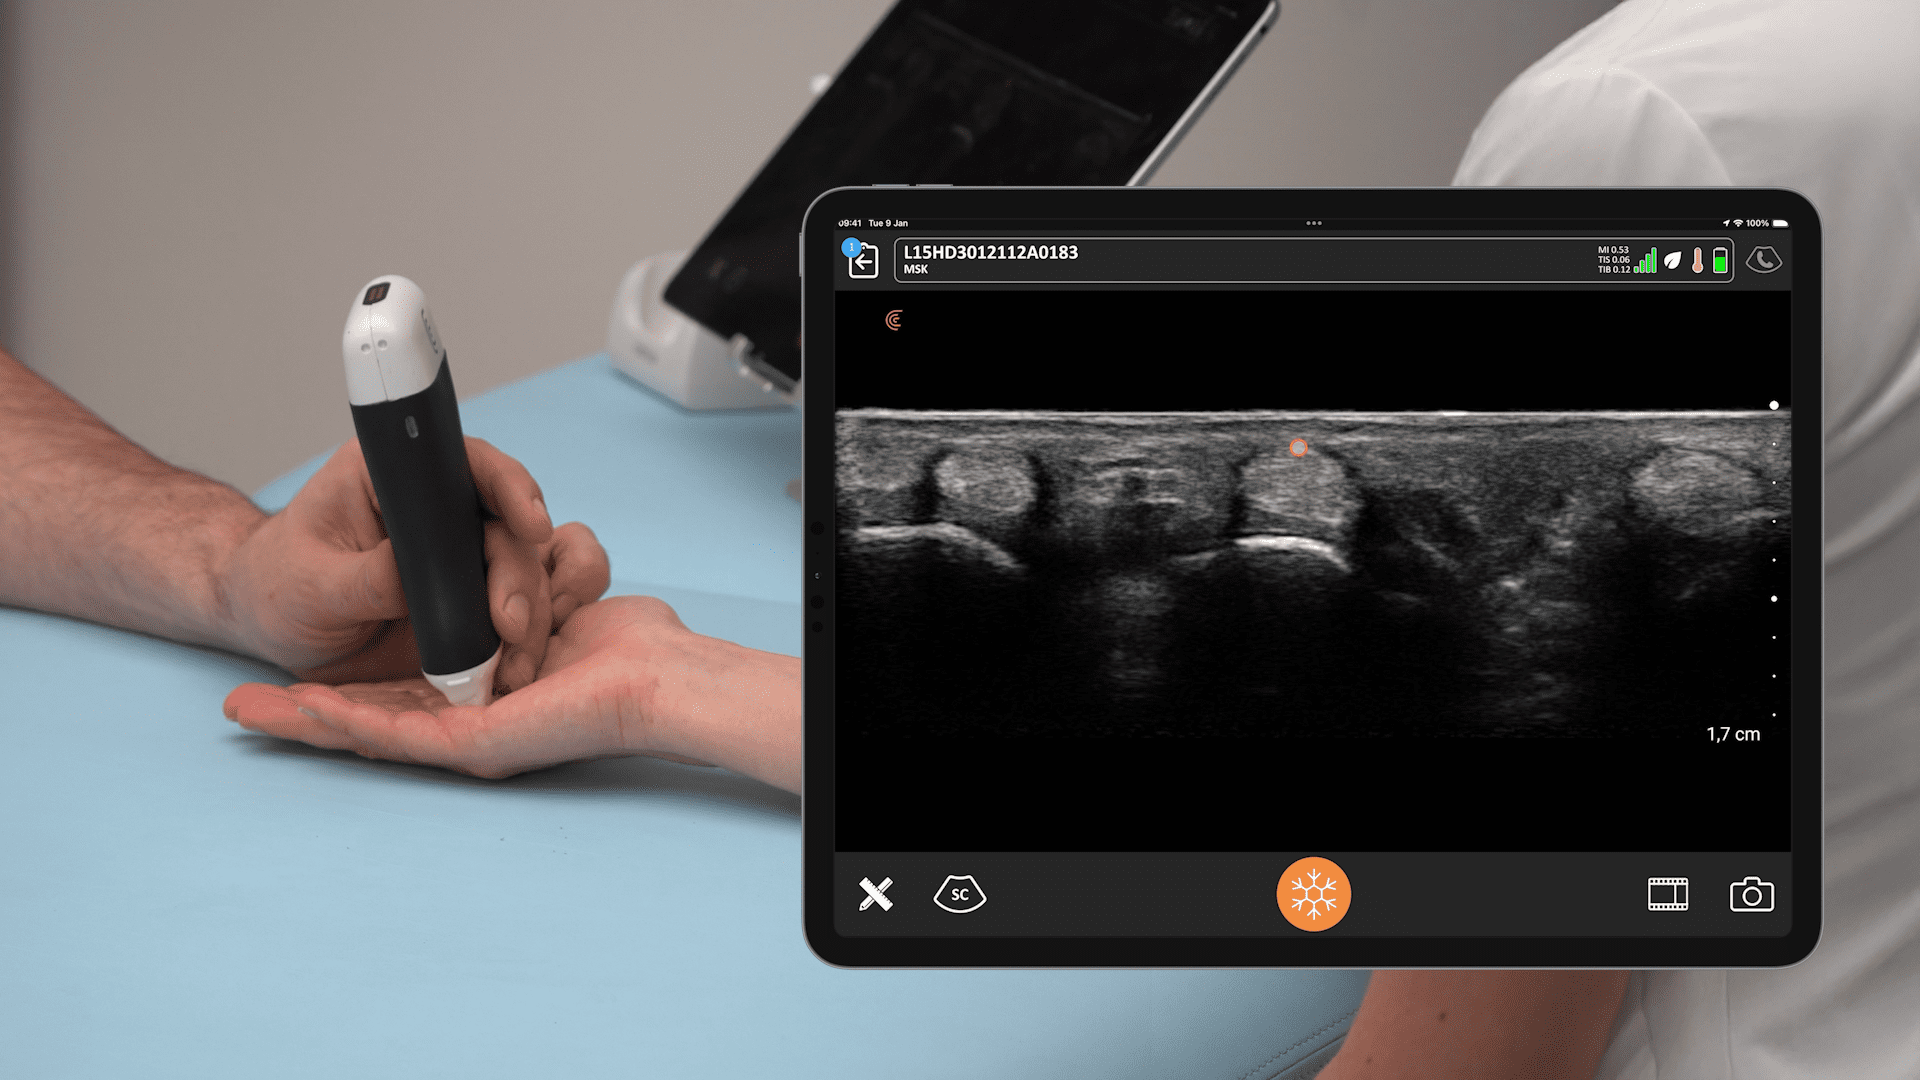
The Clarius L15 HD3 high-frequency linear scanner was used in the live scanning demonstration of the hip during the webinar. The system provides visualization of small vessels using Color Doppler to ensure a safe needle trajectory. With «no wires getting in the way,» the Clarius scanner is easy to clean and disinfect, making it ideal for procedures. During the demonstration, Sonographer Janaye Smith, demonstrates how hands-free Voice Controls can be used to adjust parameters without touching the screen, noting, «It does it automatically for me, which is really nice when we’re doing procedures where you want to keep your hands clean or sterile.»


