00:00
–
00:37
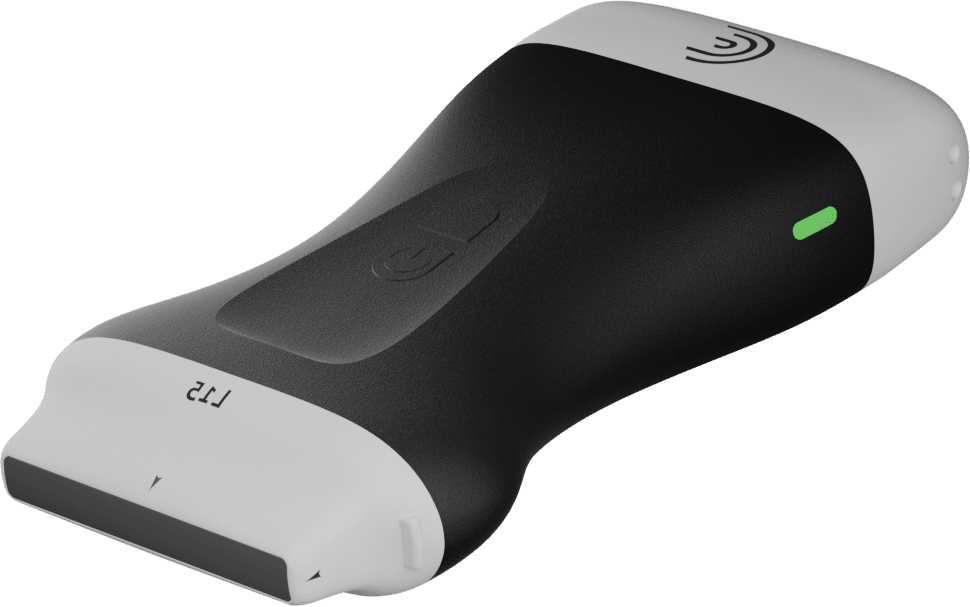
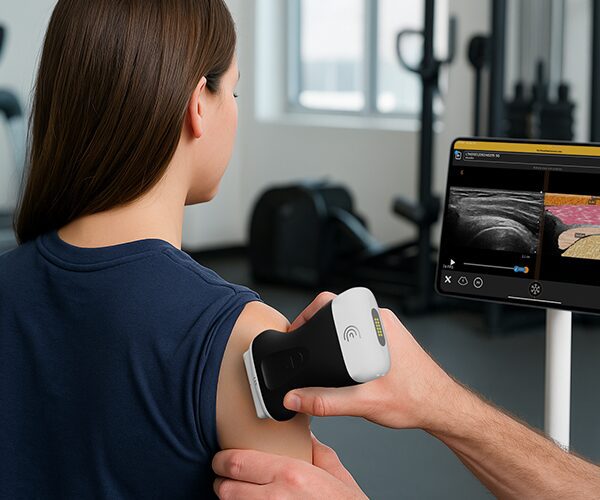
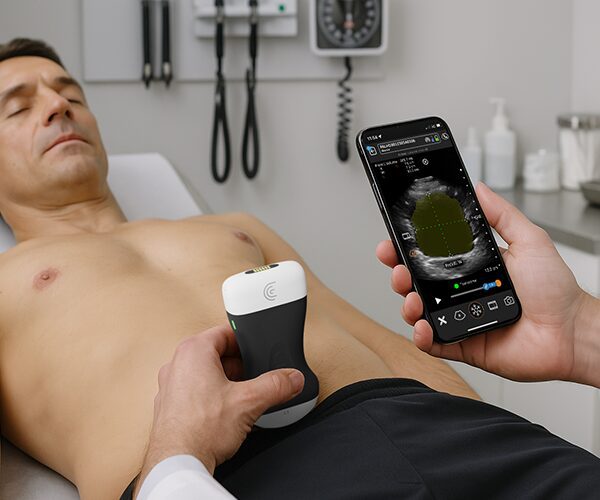
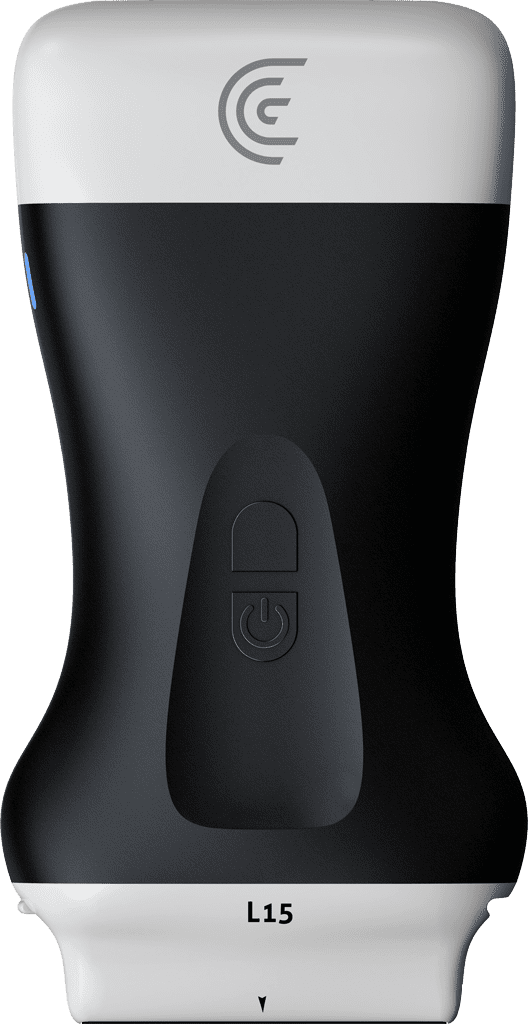
My name is C.J. Miller, and I'm a physical therapist with Frontline Function. Today I'm going to be demonstrating how to efficiently scan the anterior shoulder using our Clarius L15 scanner. So because I'm a physical therapist, I'm going to use my skills that I'm confident in, one of which is palpation.
So what I'm going to do first is I'm going to palpate the anterior shoulder and use movement to identify the greater and the lesser tubercles. And as I do that, I can feel them underneath each of my fingers. And we're going to rest his palm up on his thigh. And then I'll just mark those
00:38
–
01:14
with our pen if I can find those. I know that the bicep groove is going to be down the middle. I know that the sub scap comes in and attaches onto the lesser tubercle, and then we'll find supra by using the greater tubercle in just a moment. When I'm scanning, I'm going to come back to this home base as often as I can, because that is how I will navigate myself to any of these other structures in the anterior shoulder.
So our home base will be right over that spot. Our sub scalp just medial, our supra angled towards his ear if we're looking at the long axis.
01:19
–
01:29
So now we'll check our work and we'll see how close we were with our drawing based on our palpation alone. If I go right on to where I think it should be.
01:32
–
02:21
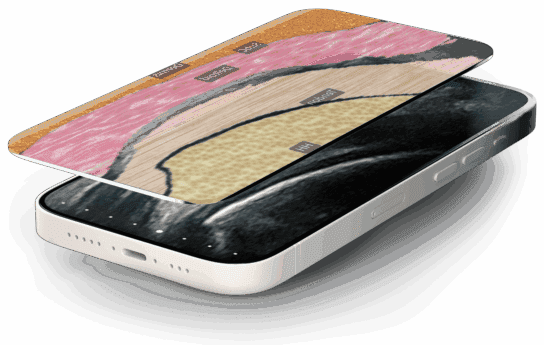
I should be really close to my bicycle groove. So this was right where I wanted to be. In this picture on the left side of the screen, we have the lesser tubercle. In between these two mountains is the biceps tendon, the brighter oval. And on this right side of the screen we have the greater tubercle. So already I know that if scap inserts on the lesser and supra on the greater and the biceps is right in the middle, I should be able to navigate myself to any of these structures efficiently.
The first thing we'll look at is the biceps tendon and short axis. So I already have it. And as I'm going to scan distally and proximally I'm just going to scan up. And you'll notice I turn the probe down towards the shoulder to continuously shine that probe on the bicep tendon, keeping it as bright as possible.
We have to remember that we're scanning a curved bone, which means we have to continuously tilt our scanner to keep that tendon bright. As we scan proximally and distally, we typically come down distally until we can start to see our pec tendon come into view from the left to the right of the screen, and then we can come back up until we land back in our home base.
To find the biceps in long axis, we'll turn 90 degrees. sometimes you land right on it and oftentimes you miss. So what we'll use now is our bony landmarks to make sure that we can get on to our biceps tendon and long axis. So if I see a bony landmark in the middle of my screen, that's likely the greater tubercle.
And I can see that from looking at where I am on his shoulder, or I can scan medially and I can see that disappear. And now we have the bicep tendon long axis in the middle of the screen. As I keep going immediately I see another bone up here and that's our lesser tubercle. So what we'll do if you're having a hard time finding it in long axis, is identify your bones, watch them disappear, then you know you're in the groove and you have the bicep long head, long axis and watch them reappear.
That means you're too far lateral. And I'll use that little trick to make sure once I'm in the groove. Now, I've identified that bicep tendon and long axis, and I can evaluate by moving up and by moving distally. And I might have to make some micro adjustments along the way.
03:55
–
05:42
I'll come back into our short axis view of our home base. The next tenant we'll look at is our sub scapularis tendon in long axis. If you can find the deepest part of your bicep, it'll groove. You'll make your life a lot easier. The first thing we'll do is we'll scan distally and we'll see how that groove kind of flattens out, and we'll go proximally in that groove.
Kind of disappears as I go to that deepest part of the groove. Now I can use dynamic motion to really bring the tendon right into the middle of my screen. So we'll use external rotation as far as the patient can tolerate, and we'll let him rest here. And that's going to very quickly bring the long axis view of the sub scapularis tendon into my view.
From here we need to scan the width. So we'll move distally and we'll move proximally and really get a solid understanding of how the integrity of the scapula is tendon in long axis to find short axis on the sub scapularis tendon. I find it easiest to start with this view and then turn 90 degrees, and you may have to point now back toward the humerus to brighten up the short axis view of the scapula is tendon.
The characteristics of the scapula is tendon. Are these multiple bright fascicles within the tendon itself. That is a characteristic that is mostly unique to the scapula is tendon. To scan it now in short axis, I would come laterally until we see it disappear onto the greater tubercle, and I would come medially as far as I can, pointing back at the humerus to make sure it stays nice and bright.
And eventually I would run into Muscle belly and our coracoid process.
05:44
–
10:03
I'm going to come back now to our home base. We'll let him rest here, and we can use dynamic motion again on our sub scapularis tendon to evaluate how it moves and slides and glides. And this is a really helpful thing for your patients to be able to watch. Because this might be painful. It might help their understanding of maybe some areas that are causing them discomfort.
So what we'll do is we'll bring him back into external rotation. I'm going to come a little bit more immediately and search so that we can have the coracoid process in view on the left side of the screen, and then we will use dynamic motion, moving him in towards his belly and out, ensuring that that tendon is sliding really smoothly under the coracoid process.
This might be an area where you do see a little bit of joint effusion or fluid. That fluid might get pinched in internal rotation. You'll see how it can get manipulated with your patients. If you do see fluid. And then you have them move and they can understand how movement manipulates fluid. That's a huge piece that might help them buy in.
As to why the exercises you're going to give them could be helpful for them. You can understand how fluid dynamics work around a joint that's painful, and understand that motion affects that in a positive way. If we come back to our home base now, my bicep groove in short axis to find our supraspinatus. I'm going to move him into a different position where he's resting his hand kind of on his pocket.
And then I'm going to make sure that I can still find my bicep groove, which has moved a little bit. It's now farther inferiorly and medially, but if I can find that, I'll bring the greater tubercle in the middle of my screen, and I'm drawing an imaginary line from his ear through my probe, and I want to make sure that I turn now so that I am in line with that.
This should very quickly bring in my long axis view of our supraspinatus tendon. I know it's the supraspinatus because of this characteristic bony curve that is unique to the supraspinatus. If I move anteriorly or medially, excuse me, I should see the bright bicep tendon peek into view. And then just laterally is where I'll find the supraspinatus tendon.
They live right adjacent to each other. So we want to use that biceps as our landmark to know that we're seeing the most anterior part of the tendon, because this is an area that pathology happens often that we can't miss when we're scanning the supraspinatus. As we move laterally, the facet flattens out when that facet flattens out.
Now we're more in the junctional fibers of both supraspinatus and infra spinous. One of the things that I see very commonly is people will search for supraspinatus very far wide of where they should be, because we know that supraspinatus does some abduction, we assume it must be far on the lateral aspect of the shoulder, but in reality it is far anteriorly, just lateral to that bicep tendon.
Defined it now in short axis. I'll come back to my home base of my bicep groove. I'll get the greater tubercle again in the middle of my screen, my imaginary line going through the probe. I now want to be running perpendicular through the probe, and now I can slide up towards his ear and I'll have this short axis view of the supraspinatus come into view.
So in this view, what we're seeing on the left side of the screen is the bicep tendon right next to it. We have the view of our supraspinatus tendon. They call this a tire view. As though the bone of the humerus is the rim of the tire, and the supraspinatus tendon is the rubber of the tire. We want to see a nice uniform thickness of that tire with a nice filled in tendon.
And we want to make sure that we see biceps in this image to ensure that we're seeing the most anterior aspect of the supraspinatus tendon. If we come out this way and we don't see that biceps, we're too far laterally and we might be missing something on the anterior aspect of the supraspinatus. We want to make sure that we can see both in view.
And this really tells you how closely they live together. The supraspinatus and the long head of the biceps.
10:04
–
10:12
Coming back to our home base one last time, we can look at some dynamic motion of the supraspinatus as well. I'll find my home base.
10:13
–
10:43
I'll make sure that I can get the greater tubercle in the middle as it is right now. I'll turn long axis, which means I'm going to be in line with the ear, and then I'm going to slide up until I can visualize the acromion in the top left of the screen. So now I have the tendon on the right and the acromion on the top left.
I'll plant my probe using two hands if you need to. And what we're going to have our patient do is really slow abduction. Up and down. This way. Go ahead.
10:47
–
10:53
Good. And you can come back down. We can watch how that tendon slides under the acromion.
10:55
–
11:30
Here's an area where maybe you see a bristle thickening that might bunch up if there's pain or if there's fluid, we might see that fluid get manipulated this way. This might be an area where your patient feels symptoms, especially at that peak where the greater tubercle is starting to hug under the acromion. It could be a really helpful tool to help your patients really visualize what's happening in their shoulder.
We'll come back to our home base and we'll end our exam there. That's how to efficiently scan the anterior shoulder using your Clarius L15.