
If you ask users what they like best about Clarius, they often answer “it’s easy to use.” For instance, here’s what Dr. Stella Desyatnikova of The Stella Center recently had to say:
The app is the bomb and very easy to use on the phone. Seriously. Clarius has done a tremendous job making it super user friendly and intuitive.”
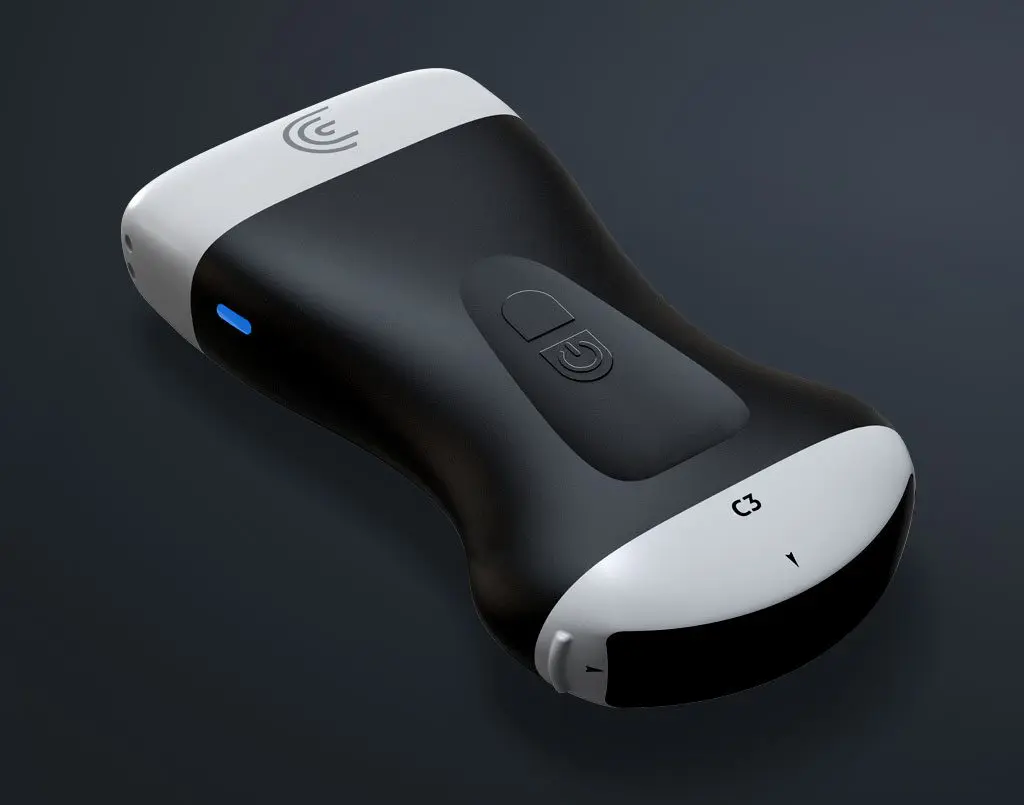
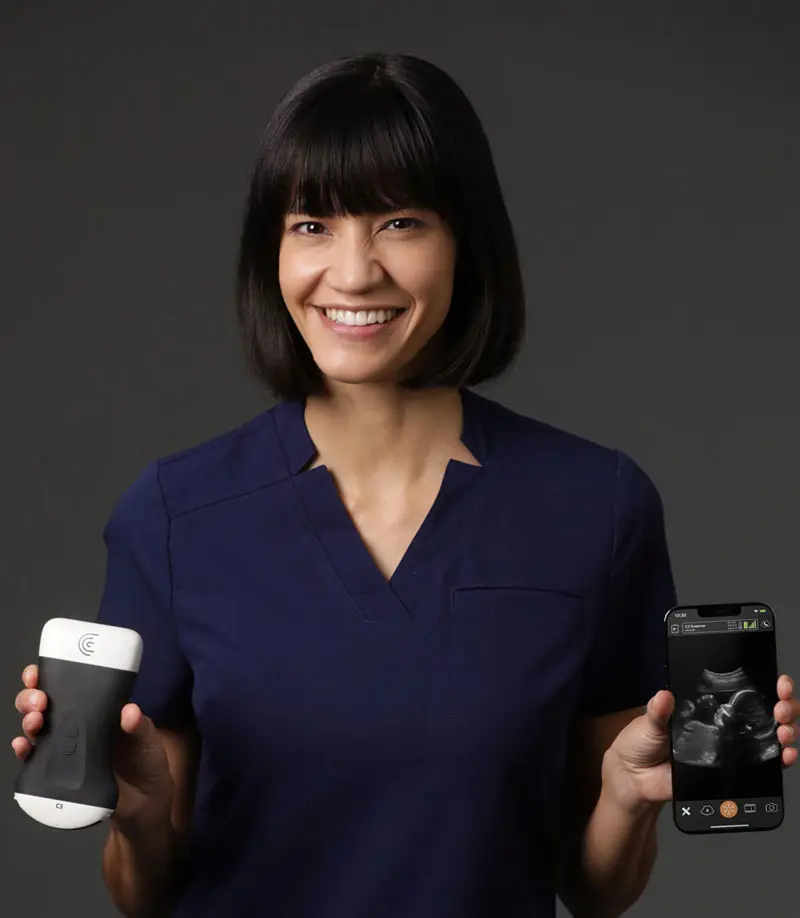
Clarius is designed with all the functionality you would expect from a traditional ultrasound system, but without complex buttons and knobs. Instead, the Clarius Ultrasound App uses the built-in functionality of smart devices and artificial intelligence to navigate its many features.
To help new users, we’ve put together a series of video tutorials with Esther Donohue, B.S., RDMS, RDCS, RVT. In less than 30 minutes, you’ll learn how to tap, pinch, zoom and slide your way through the key functions of the Clarius Ultrasound App.
Most videos are about a minute long, so you’ll be a pro in no time. All these Clarius Feature videos are posted to Clarius Classroom and also available in the Clarius Ultrasound App in case you’d like a refresher while scanning.
How to Use the Clarius Ultrasound App
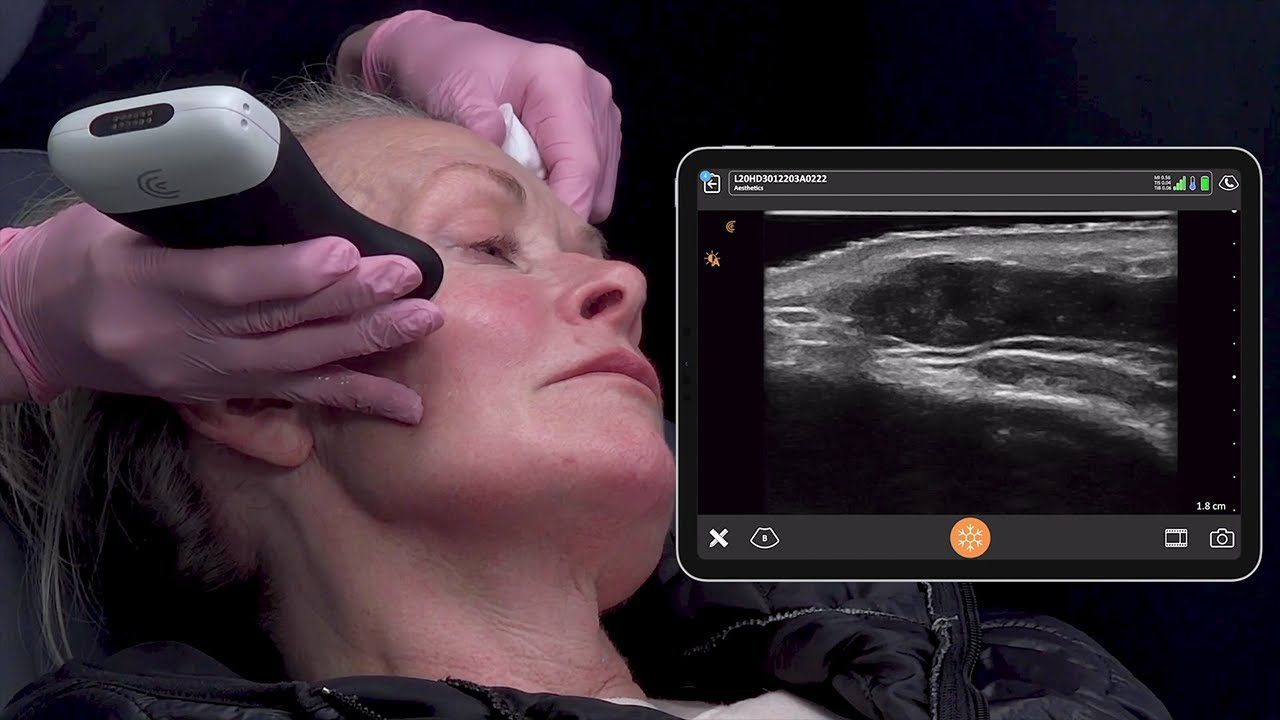
Selecting an Application Preset – The most important thing to do before imaging is to select the correct application. Not selecting the correct application can make the difference between a clear diagnostic exam and one that’s difficult interpret. The Clarius Ultrasound App uses artificial intelligence to optimize the ultrasound image depending on the anatomy being scanned. To quickly examine the abdomen, heart, lungs, bladder, or other superficial structures without additional interaction through the Clarius App, try the new Auto Preset™ AI!
Adjusting Gain – One of the first things to optimize when using ultrasound is the image gain. Gain is the overall brightness of the image. When an ultrasound image is under gained, structures are dark, details are lost and pathology can be missed. In an over gained image, false echoes will appear in structures making it difficult to differentiate pathology. A quick swipe to the left or right let you adjust to perfect the gain.
Changing Depth – Adjusting depth is an important step in optimizing your ultrasound image. If the depth is too shallow pathology may be outside the field of view and missed. When the depth is set too deep the area of interest is small, making it more challenging to evaluate pathology. Simply swipe up or down to adjust your depth.
Zoom – Enlarging an image can increase diagnostic accuracy and efficiency by providing a larger image of the area of interest. Use your fingers on your touch screen to pinch and slide to zoom in and out.
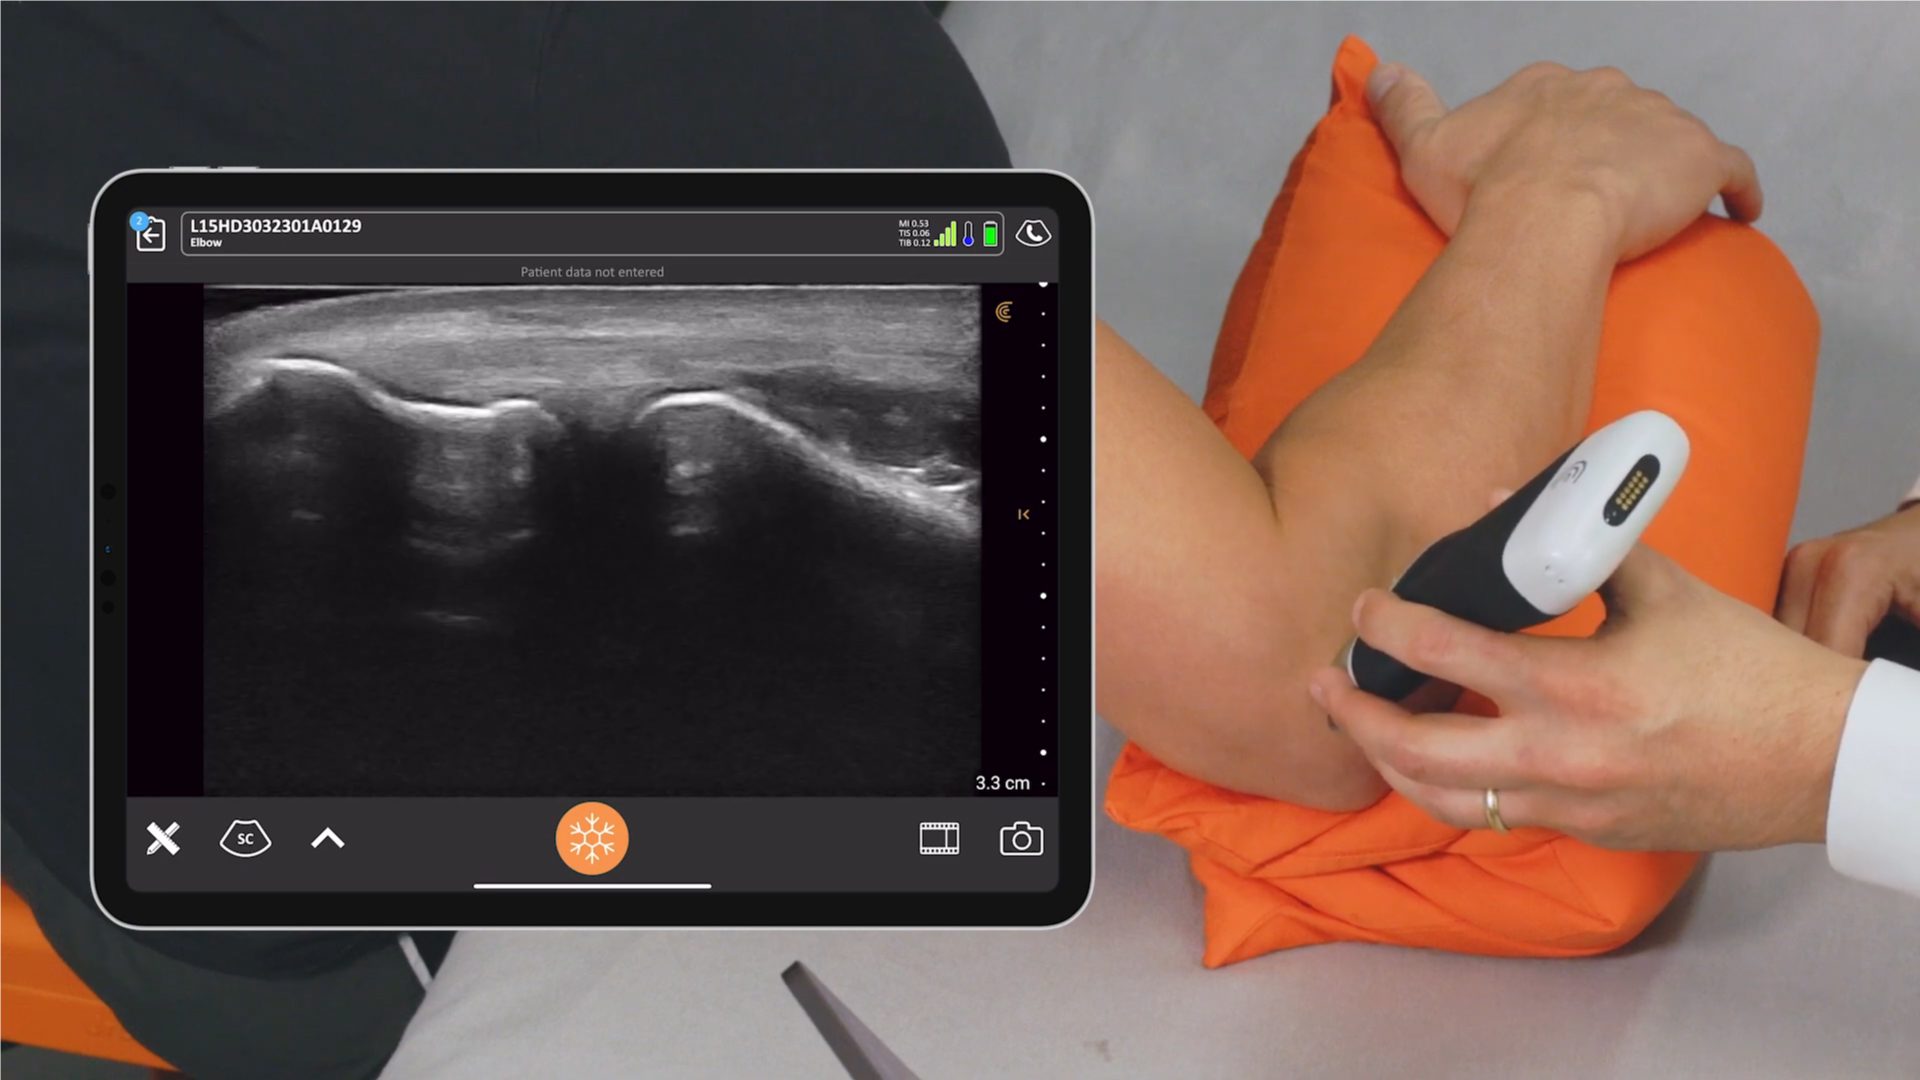
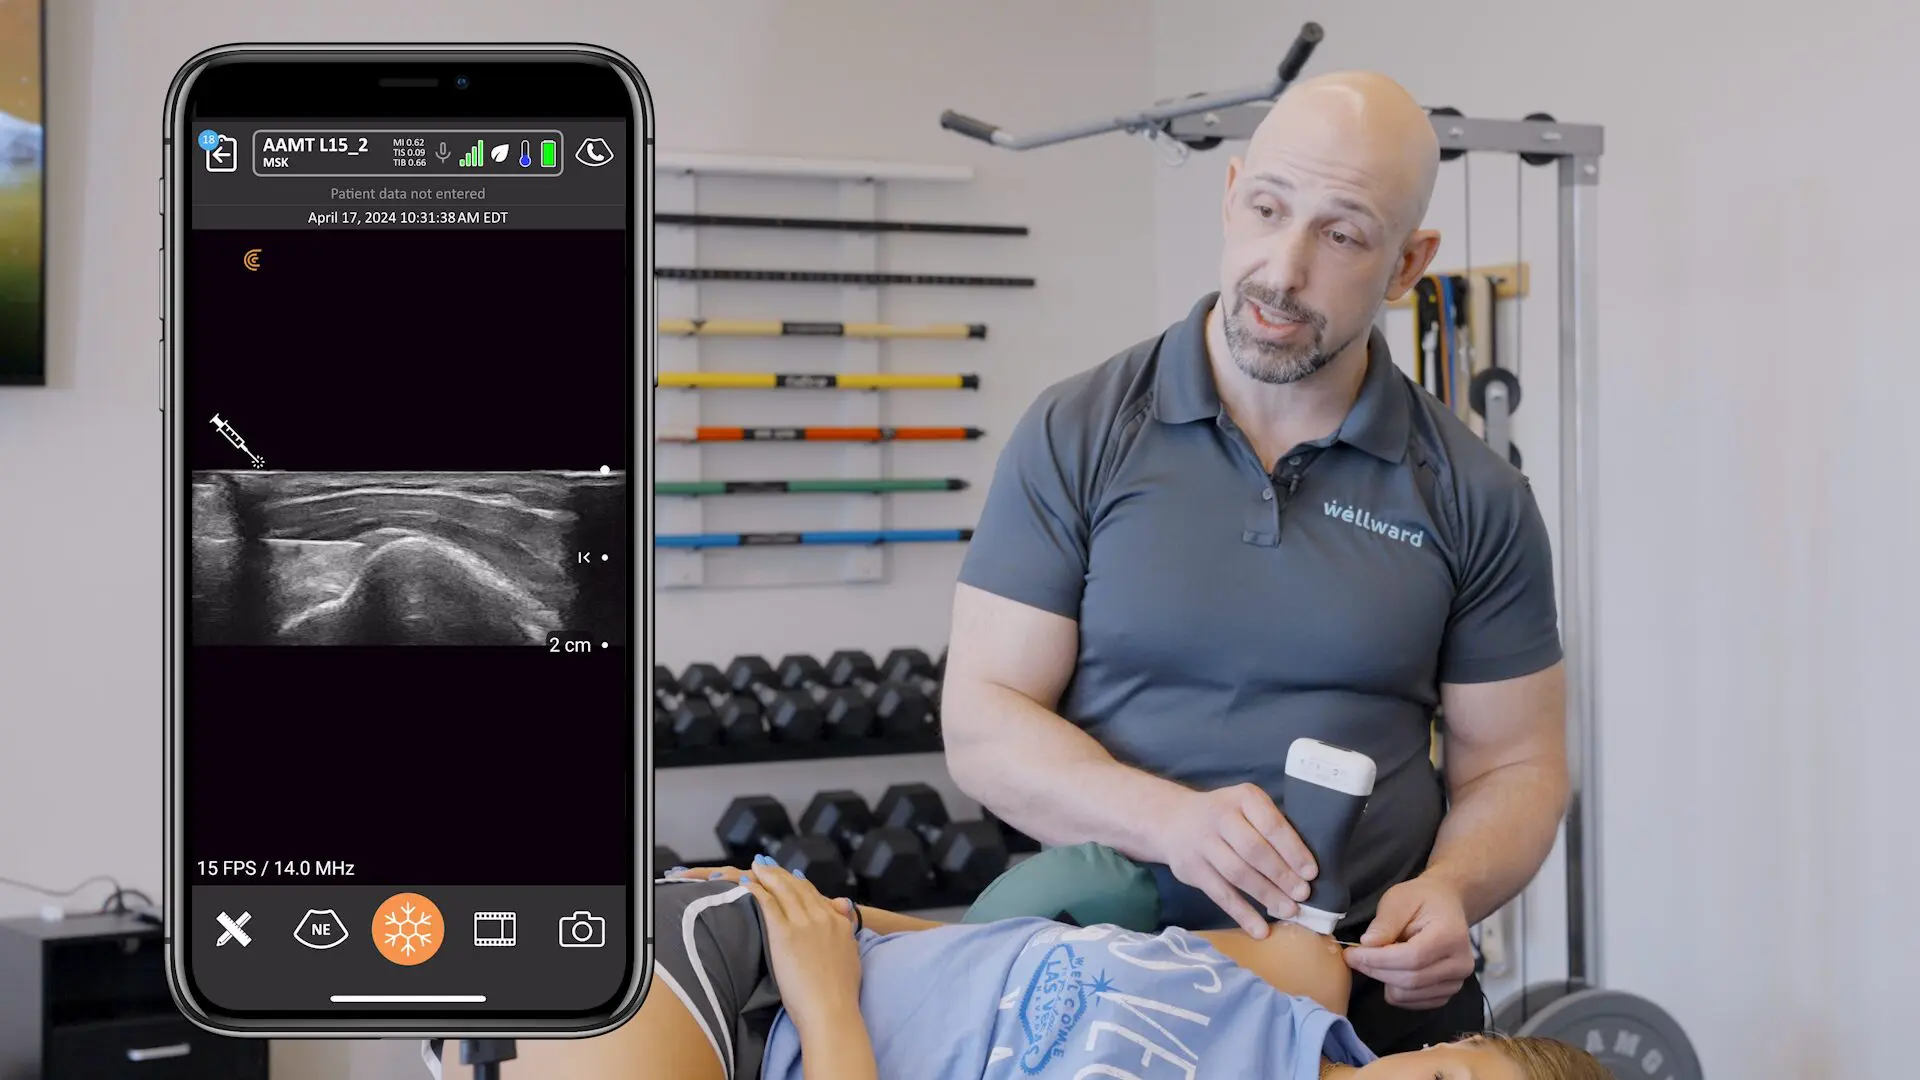
Capturing Images – Once the Snowflake is pressed to freeze an image, the image can be store by pressing the camera icon located on the bottom right of the scanning screen. You can also use the Button Up to store an image (using the raised arrow on the scanner nearest the battery).
Capturing Cine Clips – Cine clips capture a real-time video of scanned anatomy. Adding Cine Clips to the patient exam can yield time savings and boost diagnostic confidence. Cine (video) clip length can be adjusted by pressing and holding the Film Strip icon on the bottom right of the scanning screen. On the Clarius Ultrasound App, the length of the video can be adjusted from 1-30 seconds.
Measurements – See how to measure the area of interest or depth from the skin line when using Clarius in this next video. Start by pressing the Pencil and Ruler icon on the bottom left of an image.
Annotations – Labeling ultrasound images (with Annotations) is used to indicate the area being scanned and to describe pathology. Watch the video below to see how to annotate an image.
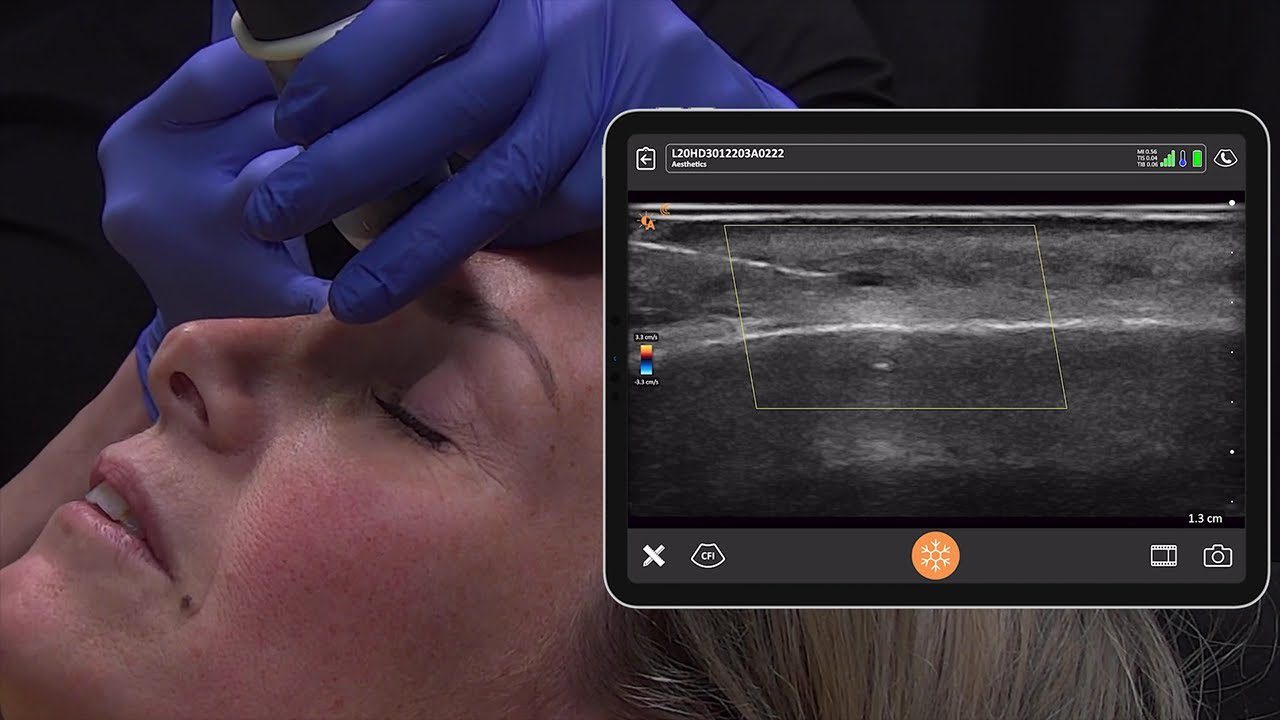
Pulsed-Wave Doppler – This technique displays peak blood flow velocities in the form of a graph. This mode is useful for quantifying flow patterns, in certain disease states for example.
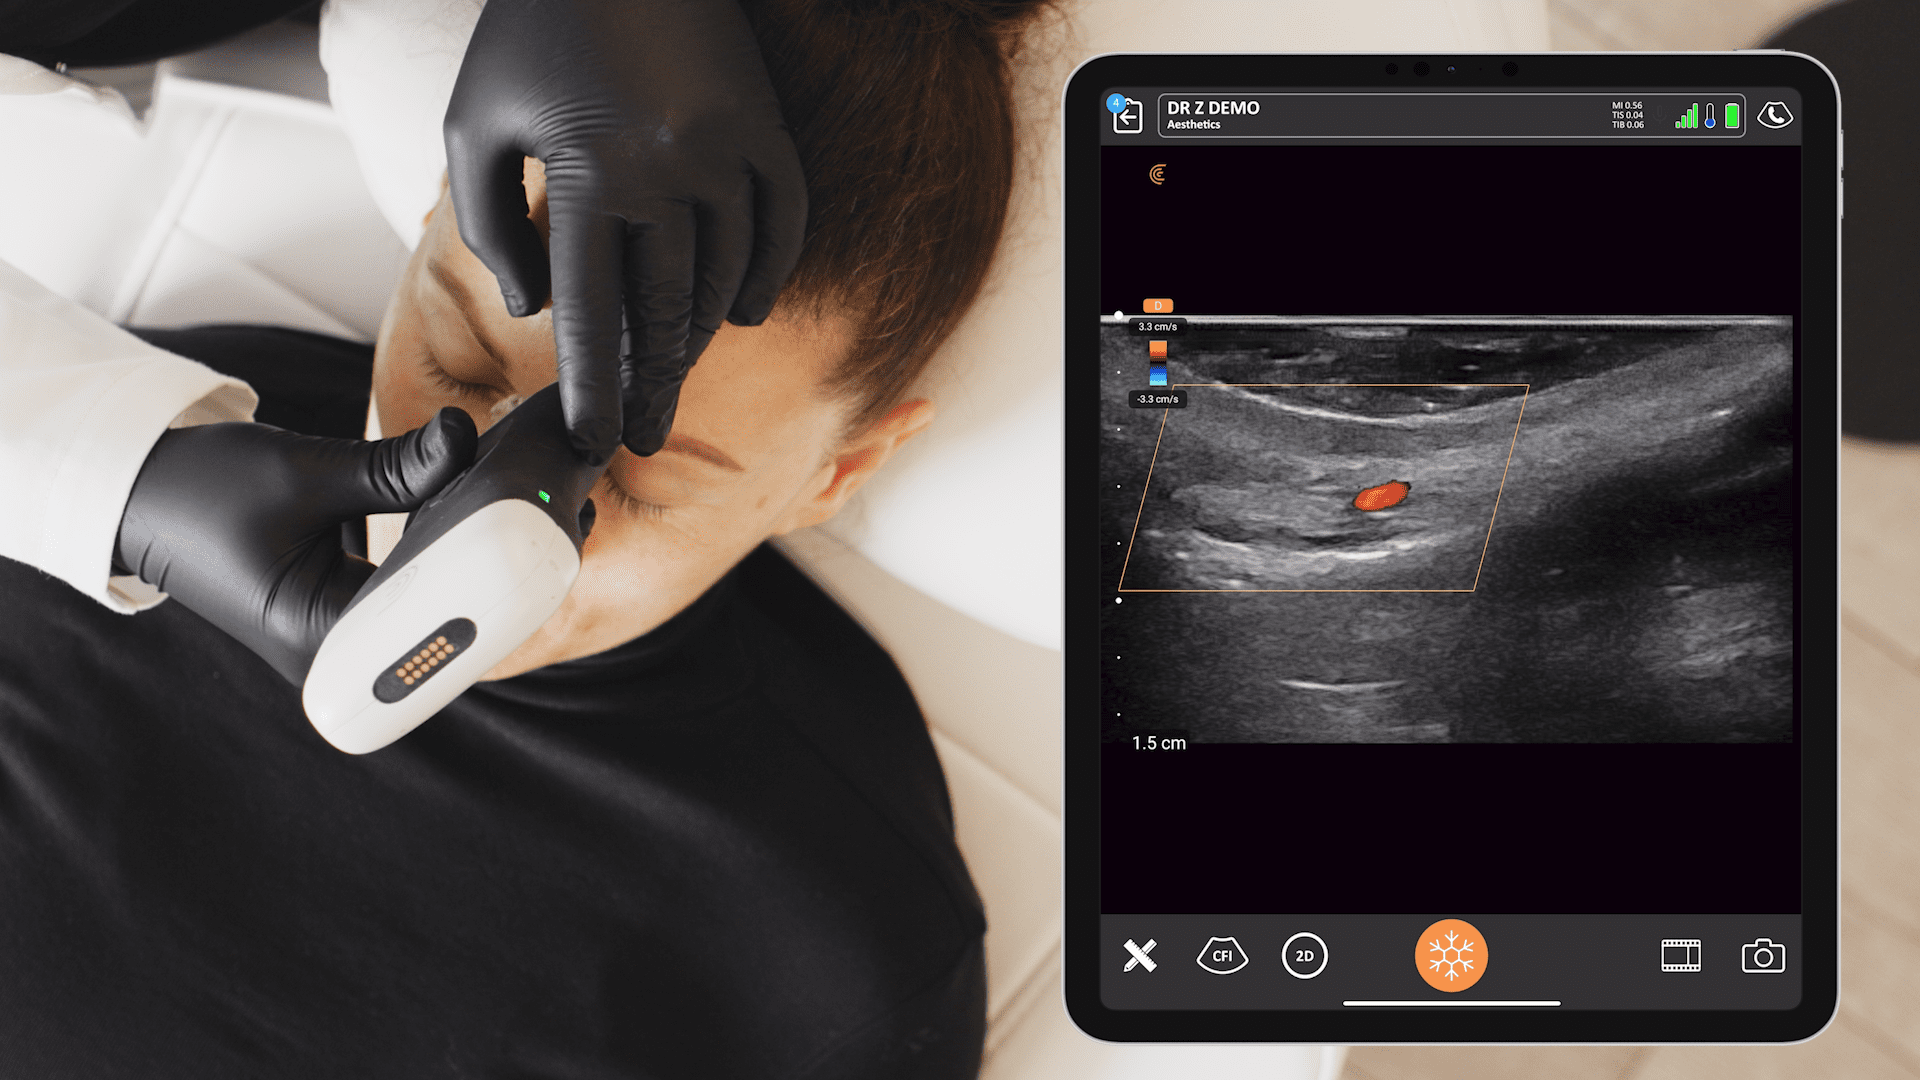
Color Doppler – This technique estimates the average velocity of flow within a vessel by color coding the information. The direction of blood flow is assigned the color red or blue, indicating flow toward or away from the ultrasound transducer. Red typically means flow is towards the transducer (aortic regurgitation) and blue typically means flow is away from the transducer (mitral regurgitation).
Resuming a Paused Exam – When scanning with Clarius, you can pause an exam and complete it later by shelving it. This can be used, for example, when scanning a bladder for urine retention or early pregnancy and the patient’s bladder is not fully distended for complete imaging.
Reviewing and Deleting Images – Before ending an exam, you can review and delete images on the Clarius Ultrasound App. Go to the patient demographic page, scroll to the bottom and swipe to the left to review stored images. For unwanted images, simply tap the trashcan on the bottom left of an image.
Adding Measurements, Ending an Exam and Uploading to Clarius Cloud – You can easily perform measurements on a stored image before ending an exam. Swipe to the bottom of the patient demographic page, tap on the image to measure, and use the Measurement tools (the pencil and ruler icon). Once complete, press the camera icon to add the image with measurements to the patient’s folder. Select End Exam, on the bottom lower left on the screen, and select Save to Clarius Cloud. Watch the video to see how it’s done.
Export PDF Reports and Customize Image Annotations – This video demonstrates how to customize annotations for exams and export PDF reports from the Clarius Cloud to upload to an EMR.
Get Started with Clarius App Settings – In this 10-minute video, you’ll learn how to set up the Clarius Ultrasound App, including optional features. While a little longer, this is an essential video to watch when you’re getting started.
We’d love to hear about your experience in using your new Clarius system! Send your feedback and questions to [email protected]. Your feedback matters – we look forward to hearing from you!


