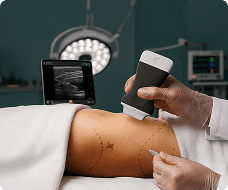
Hi, I'm doctor Tatiana Verloc. I'm an emergency physician and founder of. Hello, sono. We help clinics launch high quality and compliant podcast programs. In this video, I will demonstrate how to place an IV with ultrasound guidance using out of plain approach. The first thing you want to do is make sure that your positioning is good, because you want to have a clear visualization of your monitor.
When you are placing the IV, make sure the bed is also raised to appropriate height so you are comfortable during that procedure. The next thing I typically do is put the tourniquet on and scan the arm to identify the vasculature and see which vein would be the best vein to place the IV in.
It's going to apply, and you do want to put your tourniquet as high as possible on the arm. So it gives you a little bit more room.
So I'm going to start scanning from the anti fossa up the arm and down the arm identifying key structures.
So here we are already seeing some superficial veins. And I'm tracking this one to see where it goes.
So it's going medially on the arm.
And this is our patients basilica vein right here. So it's actually quite large. I'm going to compress it to show to you that it's actually fully compressible. And there is no clot in there and no pulsatile. An artery would be pulsatile. So this is a really great vein to go for because it's isolated. There's no arteries right next to it.
Um, you could also take a look at the depth of this vein. So on the right side of the screen. Our total depth is 1.9cm. So this vein is about 1.5cm deep which is a very appropriate vein to go for. I will then try to identify the cephalic vein. And the cephalic vein runs a little bit more laterally on the patient.
So actually this is.
It right here. So this this vein is also part of the superficial vasculature of the arm. And it runs without neurovascular bundle next to it. So this is a very good vein to go for. And it's quite superficial. Lasted one centimeters deep.
I will also show you the deeper veins here. Towards the bottom of this screen we are seeing a neurovascular bundle. So when I compress those vessels, there is one vessel that's not compressible and that's the artery. It's pulsatile.
We are also seeing the nerves running on either side. So they are appearing hyper. And when I move my probe they actually change iconicity.
And that is called anisotropy and a normal finding for the nerve. So I think out of the veins that we've seen so far, I am liking the cephalic vein the best because it's the most superficial vein. Here I'm going to identify the trajectory of the vein by sliding up and down the arm and trying to keep this vessel in the middle of the screen, using that center line.
So now I know that it's going directly up and down the arm, because I'm moving my transducer just up and down. So this is how I'm going to insert my needle. That's the trajectory. I'm also going to compress this vein once again to make sure that it's fully compressible. There's no clot in it and that it's not pulsatile.
So this is a good vein. The next step we will clean everything up and change to aseptic technique. And I forgot to mention do get your supplies before you start placing the IV. So you want to get if you and your cath this is irregular and your cats if your patient is bigger, or if you're going to be going for slightly deeper veins like that basilisk vein, that'll be demonstrated.
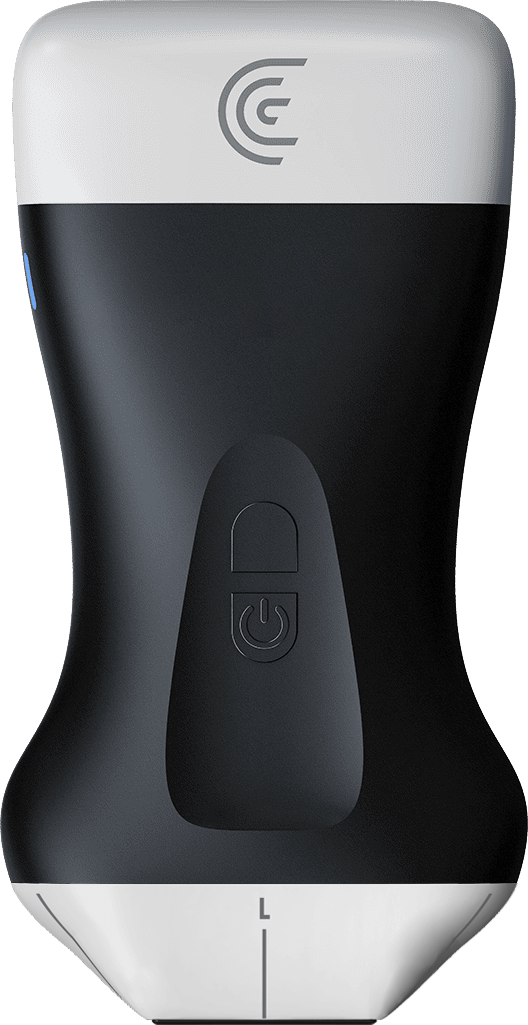
You do want to use a longer Andrea Cath I have some sterile gel here, the regular IV placement kit that has a cloth wrap here, and I also have a wipe to clean the probe and
tag a derm to cover my probe to make sure we stay aseptic.
So I'm going to clean the probe.
I'm going to wipe off some of this gel.
And if this is going to take you a bit of time, you can release the tourniquet temporarily.
I'm going to use the cloth prep.
To clean.
And I always clean in a little bit more a little bit more of an area than I need, just in case. If there's a failed attempt and we need to change the placement.
I'm going to apply that sterile gel.
And now we're going to put the sticky
tag a derm on the probe. You could put also some gel first before you put the tag of derm. Just make sure you're not trapping any air and that you're not touching the surface.
Of this. Because then you would lose that aseptic
field. All right. We are ready to go. We've got our tourniquet on. We've identified the vessel. We have a probe cover and we have cleaned up the patient. I am going to identify that vessel again.
And make sure I know the trajectory. And we have talked about the depth. It's about
0.5 to 0.7 centimeters deep. So this is what I'm going to use as my guide. When I insert the needle, I'm actually going to insert the needle at 45 degree angle,
um, and about 0.7cm back that depth that we just calculated.
All right. You ready patient. All right. Okay. So I'm going to gently insert the needle. And I'm looking at the skin when I'm inserting because I want to make sure I'm lined up with the center of the probe. Once I have inserted the needle through the skin, I'm looking at the screen now to identify the needle tip.
Okay, here I am. So in this case, I had a hard time identifying my needle. So what I did, I actually moved my probe towards the needle a little bit. And I'm seeing this right on top of that vein. So I'm going to punch through.
And I'm in the vessel. We got that target sign and a flush.
And instead of removing the needle in this case you would actually
keep following that target sign.
So I'm dropping. So this is the target sign. And this could be the needle shaft or the needle tip. So what I'm going to do is I'm actually going to move away from the needle tip and then slide forward. And this is called a vanishing target sign. So I'm actually inserting the whole needle and the catheter and guiding it through into the vessel.
So once I'm satisfied with the placement, I would put the probe down. And we've got a nice flush here and I would actually advance our catheter,
hold some pressure here.
Remove the needle.
Release the tourniquet. And we've got our IV in. So in this case we have removed after our IV after it was done. But in an actual patient scenario you would secure it the normal way and also flush the catheter. Thank you for joining. Please check out. Hello. Com if you'd like to learn how we can support you in building high quality and Compliance Focus program in your clinic, and please do check out the rest of this video series.