
As a global equine sports medicine and rehabilitation expert, Dr. Christopher Elliott has perfected his process for evaluating Superficial Digital Flexor Tendon (SDFT) injuries using ultrasound. It’s the most common soft tissue structure he scans on race horses, as well as pleasure horses. We asked him to share his best practices during a recent webinar: 10 Ways Ultrasound Helped My Equine Veterinary Practice, which you can now watch here. Or read on for quick strategies for being the best in your region at scanning the SDFT.
Step 1: Organize a Simple Setup Kit
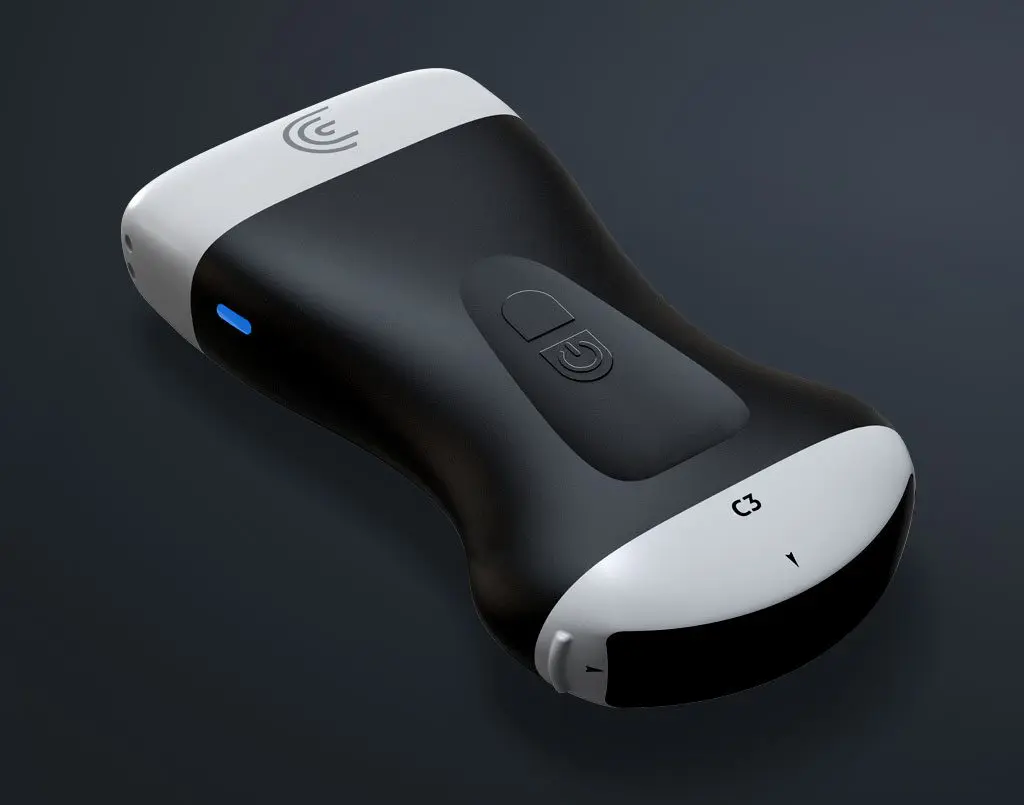
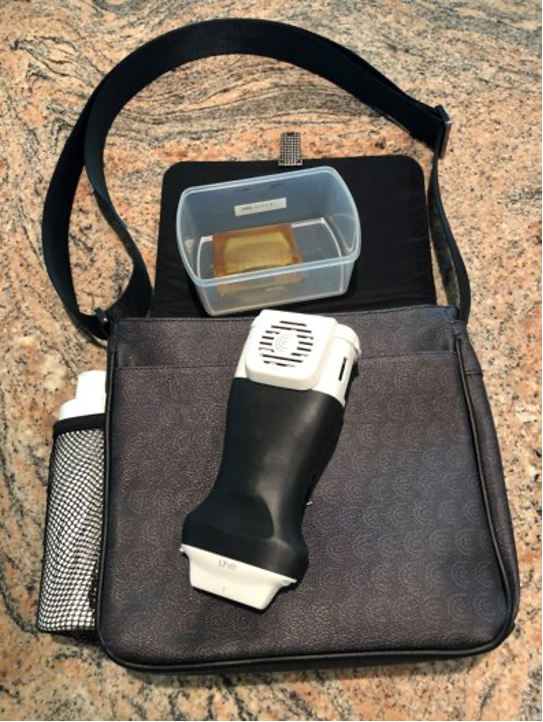
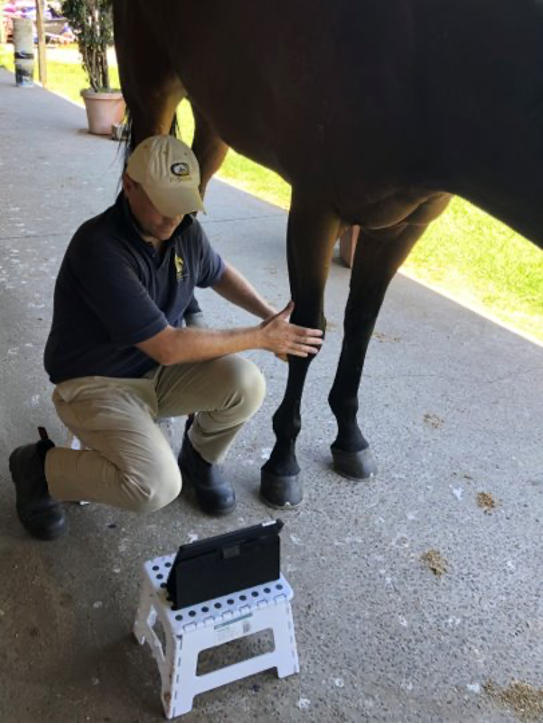
“I carry a kit with some sedation (Detomidine), good quality clippers, some ultrasound gel and a clean cloth. I also carry two folding steps – one to sit on and another to use as a tray for my Clarius L7 Vet ultrasound scanner and iPad. It would also be suitable for a laptop ultrasound system. You can spend hundreds on a fancy stool and cart but I prefer my $5 folding stool from Kmart.”

Step 2: Always Palpate the Tendons First
“Start your exam by palpating the tendons you’ve been called to examine. Palpate them weight-bearing and not weight bearing. Really think about the structures that are underneath your hands and about the anatomy. Make sure you identify the SDFT solely by itself and take the time and effort to think about the size and the shape of the SDFT beneath your fingers. The best way to improve your palpation technique is by palpating as many tendons as you can and concentrating on what you are palpating. Then, compare what you felt to what you see during your ultrasound exam. I sedate the horse after I palpate the leg.”
Step 3: Prepare the Leg Carefully for the Best Results
“Preparing the leg sometimes takes longer than actually diagnosing the problem, but it’s really important to take the time. You’ll get better ultrasound images and will be able to offer better advice to your client. We typically prepare for an ultrasound by clipping the area. If it’s an obvious damaged and bowed tendon, then do clip it. But if the SDFT injury isn’t obvious or you don’t have the ability to clip because your clients are hesitant, you can avoid clipping by using an ultrasound system like the Clarius ultrasound, which will give you good quality images. Make sure you work the ultrasound gel into the leg and give it enough time to really soak in.”
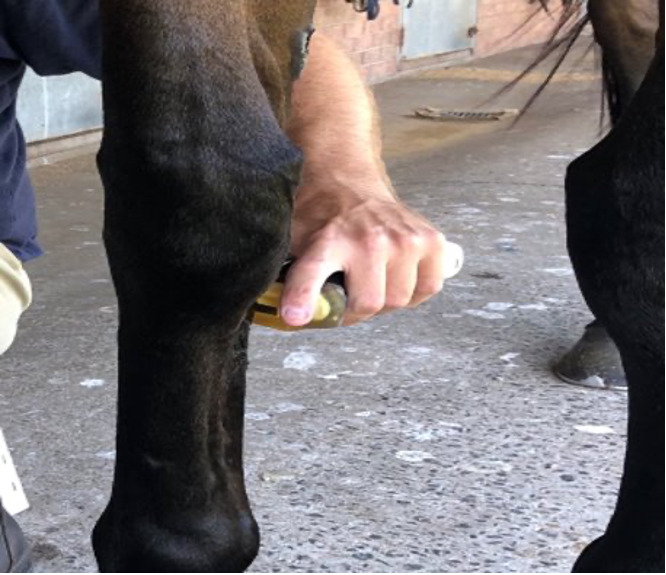
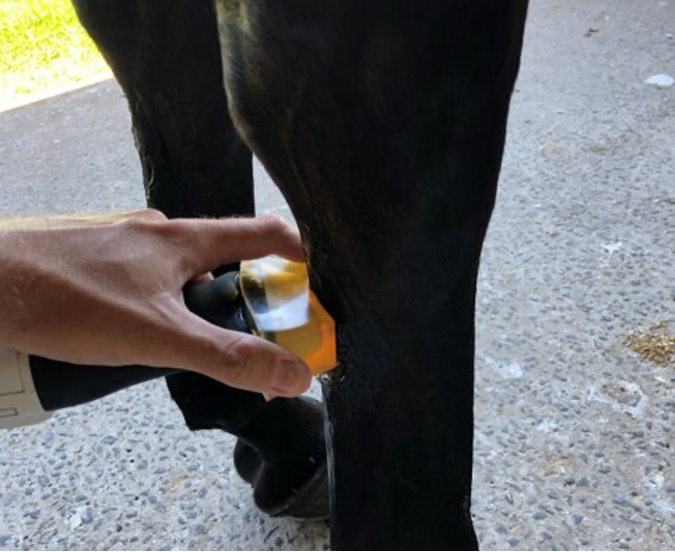
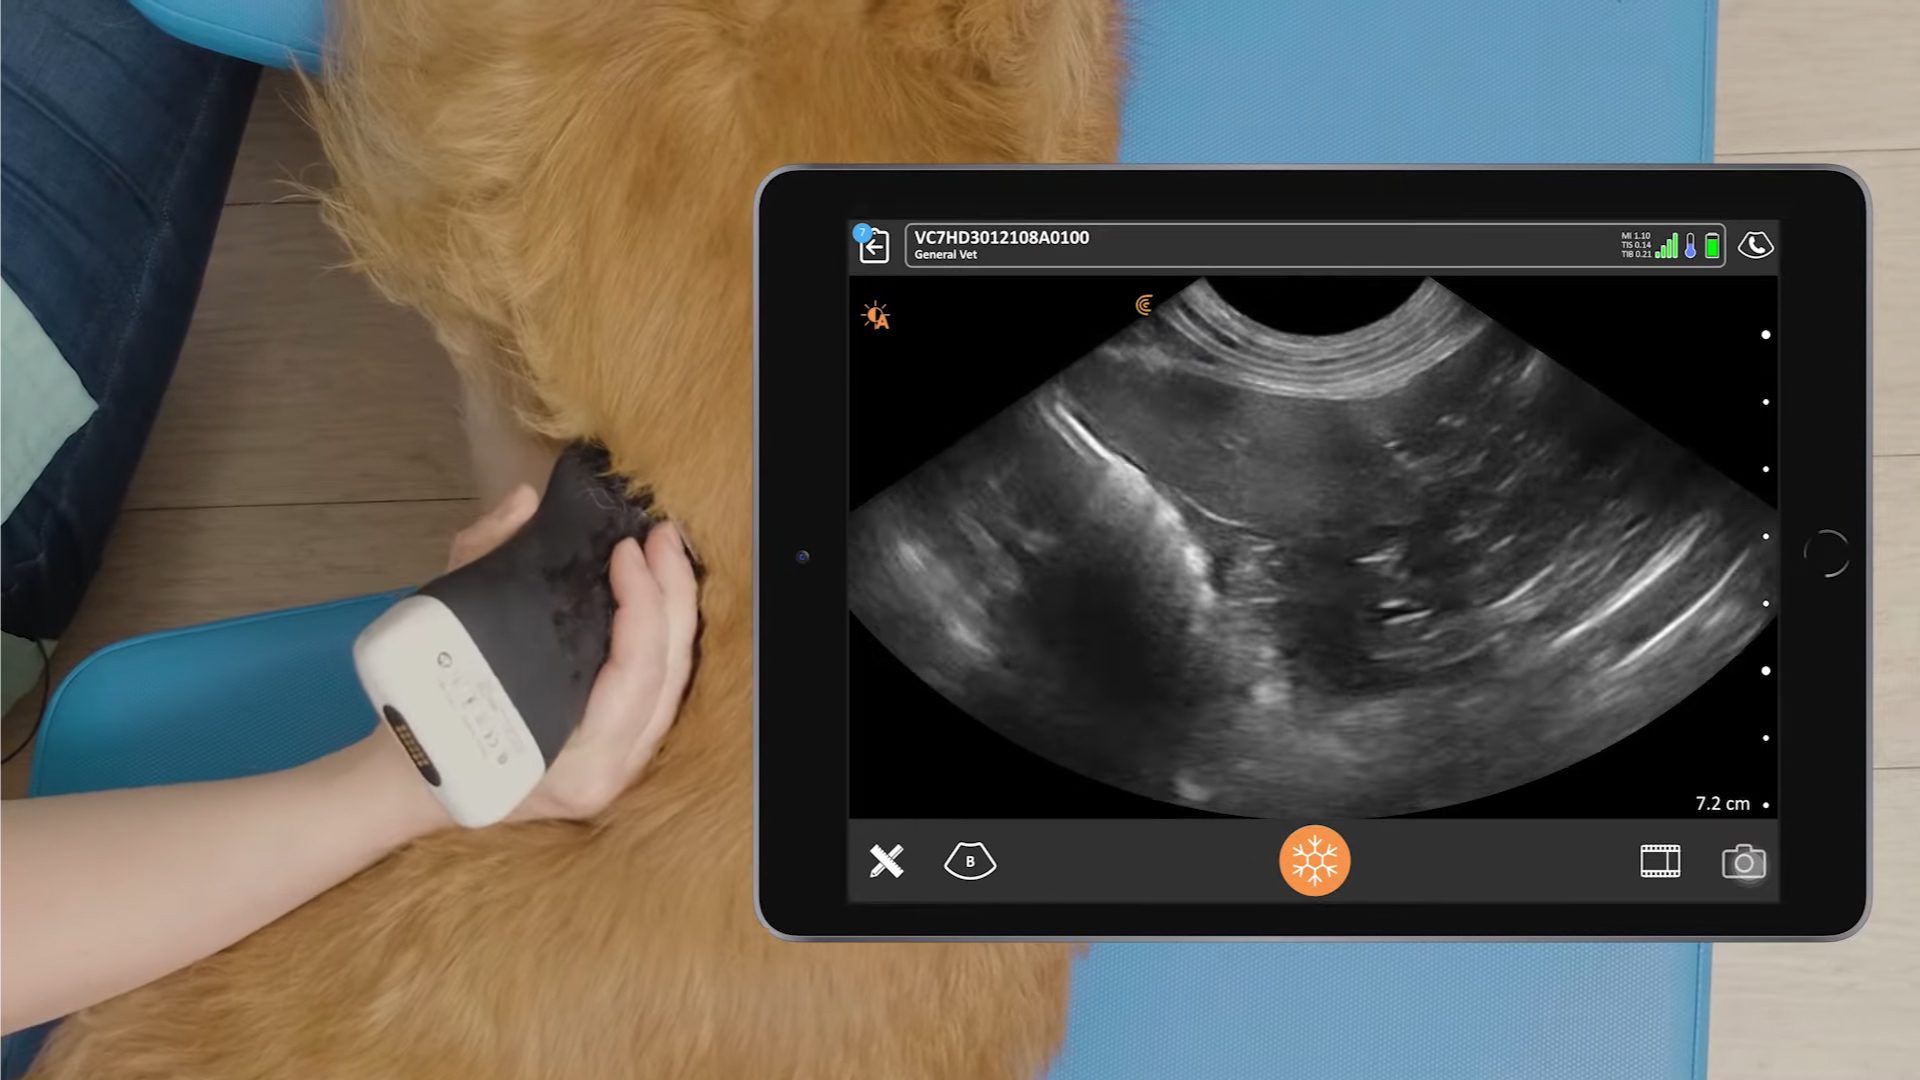
Dr. Elliot scans a proximal suspensory on a race horse: “I didn’t clip the horse but got really nice images on this proximal suspensory. This is how I hold my probe and you can see with the wireless set up, it’s so user-friendly and it’s so great not having cables getting in the way. My pointed finger sits on top of the standoff. It’s not actually holding the standoff in place. I use it as a little guide because I’m frequently not looking at the leg — I’m looking at my screen and I can use that finger to work out where the leg is.”
Step 4: Set up the Machine and Be Mindful of Ergonomics
“Ideally, find a machine that’s quick and easy to set up, which the Clarius L7 Vet I’m using certainly is. When I’m performing an ultrasound exam, it’s really important to be comfortable and ergonomic. My standard setup may look a little bit awkward, but I’m actually really comfy. I can sit and scan for hours and hours like this, sitting on those little stools. Some people will kneel or have one knee on the ground and others have different types of setups. Find what’s best to prevent muscular fatigue. If you’re physically tired, your brain won’t be capable of making good decisions and you might stop scanning before you have enough good quality images. So being comfy allows you to produce good quality images, get the best diagnosis and then make the correct decisions for your patients.”
Step 5: Buy Time to Take Your Time
“Before sitting down to scan, I tell my client that I’m going to be quiet while I’m scanning. This buys me time to actually think about what I’m seeing on the ultrasound and get good quality images. My sport horse clients are especially anxious to hear what’s wrong and want a diagnosis three seconds after I start scanning. By preparing them in advance, I get the time to work in peace.”
Step 6: Be Systematic with Your Ultrasound Exam
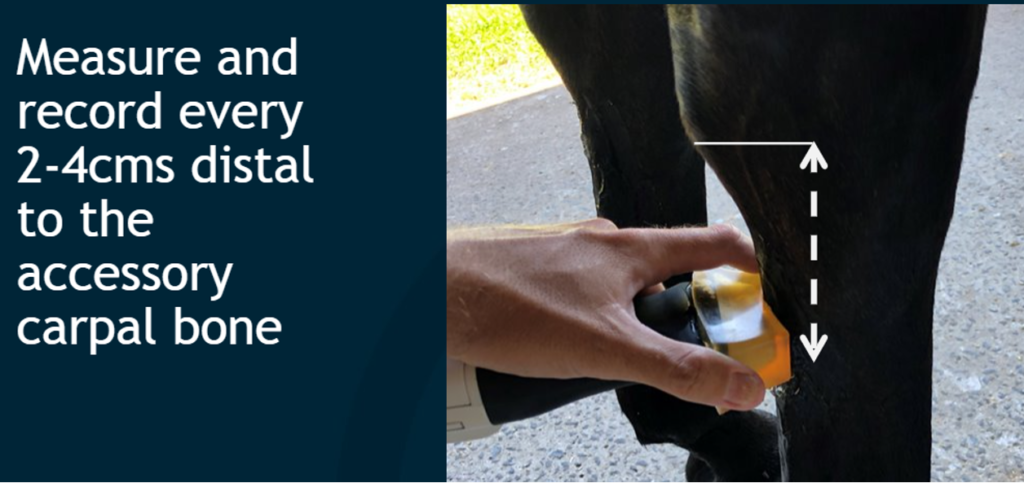
“It’s really important that your scanning technique is systematic and repeatable. Start from top to bottom and work in a smooth, systematic pattern. Start with a survey scan to see where the lesion is and gauge what’s going on. Then you’ll start getting representative images at regular intervals, every two to four centimeters, distal to that accessory carpal bone.
Take images once you find lesions or damage, and then use cross-sectional tracing to get the cross-sectional areas. It’s important to get both cross sectional and longitudinal images. Use smooth, fluid motions. It’s something you may need to practice; it doesn’t come naturally for some people.”
Step 7: Measure and Record – It’s Really Important
“Besides the importance of keeping medical records, measuring and recording is vital for follow-up care and rehabilitation. Anyone can go and plunk an ultrasound machine on an SDFT. But being able to record and measure sets you apart. The most important reason for doing all this is for our rehab program. We can monitor the progression and the healing of this lesion, or potentially monitoring the lesion not healing.
I measure distal to the accessory carpal bone with a ruler that sits in my ultrasound. I’m quite good now at working out how far I am below the distal, the accessory carpal bone, but I do crack out the ruler just to make sure I’ve physically measured from that accessory carpal bone down to where my probe is. I want to know precisely where my lesion is starting and finishing and where the most severe point is. Then, when I come back and re-ultrasound it during follow-up and the rehabilitation program, we can measure down, put the probe on and see if the lesion is better or worse, same or different.
We’re also able to easily talk to other veterinarians and describe exactly where the lesion is. You might see some descriptions: zone A, zone B, zone 2A, zone 2B. Each individual horse will be slightly different and each individual veterinarian will differ about where they deem the crossover from these different zones are.
Measuring distal to the accessory carpal bone is definable and repeatable. Measure and record every two to four centimeters. Four centimeters is a great way just to quickly survey. Once you’re getting closer to the lesion or within the lesion, measure every two centimeters.”
“This video shows me scanning a four-year-old thoroughbred horse. I’m working up and down the leg smoothly. For my images, I don’t label medial and lateral. I always know that medial is on the left for me. Many ultrasonographers will standardize it that way. If you don’t have a standardized approach, then label it. Or if you’re the type of person who likes putting lateral on the left, that’s fine.
Here I start at the top of the leg, where we see a big medial lesion. I move down my leg finding out how long the lesion goes for. I’m tracking it down right to the very bottom and I’m working back up the leg.”
Step 8: Always Scan the Normal Leg for Comparison
“I always, always, always clip, put gel and scan the other leg. The beautiful thing about horses is we’ve usually got this other ‘normal leg’ to compare with. It’s really important that you check the other leg because a small percentage of horses will have bilateral damage and you don’t want to miss that. It also provides a comparison to truly know how much bigger the damaged leg is.”
Step 9: Take the Time to Record Good Quality Images and Videos
“Why should we spend so much time measuring and recording? First of all, you’ve got to record for your clinical records. The measurements and recordings also enable monitoring for the rehabilitation phase. For an SDFT, we scan every three or four months throughout the rehab phase. When you start by recording really good quality images the first time you see the damage, then you’ll be able to monitor more quickly and effectively over time.
When you’re recording, I believe it’s really important to take your time to record good quality images. Particularly with veterinary diagnostic imaging, take pride in capturing images that you are happy to show other veterinarians. In the world we live in now, digital communication of our diagnostic images is really rapid. Clients will frequently send images for a second opinion. Other veterinarians may not know you, but they will know whether you produce good quality images or not. Veterinarians can be very quick to criticize others.
Obtaining nice quality videos is a really good way for other veterinarians to gauge what’s going on. Take a 20 to 30 second ultrasound video moving up and down a leg to just encapsulate what’s going on inside that leg.”
Step 10: Create a Good Report That Sets You Apart
“Reports are the slightly boring part of the job, but it’s one of those things that really sets veterinarians apart. Particularly with ultrasonography, it’s important to produce good quality reports with relevant information to properly monitor the horse as it progresses throughout its rehabilitation phase and then returns to athletic performance.
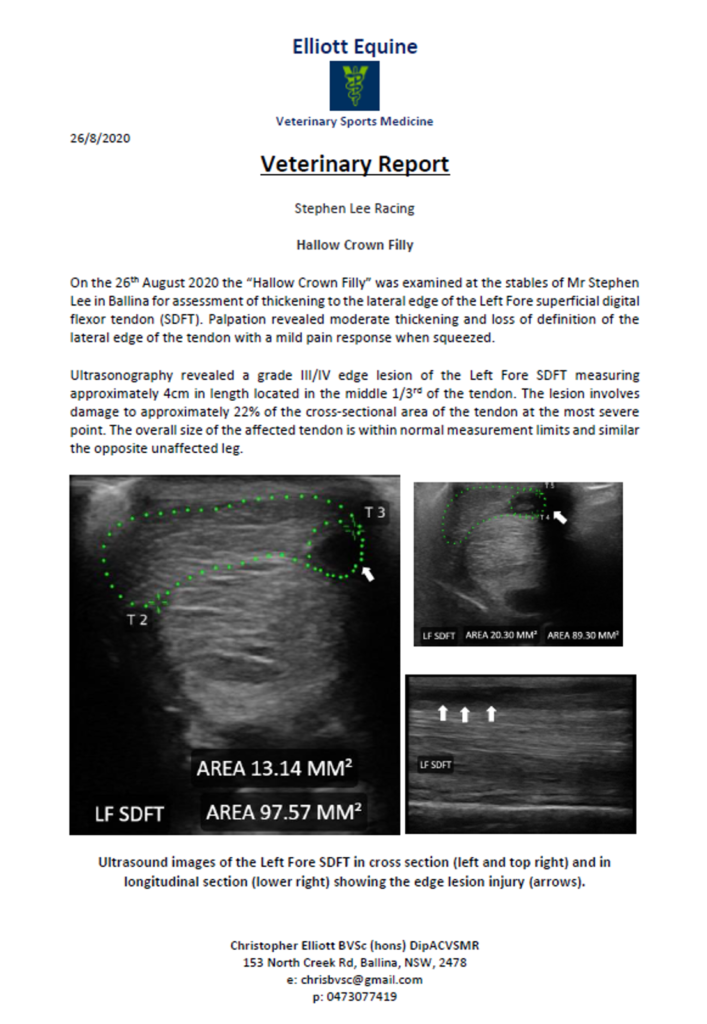
This is a typical example of a report template for SFDTs. Having templates makes writing reports easier and faster to write. My reports typically include the following:
- For clients, a picture says a thousand words to help them understand what is going on inside their horse’s leg.
- Arrows are your friends. Even if you think that a client can clearly see a massive hole on the lateral side of that tendon, a nice little arrow on your images goes a long way to help tell the story.
- I have a spiel at the beginning of all my reports including the date and which horse and which leg and observations during the palpation.
- I refer to a grading system as clients and trainers love grades.
- The length of the lesion is very important. I currently have a paper in process where, we’re looking at some data from flat race horses and following them up. One of the things that has come out of the multi-variable statistical analysis is that it appears that ‘length of lesion,’ particularly in our population anyway, appears to be the most important thing so far in terms of prognosis.
- I discuss the comparison of the damaged leg to the normal leg and what type of lesion it is as well as the percentage of how much is damaged. It’s a good way to summarize the severity of the horse’s condition.
- When offering a time frame for rehabilitation, be sure to give a range for the rehab plan and make it clear that it’s an estimate so your client doesn’t get fixated on a date.
- Always add a summary underneath the images. The ultrasound images on this report where captured on the Clarius machine and sent via DICOM setup onto a Word file.”
BONUS: Set Yourself Apart by Having High Quality Equipment
“Make sure that your ultrasound system produces high quality images. I’m often called in for a second opinion because I have good quality equipment. At the beginning of 2020, I purchased a Clarius HD L7 Vet for my new equine practice. It was affordable and produces excellent quality images that are comparable to a laptop system. It’s tiny and I can literally fit it in my pocket. I have a carry bag, which is really handy to carry anywhere. The wireless system is really quick and efficient to set up. And when something is really quick and easy to set up, often clients are more amenable to do an ultrasound to make sure we know what’s going on. I can start scanning within five minutes instead of having to lug big equipment from my car and then looking for power. These wireless systems are so quick and easy to set up.”
If you would like to learn more about how Clarius ultrasound was instrumental in helping Dr. Elliott start his new equine practice, read his article: 10 Ways Clarius Ultrasound Helped My New Equine Veterinary Practice During the Pandemic. Or, you can watch his webinar here.
Contact us today or visit our veterinary specialty page for more information about how easy and affordable it is to add high definition ultrasound to your veterinary practice with a wireless Clarius HD scanner.
