00:00:00.240 — 00:00:49.680
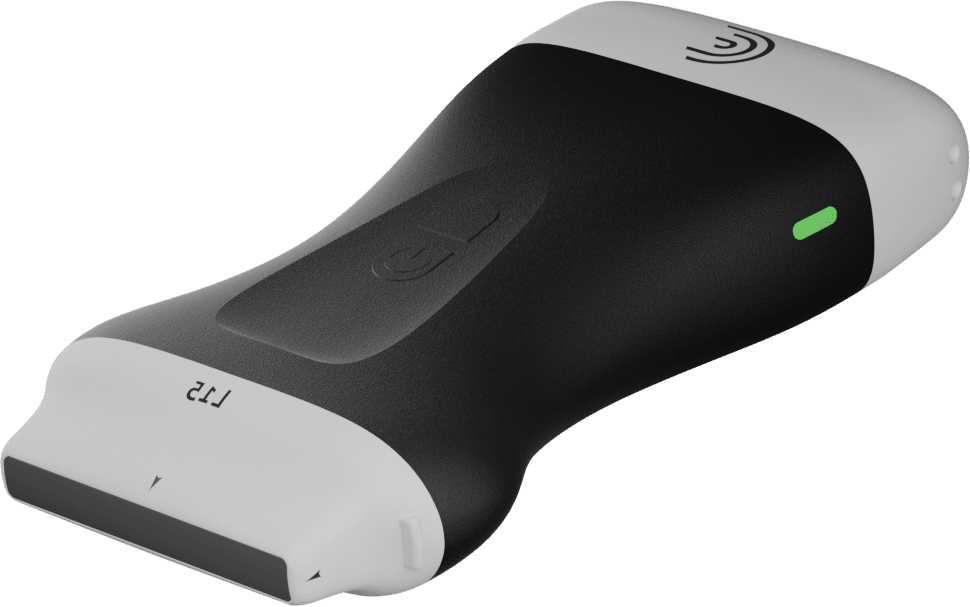
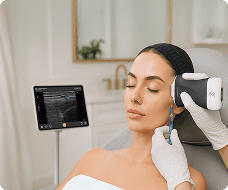
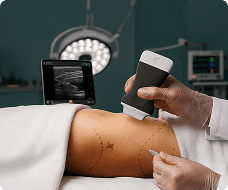
In this case, we're doing threads to lift the face, lift the eyebrow and the jowls, and I'm going to use the ultrasound first. This is the 15 Clavius device to detect the subcutaneous tissue, because this is where exactly the threads should be inserted. So primarily we're going to detect the thickness of the subcutaneous part that we're going to insert the threads at.
And then we will do the thread injection or the threads insertion. And while doing the threads I'm going to show you where exactly the cannula of the threads is inserted to make sure it's in the right plane. And after finishing the procedure, we're going to make sure that the threads are on the same plane and same placement that we need it to be.
Let's start by unfreeze.
00:00:52.840 — 00:01:29.150
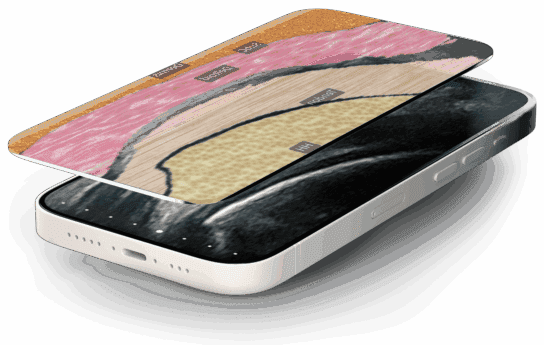
And then here we are on the cheeks we can see the cheekbone area. There is a little bit of fillers which has a part over the cheekbones. There's this mass on top, which is the little bit whitish layer, and there is the subcutaneous part and the skin. And we can see here that the subcutaneous part on top of the bone is very minimal.
And it's almost 0.1mm. Uh, and if you go a little bit further to the cheek.
00:01:32.150 — 00:01:50.110
You can see that there is a little bit of subcutaneous tissue. And then this mass and the deep fat layer which has a little bit of fillers and periosteum or the bone.
00:01:51.510 — 00:02:32.930
So I'm going to be using the threads first in that area. And then we'll do a little bit of lifting to the eyebrow part using threads. And this part is very critical because the amount of subcutaneous fat is almost non-existent. There is a small part of subcutaneous. Then in the temple there is the temporal parietal fascia of the superficial temporal fascia.
So we need to be on top of that to elevate the skin. So now we're preparing the procedure with using a local anesthesia. It's lidocaine with epinephrine.
00:02:36.730 — 00:02:44.730
Just to make sure the patient is comfortable. And also to decrease the bleeding by using the epinephrine.
00:02:49.810 — 00:02:57.370
Of course everything is sterile. And this is just our entry points. And later from the needle and move to a cannula.
00:03:44.520 — 00:03:45.320
I don't blame.
00:04:41.230 — 00:05:16.180
Now we start with the threads. The first thread will be inserted in this fashion, uh, on the cheek. And, um, I'm going to use the ultrasound to detect where exactly the cannula is inserted. Then I'm going to confirm after we're done doing the threads. The thread is a little bit long. It's 19cm so it can do multiple loops inside.
I'm going to show you under the ultrasound where exactly the thread will be located or the cannula it is and the thread as well.
00:05:23.700 — 00:05:37.820
So this is inserting the thread with the cannula. So the cannula is inserted. You can see the cannula here. It's confirmed in the subcutaneous part. And the thread should be.
00:05:40.140 — 00:05:49.740
Going with the cannula. Now I confirm my canyon location. And it's in the subcutaneous area just above this mass under the skin.
00:06:02.200 — 00:06:05.960
Inserting the thread now in the same plane.
00:06:08.720 — 00:06:17.720
Reaching the corner of the mouse, elevating the tissues up, removing the thread and doing another loop.
00:06:20.920 — 00:06:39.720
Just a little bit higher subcutaneously. Going to the nasal labial fold. This time going back and the last part of the thread, I'll insert it in between the two limbs of the of my insertion. Now we're done. So this is the first thread inserted.
00:06:42.840 — 00:06:47.080
And let's confirm our location.
00:06:55.680 — 00:06:56.640
And here.
00:07:08.710 — 00:07:10.550
And this is the thread.
00:07:16.270 — 00:07:31.150
It's subcutaneous. You can see the hypergolic part subcutaneously, which is at 0.1 or 0.2 centimeters from the skin.
00:07:32.870 — 00:07:37.269
This is the thread. And if I go a little bit lower
00:07:38.310 — 00:07:40.470
you can see pieces of the thread here.
00:07:46.670 — 00:07:48.870
Now you confirm its location.
00:07:50.350 — 00:08:12.300
We can proceed with the second thread. This is the second thread going in And after finishing the second thread, I'll do another two threads from the tragus part to the gel area to the lower face, and at the end I'll do one thread in the temple area, elevating the eyebrow and the corner of the eye.
00:08:15.380 — 00:08:21.460
So same insertion subcutaneously as the first one,
00:08:22.940 — 00:08:24.860
reaching the nasal labial fold,
00:08:26.220 — 00:08:28.979
elevating the skin and
00:08:30.860 — 00:08:32.260
doing another loop.
00:08:39.300 — 00:08:40.580
And finishing the thread.
00:08:51.940 — 00:08:55.460
Then we'll go here and we can confirm that using the ultrasound.
00:09:00.120 — 00:09:02.080
This is the cannula inserted.
00:09:03.240 — 00:09:05.960
You can see where the camera is located.
00:09:07.120 — 00:09:12.159
It's subcutaneous in the subcutaneous part, and part of the thread
00:09:13.520 — 00:09:35.040
should be at the top of the cannula. Can you see that? See the tip of the cannula. And now you can see the thread coming out of the tip. So there is part of the thread that is located at the longitudinal axis of the cannula going parallel to the cannula itself. That's the thread on top of the cannula coming out.
00:09:39.640 — 00:09:44.080
All right. Going subcutaneous on top of the.
00:09:46.480 — 00:09:48.400
Of the masseter muscle.
00:09:51.960 — 00:09:53.560
Going to the area.
00:09:59.710 — 00:10:01.950
All right. Last. Last one.
00:10:04.750 — 00:10:08.310
It will be in. That will be in the temple area.
00:10:27.670 — 00:10:32.750
So now see where the thread is located in the temple part.
00:10:33.990 — 00:10:50.750
We're going here a little bit in the fascia. So you know we need to go a little bit higher. On top of that this is my cannula. You can readjust where we want to have it.
00:10:57.020 — 00:10:59.300
Then going a little bit super efficient.
00:11:05.620 — 00:11:15.140
Because this is where exactly yes, we need our cannula to be with the thread subcutaneous. All right.
00:11:16.340 — 00:11:24.860
Now we confirm it where exactly the thread is located. With the cannula we can proceed with the lifting.
00:11:42.260 — 00:11:43.260
All right.
00:11:45.100 — 00:11:47.140
Okay. Now we're done with this side.
00:11:55.180 — 00:11:56.460
Let's confirm.
00:11:58.040 — 00:12:01.800
threads location on that side and move to the other side.
00:12:09.080 — 00:12:17.120
So the first line here subcutaneously above the fascia is the thread. It's hyper echoing.
00:12:19.640 — 00:12:23.920
Hyper echo. Continuous line. And underneath is the fascia.
00:12:28.680 — 00:12:33.799
Try to find the other one. There's another piece here. It's in the fascia
00:12:34.920 — 00:12:38.520
and subcutaneous. This is a very small area to work with.
00:12:39.680 — 00:12:41.880
Considering the thickness of the skin here.
00:12:44.720 — 00:12:46.760
And this is the cheek area.
00:12:50.000 — 00:12:53.160
Checking where our threads are located.
00:12:57.990 — 00:12:59.590
And then we can see
00:13:00.830 — 00:13:05.230
how subcutaneously our thread is located here.
00:13:07.230 — 00:13:08.749
Let's go for
00:13:09.790 — 00:13:11.670
the lower part of the face.
00:13:14.990 — 00:13:16.990
So this is the thread.
00:13:18.950 — 00:13:25.350
You can see pieces of threads and you have to connect them together on the screen.
00:13:38.150 — 00:13:59.380
And when I freeze the image here, you can see part of the thread in the subcutaneous area on the left side of the screen under curious sign. This is the part of the thread here, and This part has a continuation from the entry point.
00:14:00.820 — 00:14:01.820
This part.
00:14:04.620 — 00:14:07.140
And now we can see pieces of threads here
00:14:08.940 — 00:14:26.420
making sure it's in the same plane. And if you can see there is part of the period a thread and there is part of the anesthetic around it. So there is a rim of fluid which is hypoxic area around the hyper egoic piece of the thread here.
00:14:28.260 — 00:14:35.499
That's the thread. That's where with suture you can see part of it. And if we move here
00:14:37.060 — 00:14:38.380
to the gelled area.
00:14:41.420 — 00:14:45.620
That's again that's the thread. You can see it here.
00:14:47.940 — 00:14:49.219
Very obvious
00:14:50.500 — 00:14:52.220
hyper egoic line.
00:14:56.170 — 00:15:33.330
This is exactly where we needed to be located. Now we will do the other side of the face. Everything will be the same and we start doing threads and the cheeks and the lower part of the face, and then the temples. Um, after we finish with everything, we confirm again with ultrasound location and placement of our threads, just to make sure everything is in the right placement and right plane.
All right, now we're confirming the other side threads insertion placement. And we can see here
00:15:34.370 — 00:15:58.670
under the corner of the mouth the subcutaneous area where the thread is located. It's hyper egoic part when I move. You can see the lamination and the loop of a thread. You can see the loop two on top of each other here. And the reverberation artifact from the thread.
00:16:01.750 — 00:16:08.710
So this is a confirmatory sign. This is a thread with the two illumination that we can see.
00:16:10.630 — 00:16:12.910
This is where the thread is.
00:16:18.230 — 00:16:22.750
This is where it is. And let me mark it up for you.
00:16:24.390 — 00:16:32.390
That's the thread. We can see that here. Very clear and obvious. And there is another loop under the thread.
00:16:33.670 — 00:16:35.550
That's another loop also.
00:16:37.150 — 00:16:39.750
So there is two loops of the thread in here.
00:16:42.710 — 00:16:43.590
All right.
00:16:45.390 — 00:16:47.550
And we're done.