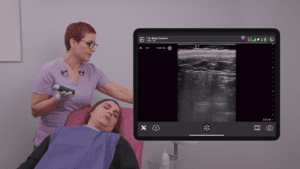




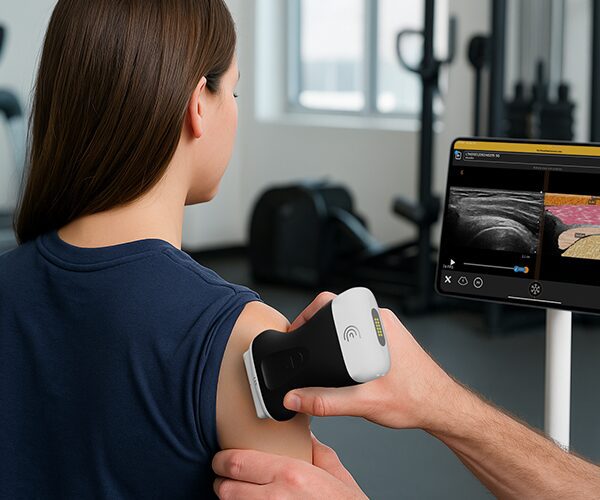
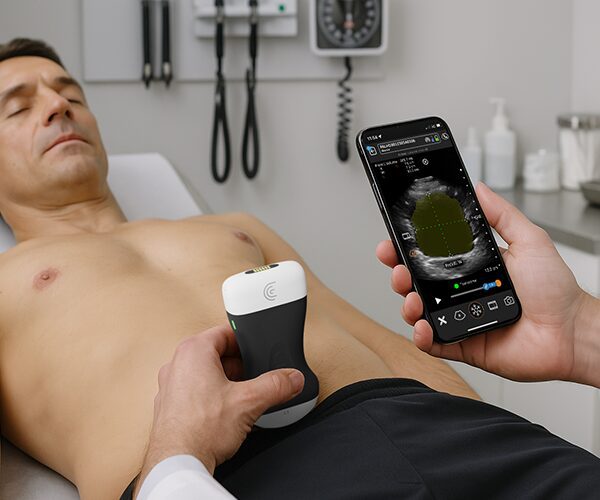


In veterinary medicine, while many practitioners are comfortable with “target scanning”: focusing only on examining a specific area of concern with ultrasound: this approach risks missing incidental findings that could be clinically significant. To provide a truly holistic view of a companion animal’s health, a comprehensive abdominal ultrasound survey is essential.
In this article, we’re breaking down the final five steps of the Aspire UCS 8-Step Abdominal Ultrasound Protocol, developed by experts Angie Lloyd-Jones, DCR, DMU, and Julie Burnage, DCR, DMU, FETC. Whether you are just starting out or looking to refine your technique, this methodical approach ensures you never miss a vital structure.
Angie and Julie outlined the first steps focused on the liver, gallbladder, and spleen during this webinar, and we provided a quick overview in this article. Scroll down for a quick overview of the final five steps of the Aspire UCS 8-Step Abdominal Ultrasound Protocol
Watch the Full Veterinary Ultrasound Training Webinars
Prefer to learn directly from the experts and to see their ultrasound exam techniques in action? You can watch the full webinar recordings, including live ultrasound scanning demonstrations on a patient, by clicking the links below.
Establishing the Ultrasound Scanning System: Right Lateral Recumbency
This protocol is taught with the patient in right lateral recumbency. This position is chosen to minimize patient stress, improve breathing during sedation, and help the practitioner develop “muscle memory” by keeping anatomy in a consistent orientation.
Step 4: Scanning the Left Retroperitoneal Space
This step focuses on the left kidney, left adrenal gland, and the great vessels.
- The Approach: Scan from the upper (left) surface down toward the table.
- The Kidney Landmark: Start with the kidney in the long axis, scanning all the way through the structure to check for masses or hydronephrosis.
- The “Slug Sign”: To find the left adrenal, locate the aorta (the “slug”) and its two “feelers”—the celiac axis and cranial mesenteric artery. The adrenal sits between the kidney and these vessels.
- Clinical Takeaway: Always measure the caudal pole of the adrenal gland. Because the left and right adrenals have different shapes, measuring the caudal pole provides the most consistent comparison.
Video Tutorial: Scanning the Left Kidney, Adrenal Glad, Aorta, and CVC with Clarius Ultrasound
In this video, Julie and Angie demonstrate ultrasound techniques for scanning the left kidney and adrenal gland, the abdominal aorta, Caudal Vena Cava, LMILN with the Clarius VET HD3.
Step 5: Scanning the Lower Urinary Tract and Colon
Here, the survey moves to the bladder, reproductive organs, and the descending colon.
- Positive Identification: Don’t just scan the large body of the bladder; actively follow the bladder neck down to the urethra. “If you don’t actively go looking caudal, you could miss something” like a stone or a tumor.
- The “Buzzy Toy” Technique: To trace the colon, scan in the short axis. Like a child’s wire-loop toy, you “wiggle” the probe to follow the path of the bowel.
- Wall Layers: Healthy GI tracts should show distinct layering. Angie uses the “Midnight/Stars” rule: Layers starting with M (Mucosa, Muscularis) are dark like midnight; layers starting with S (Serosa, Submucosa) are bright like stars.
Video Tutorial: Scanning the Bladder, Prostate/Uterus, and Colon with Clarius Ultrasound
In this video, Julie and Angie share tips for evaluating the bladder, prostate/Uterus, descending and transverse colon with the Clarius VET HD3 ultrasound scanner.
Step 6: The “Under and On” Approach to find the ICJ in a dog
This is a specialized maneuver where you place the ultrasound scanner under the patient to scan upward.
- The Bottleneck: This view is the most reliable way to find the ileocolic junction (ICJ). Use the right kidney as your “best friend” landmark to find where the ileum “plumbs” into the colon.
- Pro Tip: If the patient is large, roll up a towel under their back to create “wiggle room” for your hand and the probe.
Video Tutorial: Scanning the Ascending Colon, Coecum, and ICCJ with Clarius Ultrasound
Watch this video to see Julie and Angie demonstrate ultrasound techniques to evaluate the colon viewed from the left, caecum, ICCJ, and lymph nodes with the Clarius VET HD3 ultrasound scanner.
Step 7: Scanning the Right Retroperitoneal Space
This mirrors Step 4 but focuses on the right side from an “underneath” approach.
- The Right Adrenal: Locate the right kidney first. The right adrenal is often described as a “boomerang” or “arrowhead” shape and lies between the aorta and the CVC.
- Vessel Safety: When checking the vena cava for a thrombus, be careful not to apply too much pressure, or you will “obliterate that vein” and miss the pathology.
Video Tutorial: Scanning the Right Kidney, Adrenal Gland, Aorta, and CVC with Clarius Ultrasound
In this video, Julie and Angie demonstrate techniques for scanning the pylorus, duodenum, jejunum, and right limb of the pancreas. With their patient in this position, they can also evaluate the portal vein and common duct with the Clarius VET HD3 ultrasound scanner.
Step 8: The Duodenum, Pancreas, and Jejunum
The final step addresses the most lateral parts of the small intestine and the pancreas.
- The “Washing Line”: The right limb of the pancreas “hangs off the descending duodenum like a washing line”. If you find the duodenum—which sits predictably against the right body wall—you have found the pancreas.
- “Lawnmowing” the Jejunum: You cannot follow every inch of the jejunum. Instead, use overlapping sweeps across the midgut, like mowing a lawn, to check for distended loops or free fluid.
- Pancreatitis Indicators: A normal pancreas is often isoechoic (the same color) as the surrounding fat. An acutely inflamed pancreas will appear “big, black, and obvious” against bright, reactive mesenteric fat.
Video Tutorial: Pylorus, Duodenum/Jejunum, and Right Limb of Pancreas Exams with Clarius Ultrasound
Watch this video to see Julie and Angie demonstrate techniques for scanning the pylorus, duodenum, jejunum, and right limb of the pancreas. With their patient in this position, they can also evaluate the portal vein and common duct.
Why Clarius is a Popular Choice for Scanning Companion Animals
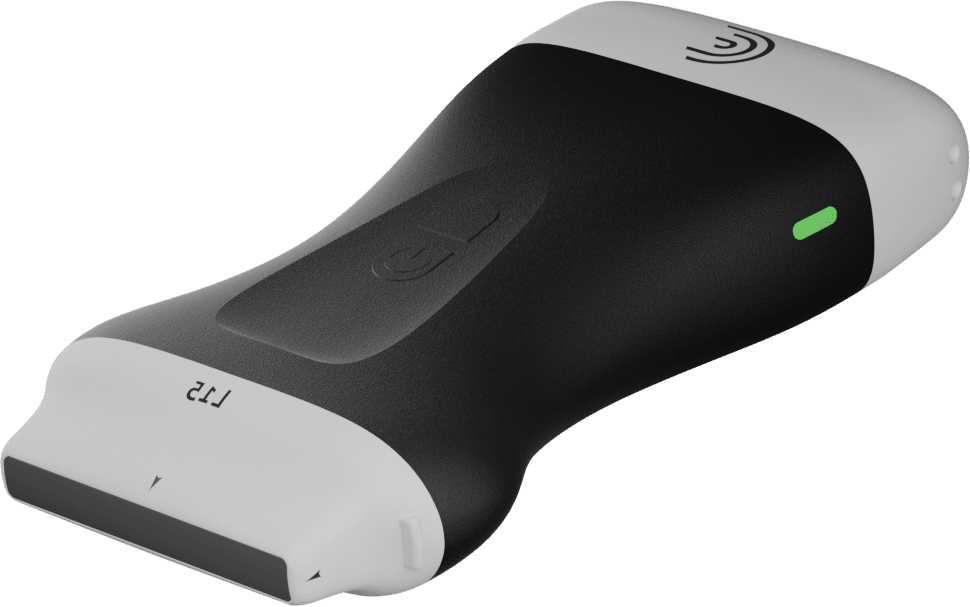
Clarius VET HD3 scanner is designed to deliver high-definition, wireless ultrasound imaging with the performance of a traditional system at a fraction of the cost. The wireless design and zero footprint make them highly portable, enabling clinicians to perform exams anywhere in the clinic or in the field without wires getting in the way or startling animals.
To learn more about how you can add wireless ultrasound to your practice, visit our Veterinary Specialty Page. There you’ll have access to additional webinars and classroom videos. For more information, you can request a personalized virtual ultrasound demo.